

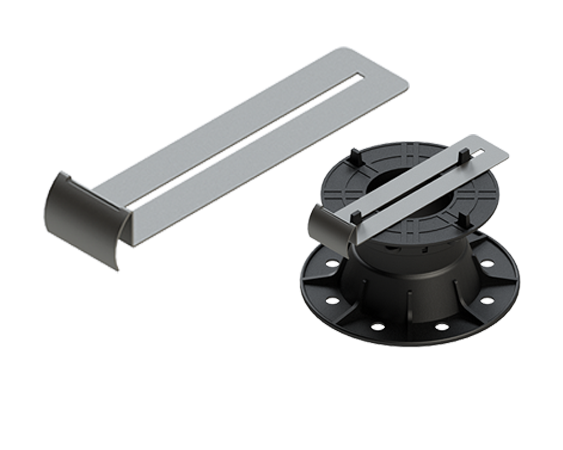
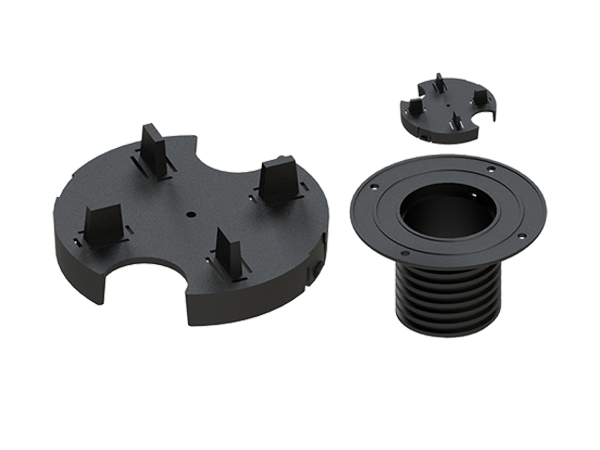
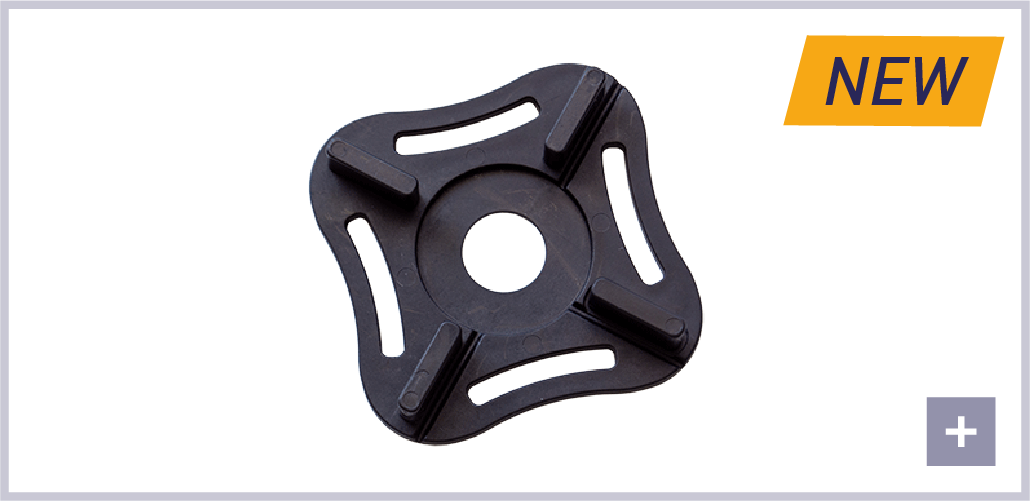
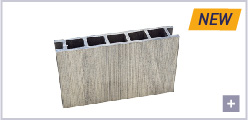
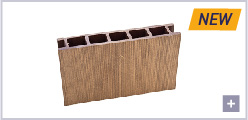
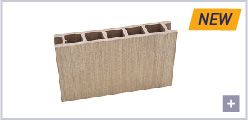
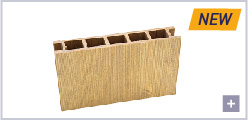
Peygran plots for outside spaces with head for aluminium strips are the ideal solution for projects in which wood or wpc floating platforms are installed.
They are an excellent alternative to other traditional methods allowing greater versatility when making the strip frame, due to the rotating clip of the strip head.

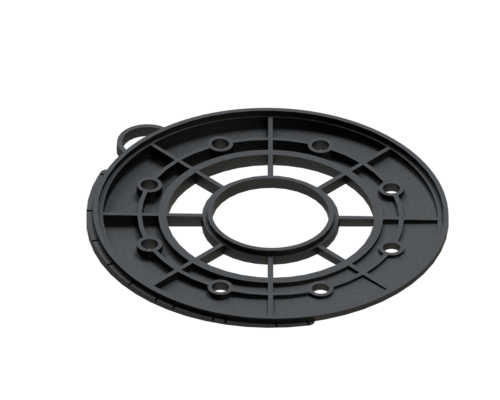
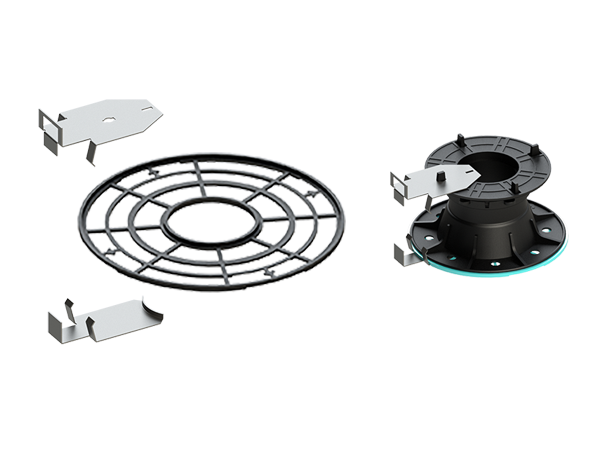
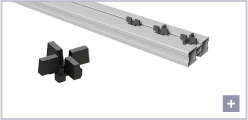
ACCESSORIES


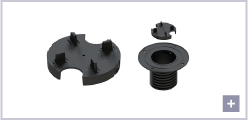


Head without Flanges
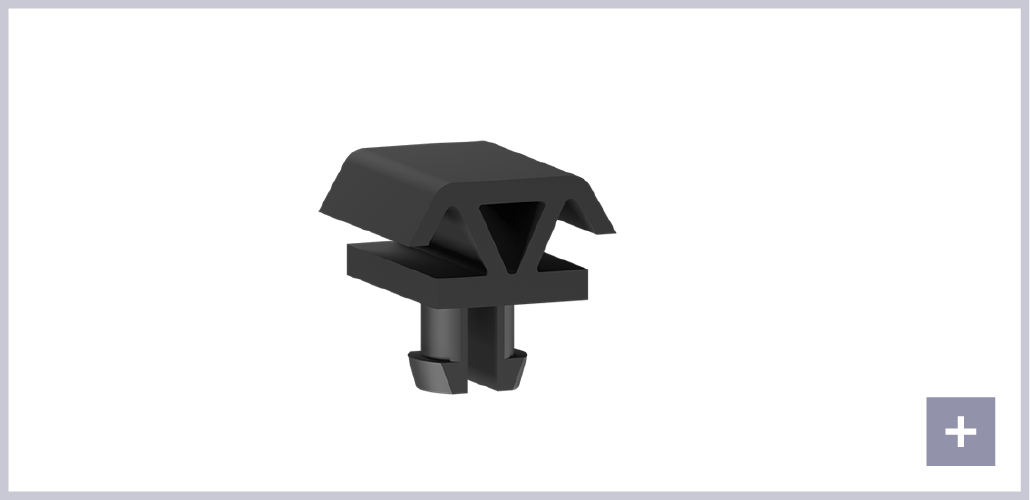
Strip Clip
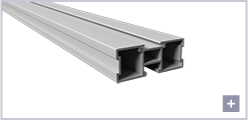
Aluminium Joist

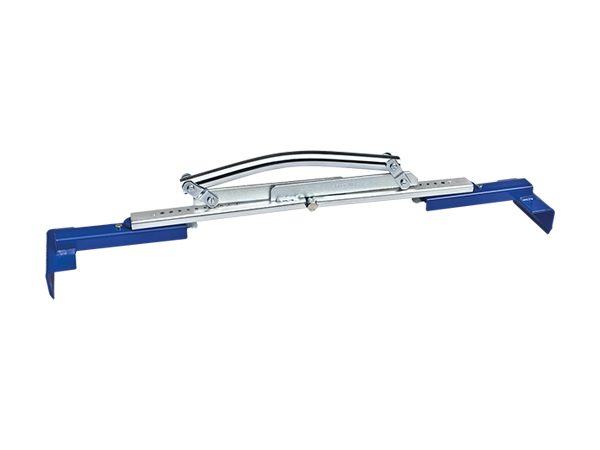
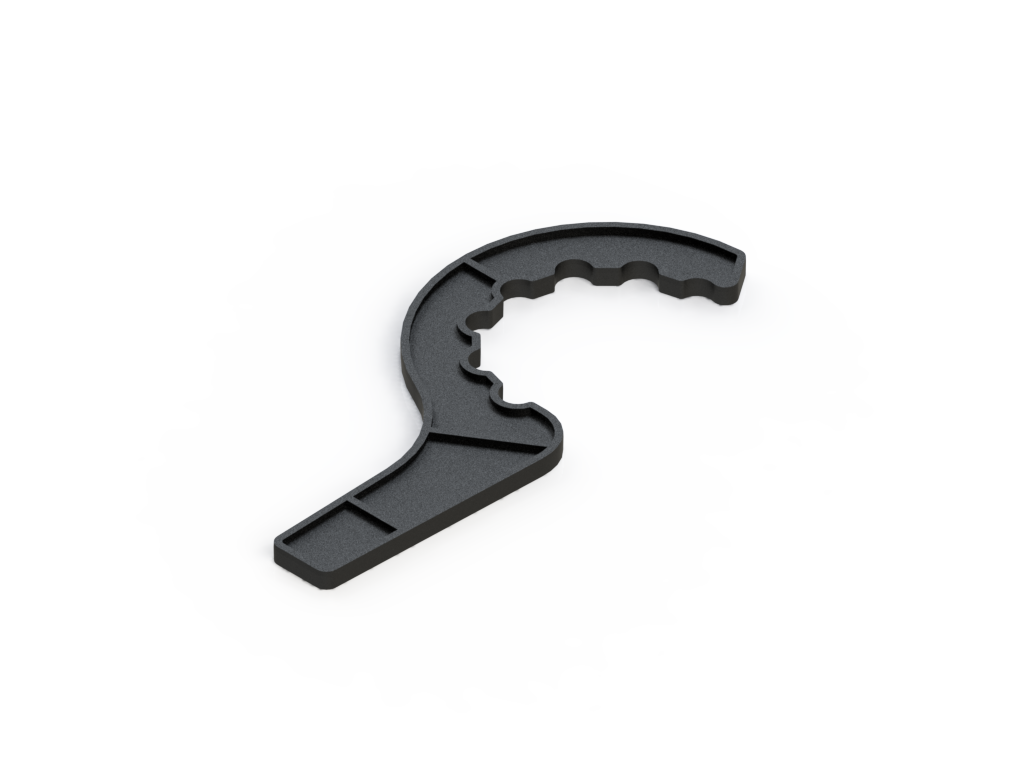
COMPLEMENTS


AUTOMATICALLY CALCULATE
THE PEDESTALS
YOU NEED.


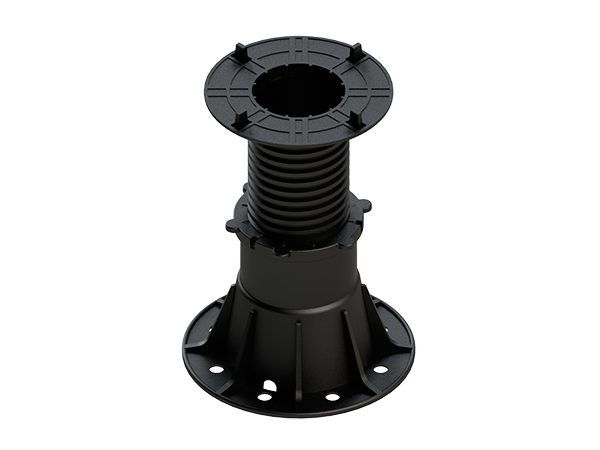
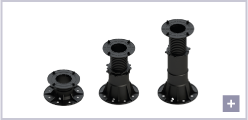
Raised floor
plot
MODE OF USE
How to use

1º Place first plots
Place 4 plots adjusted to the tile width. Start by a corner of the perimeter to install.
Break the plot flanges that hamper the appropriate tile installation

2º Level the tile
Use a leveller to check the appropriate levelling of the tile on the plots. Adjust the plots with the floating nut until reaching the wanted height and complete levelling.

3º Fix the plot
Tighten the locknut for fixing the plot completely and avoid movements. We recommend fixing the base with polyurethane foam or similar. In this way unwanted movements are avoided.

4º Place the following plots
Place the following plots for the adjacent tiles. We also recommend using pads to damper sound.

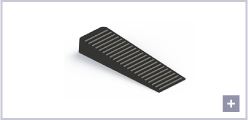
5º Compensate unevenness (wedge base)
For a completely levelled surface, use a slope regulator to compensate the floor unevenness.

6º Lay the adjacent tiles
Lay the tiles orderly adjusting the floor to the plot flanges, in this way, avoiding further spaces and movements unwanted.

7º Continue levelling
Continue laying the adjacent tiles using the same process until completing the surface to be covered.

8º Recordable paviment
Finally, we obtain a completely registrable surface which allows us access to lower installations such as electrical wiring, sump, piping, etc.


Compatibility table
