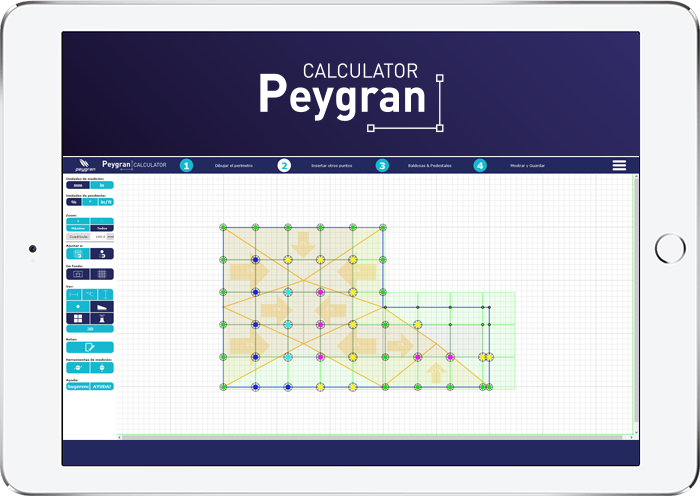

CUANTIFICADOR PLOTS
Instrucciones
- 1. Indicar el largo A y ancho B de embaldosado en m
- 2. Indicar el formato de baldosa en cm
- 3. Indicar la longitud máxima entre apoyos que admite la baldosa.
- 4. Indicar si se precisa plot central o no.


TERRAZA
A
Largo[m]
m
B
Ancho[m]
m
Sup.
[m²]
[m²]
00,0 m²
BALDOSA
a
Largo[cm]
cm
b
Ancho[cm]
cm
PARÁMETROS DE PLOTS
Longitud máxima
entre Plots [cm]
cm
Plot central
[sí / no]
Junta
[mm]
TOTAL PLOTS
0 uds
RATIO
uds/m²
0
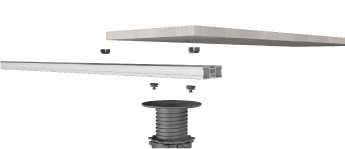

TERRAZA
AParalelo a Rastrel [m]
BPerpendicular a Rastrel [m]
Sup.[m2]
10,00m
10,00m
100,00m2
BALDOSA
aLargo [m]
bAncho [m]
eJunta [mm]
60,0cm
60,0cm
4mm
INTER-EJES
XInter-eje rastrel [mm]
YDistancia entre apoyos [mm]
600mm
600mm
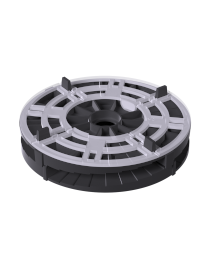
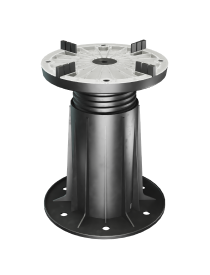
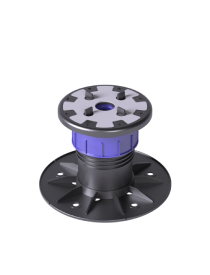
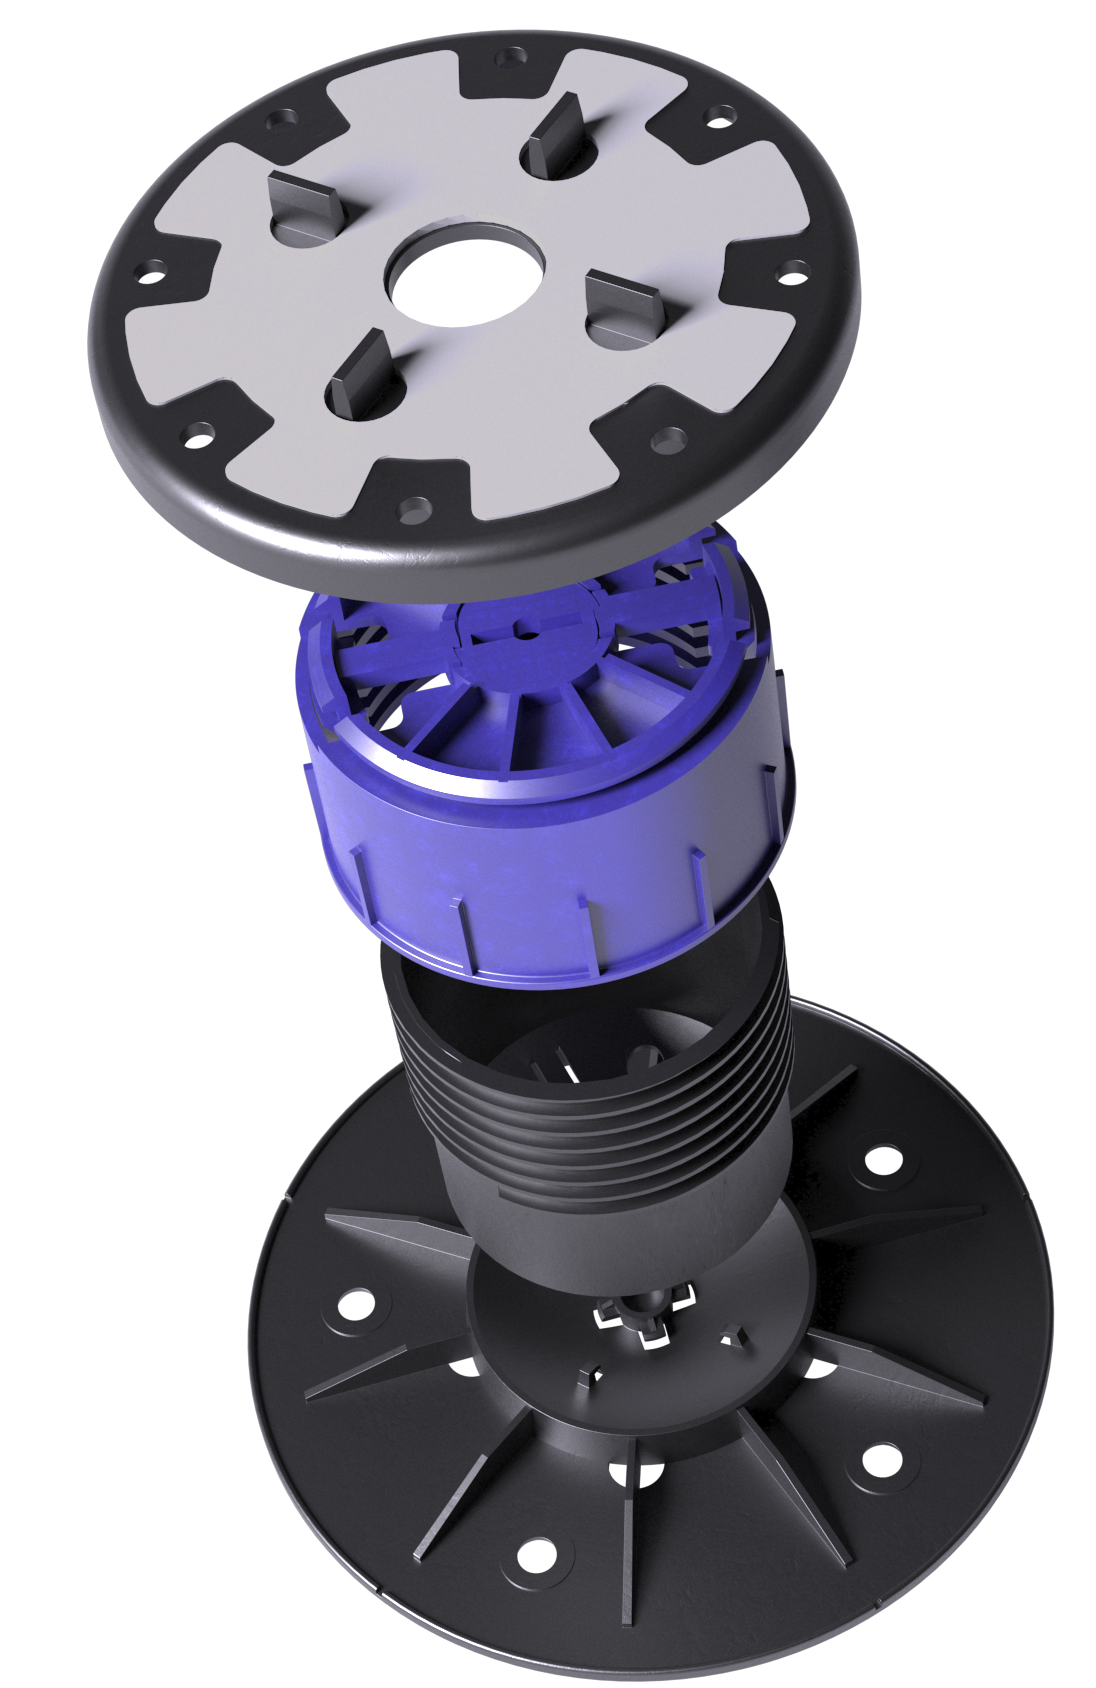
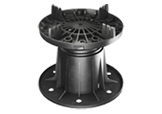 Plots
Plots Rastrel 2m
 Ref. 03040141Z
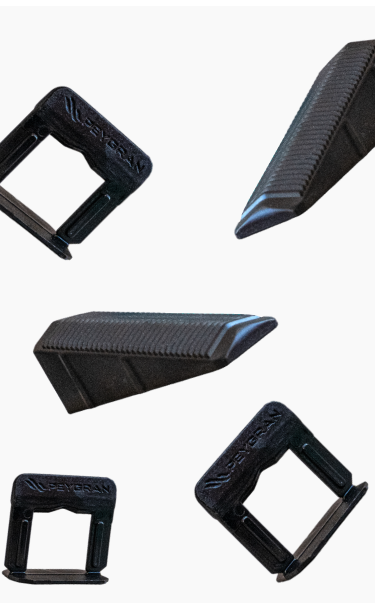
 Clip Rastrel
Ref. 03040132E - 100uds.
 Cruceta Rastrel
Ref. 03040131E - 100uds.
324uds
100uds
13bolsas
4bolsas