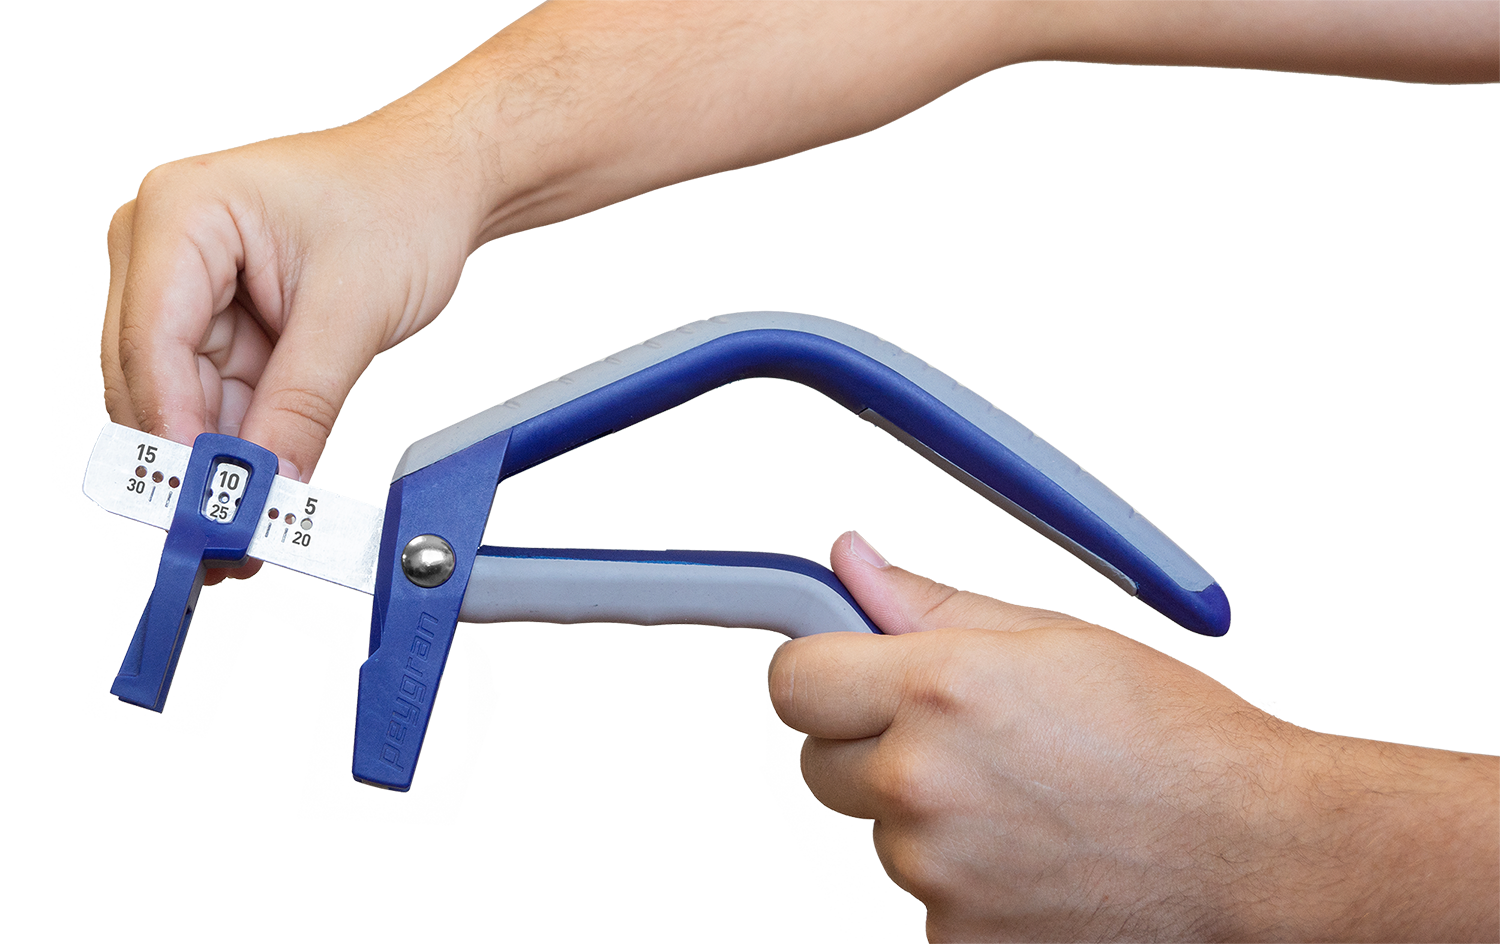
1. Adjust the pliers
Adjust the pliers to the scale required by the ceramics thickness.
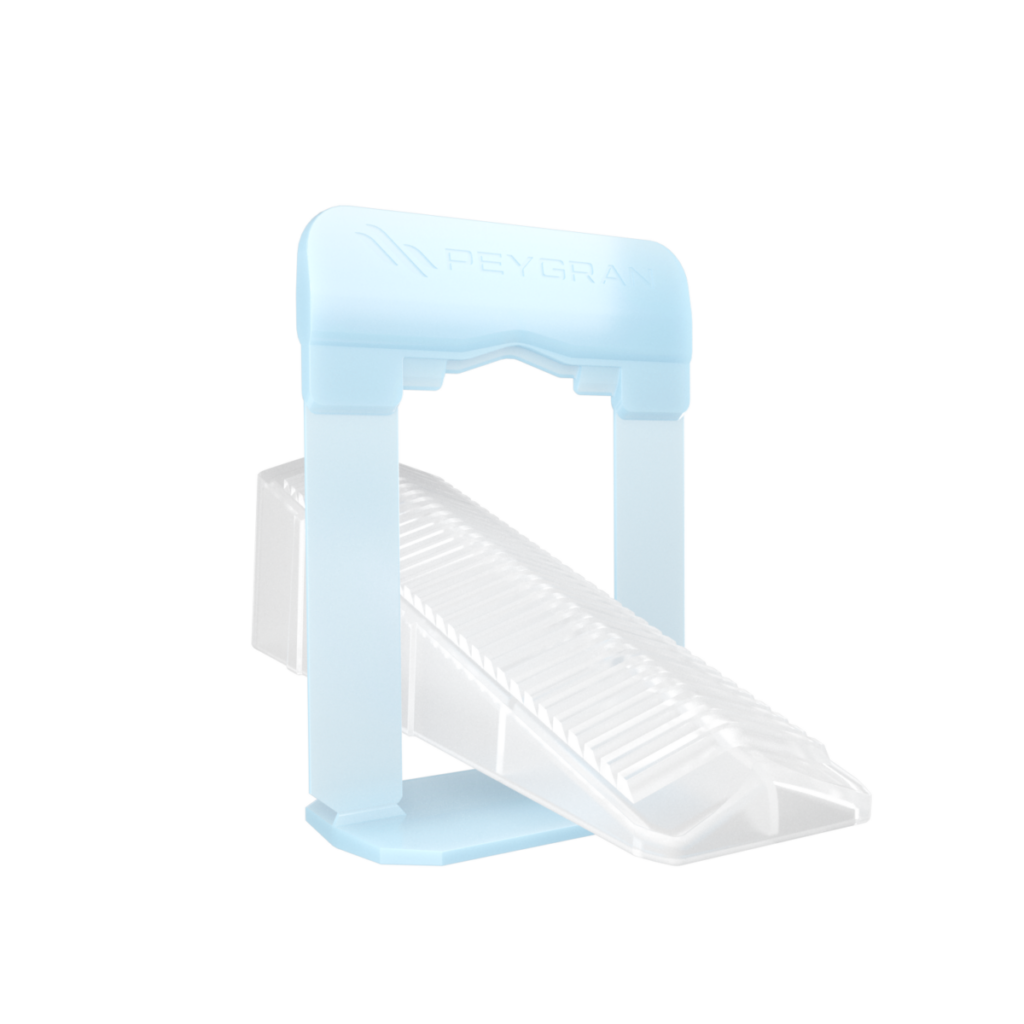
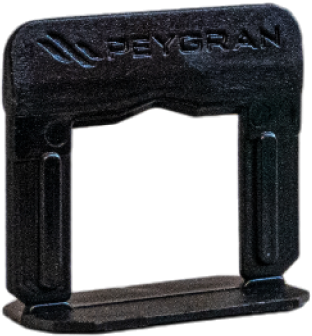
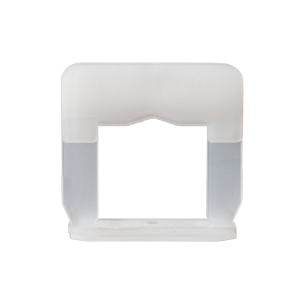
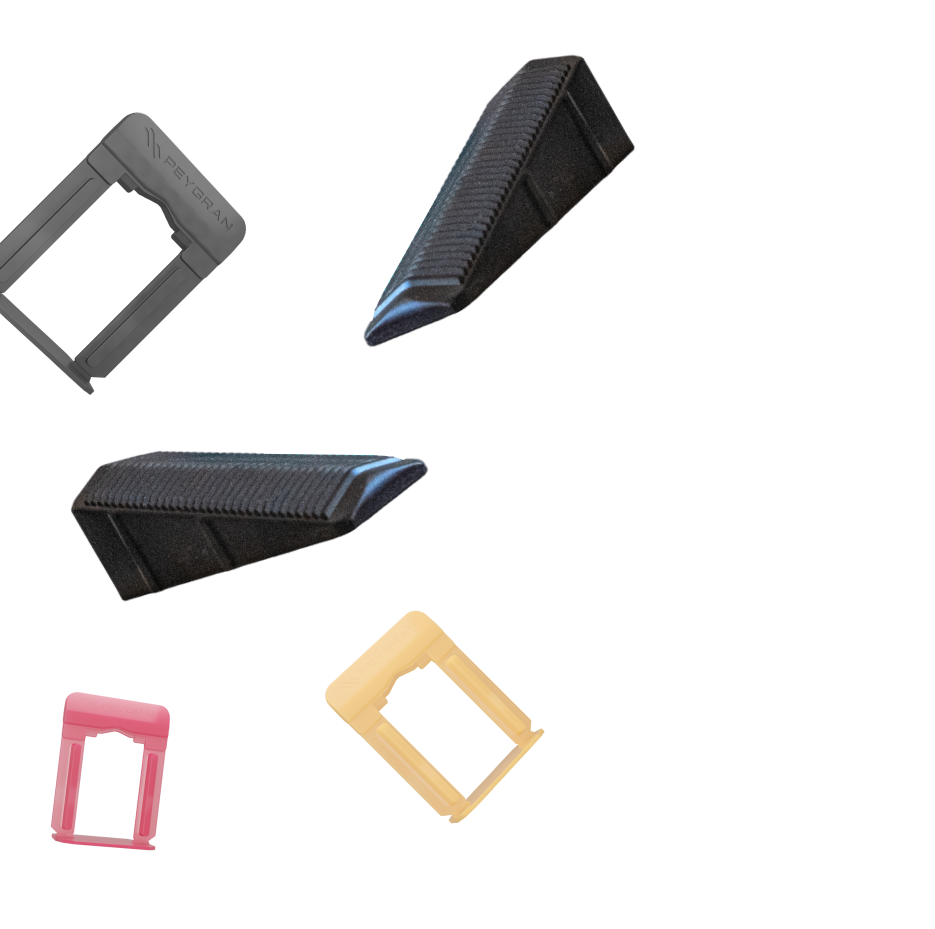
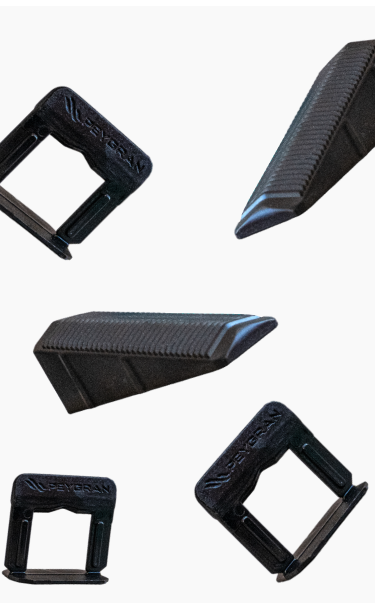
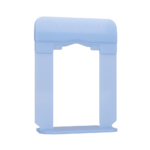
2. Place the clips
Spread the glue cement and then lay and level the first tile, then set with the mallet. Insert the clip at the ends of the tile (approx. > 50 mm from the edge).
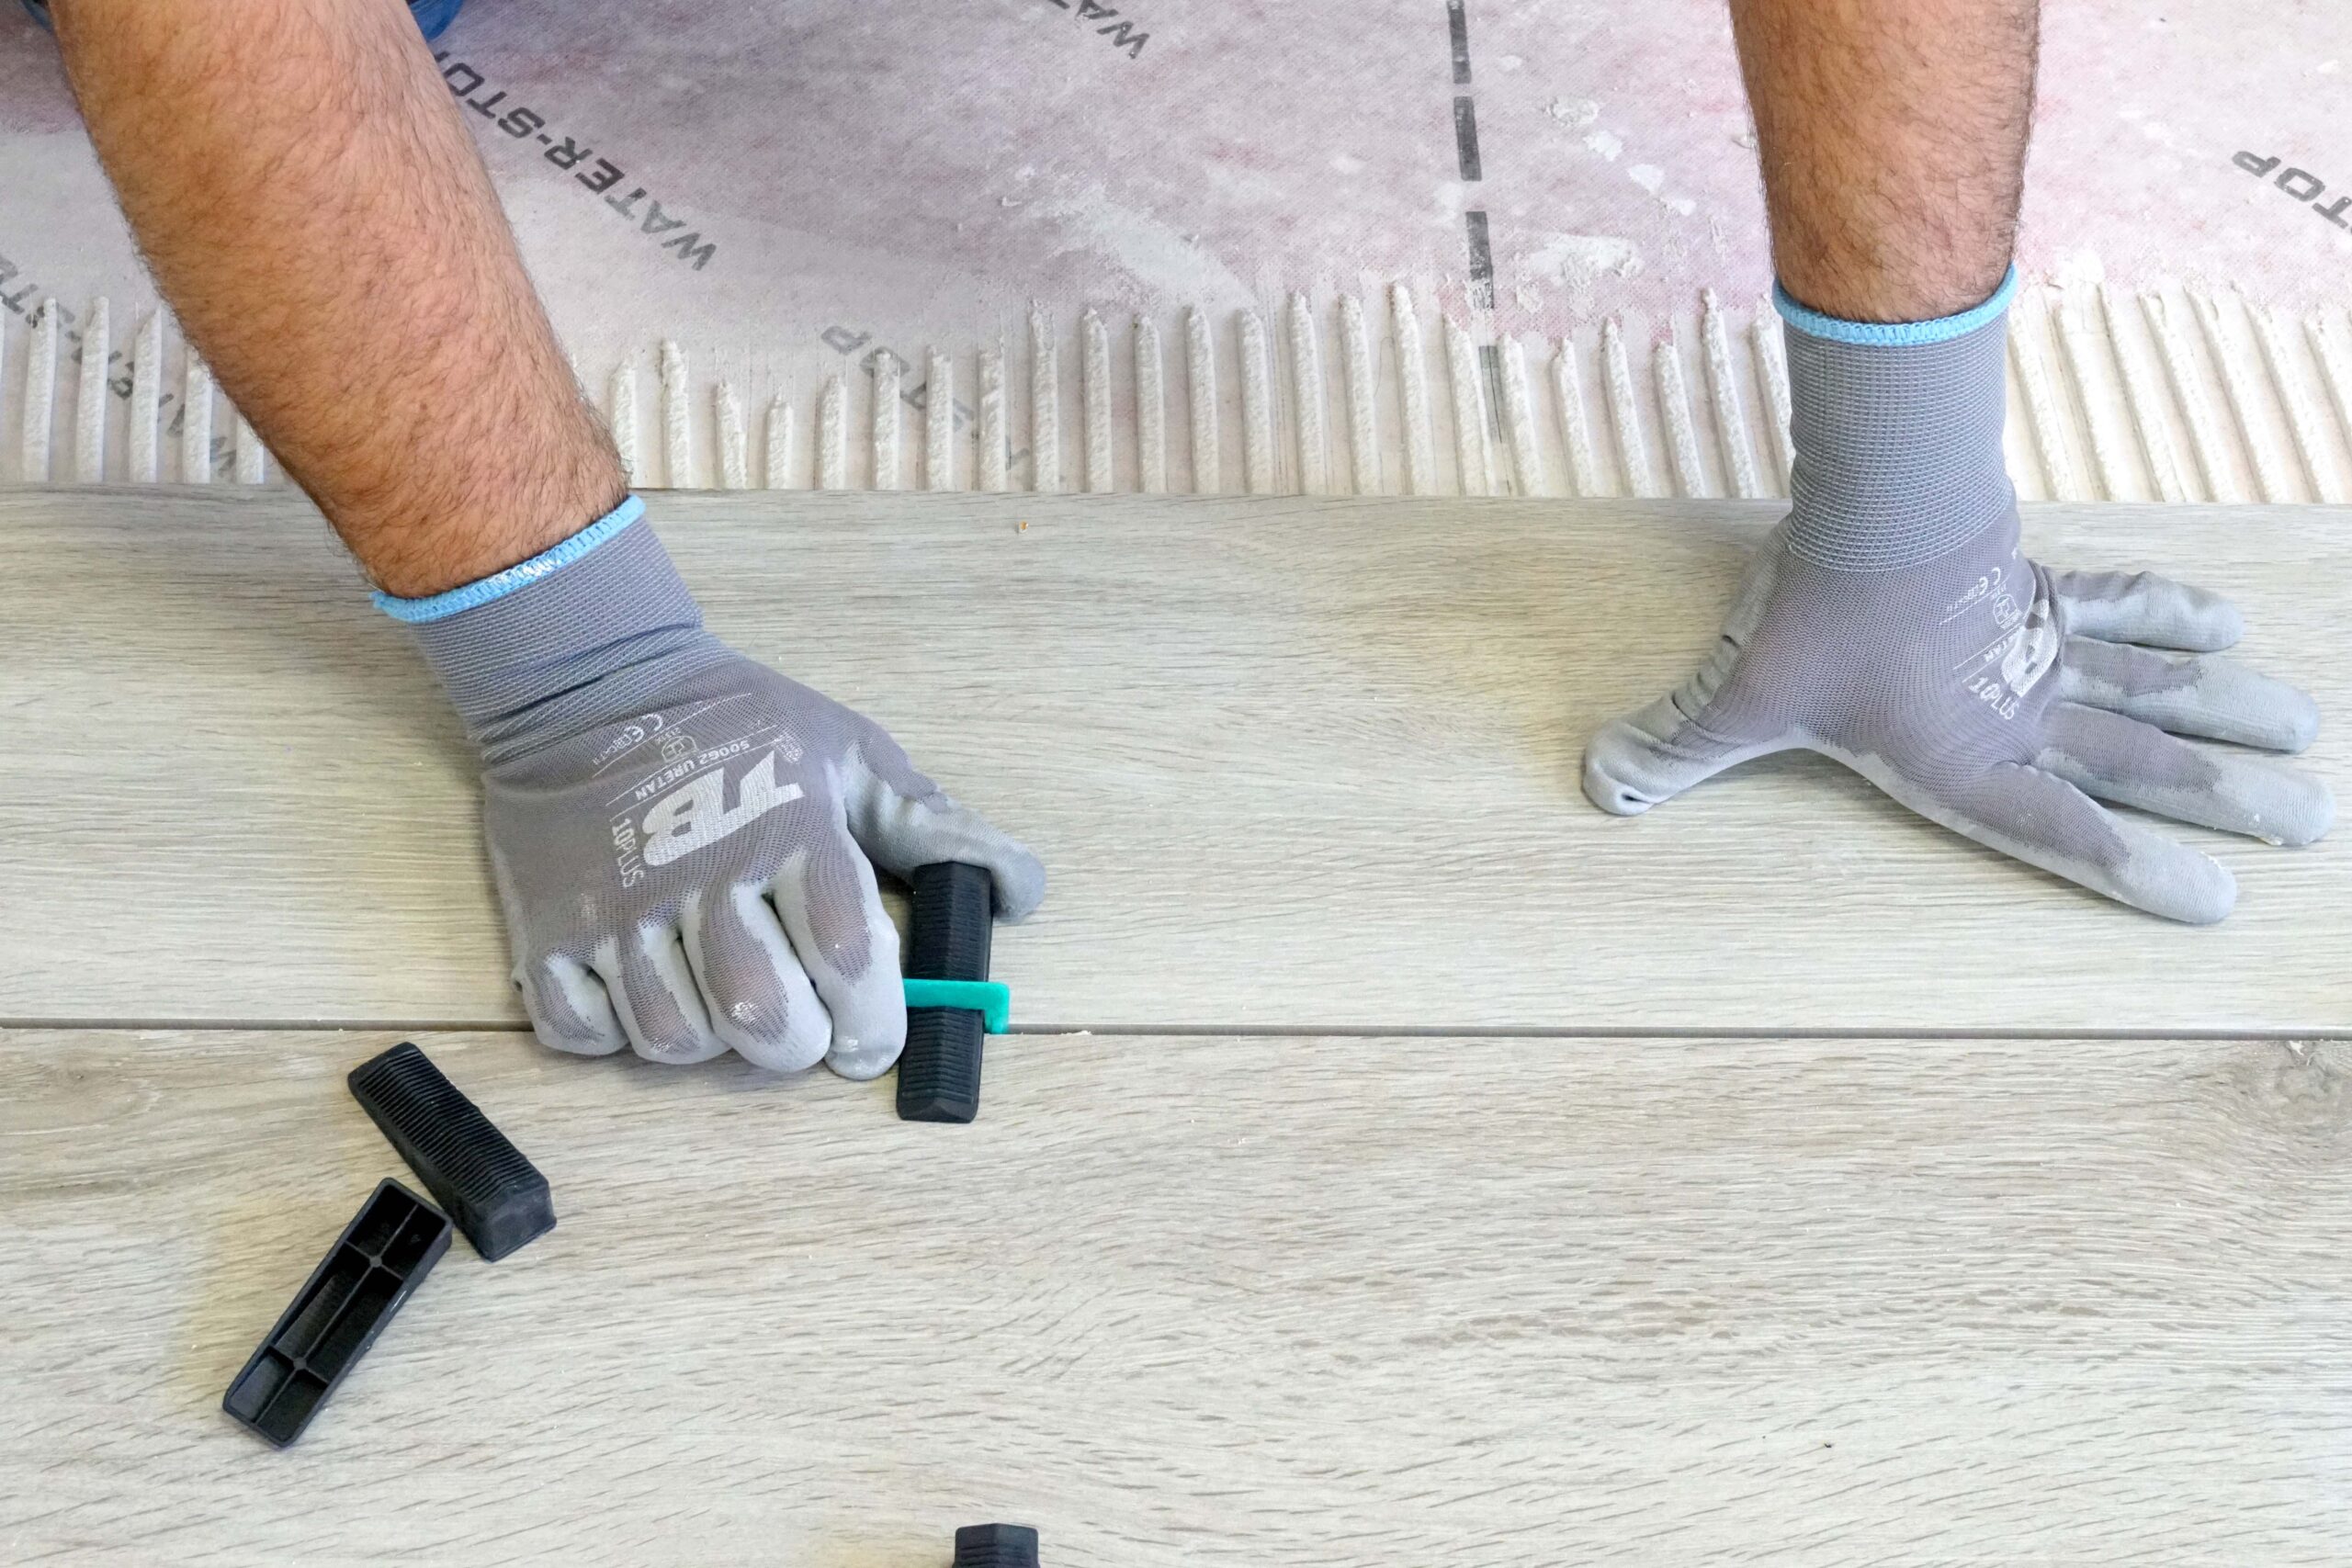
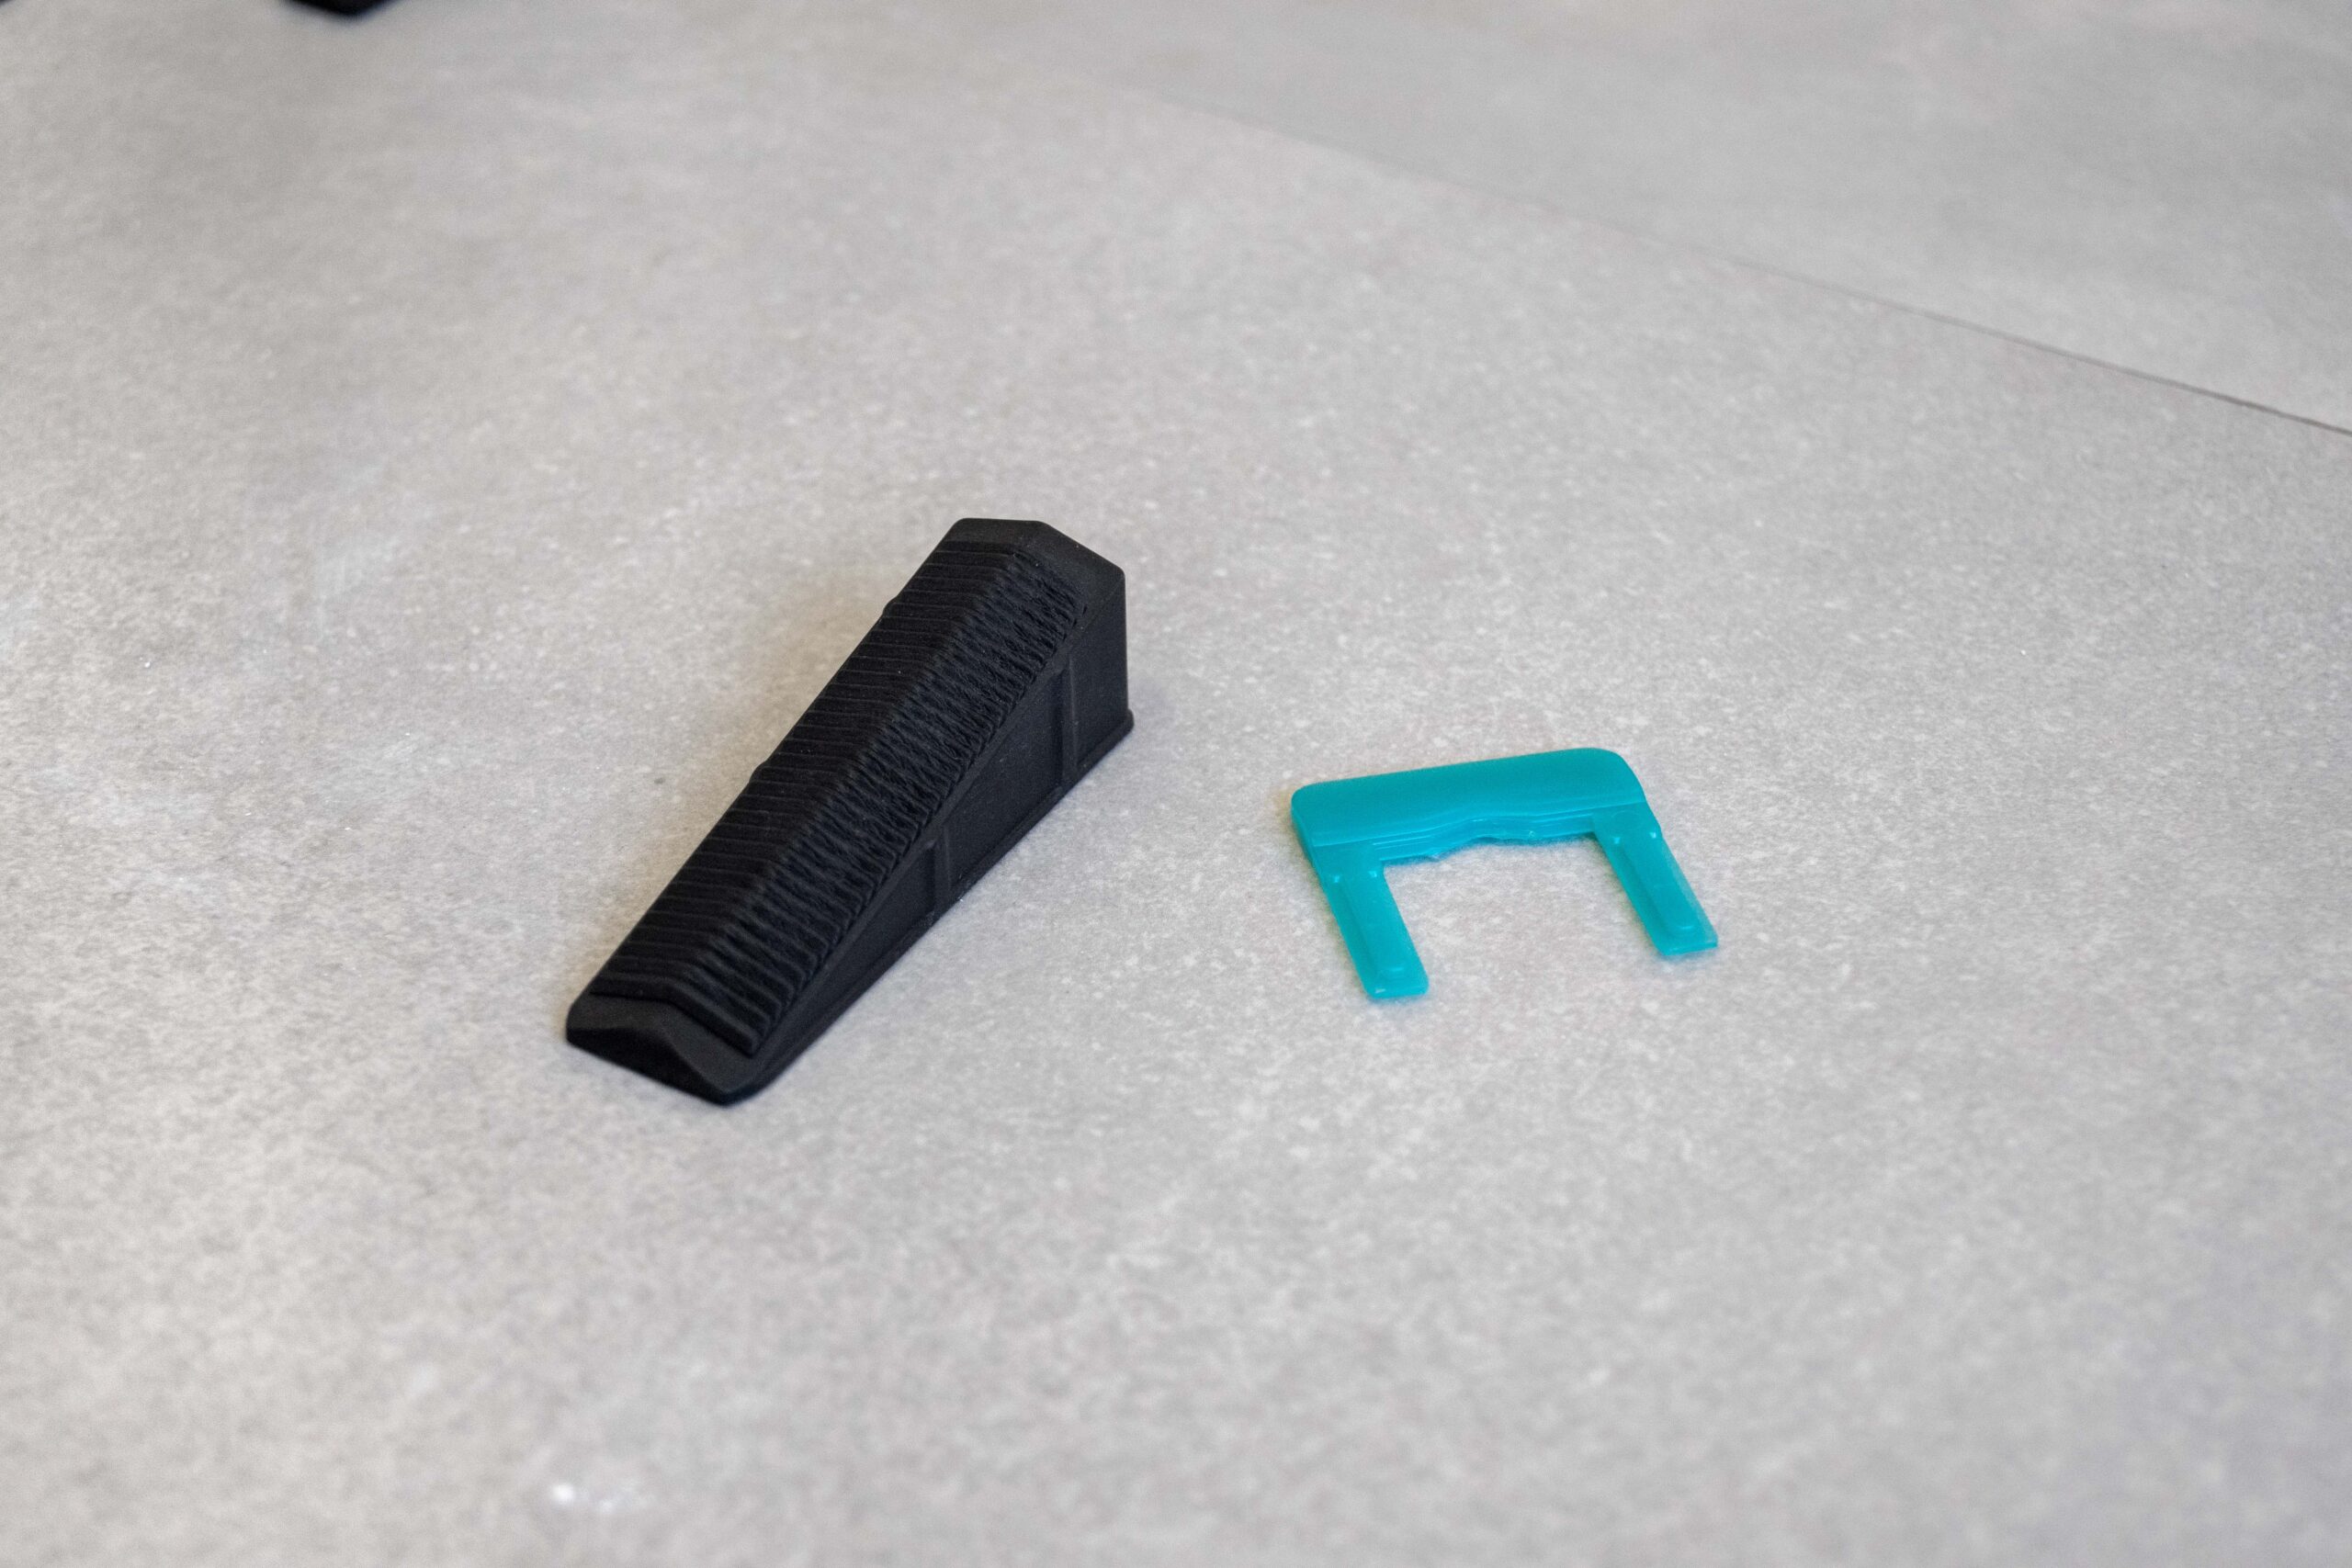
3. Insert the wedges
When laying adjacent tiles, we will insert the wedges into the shims manually.
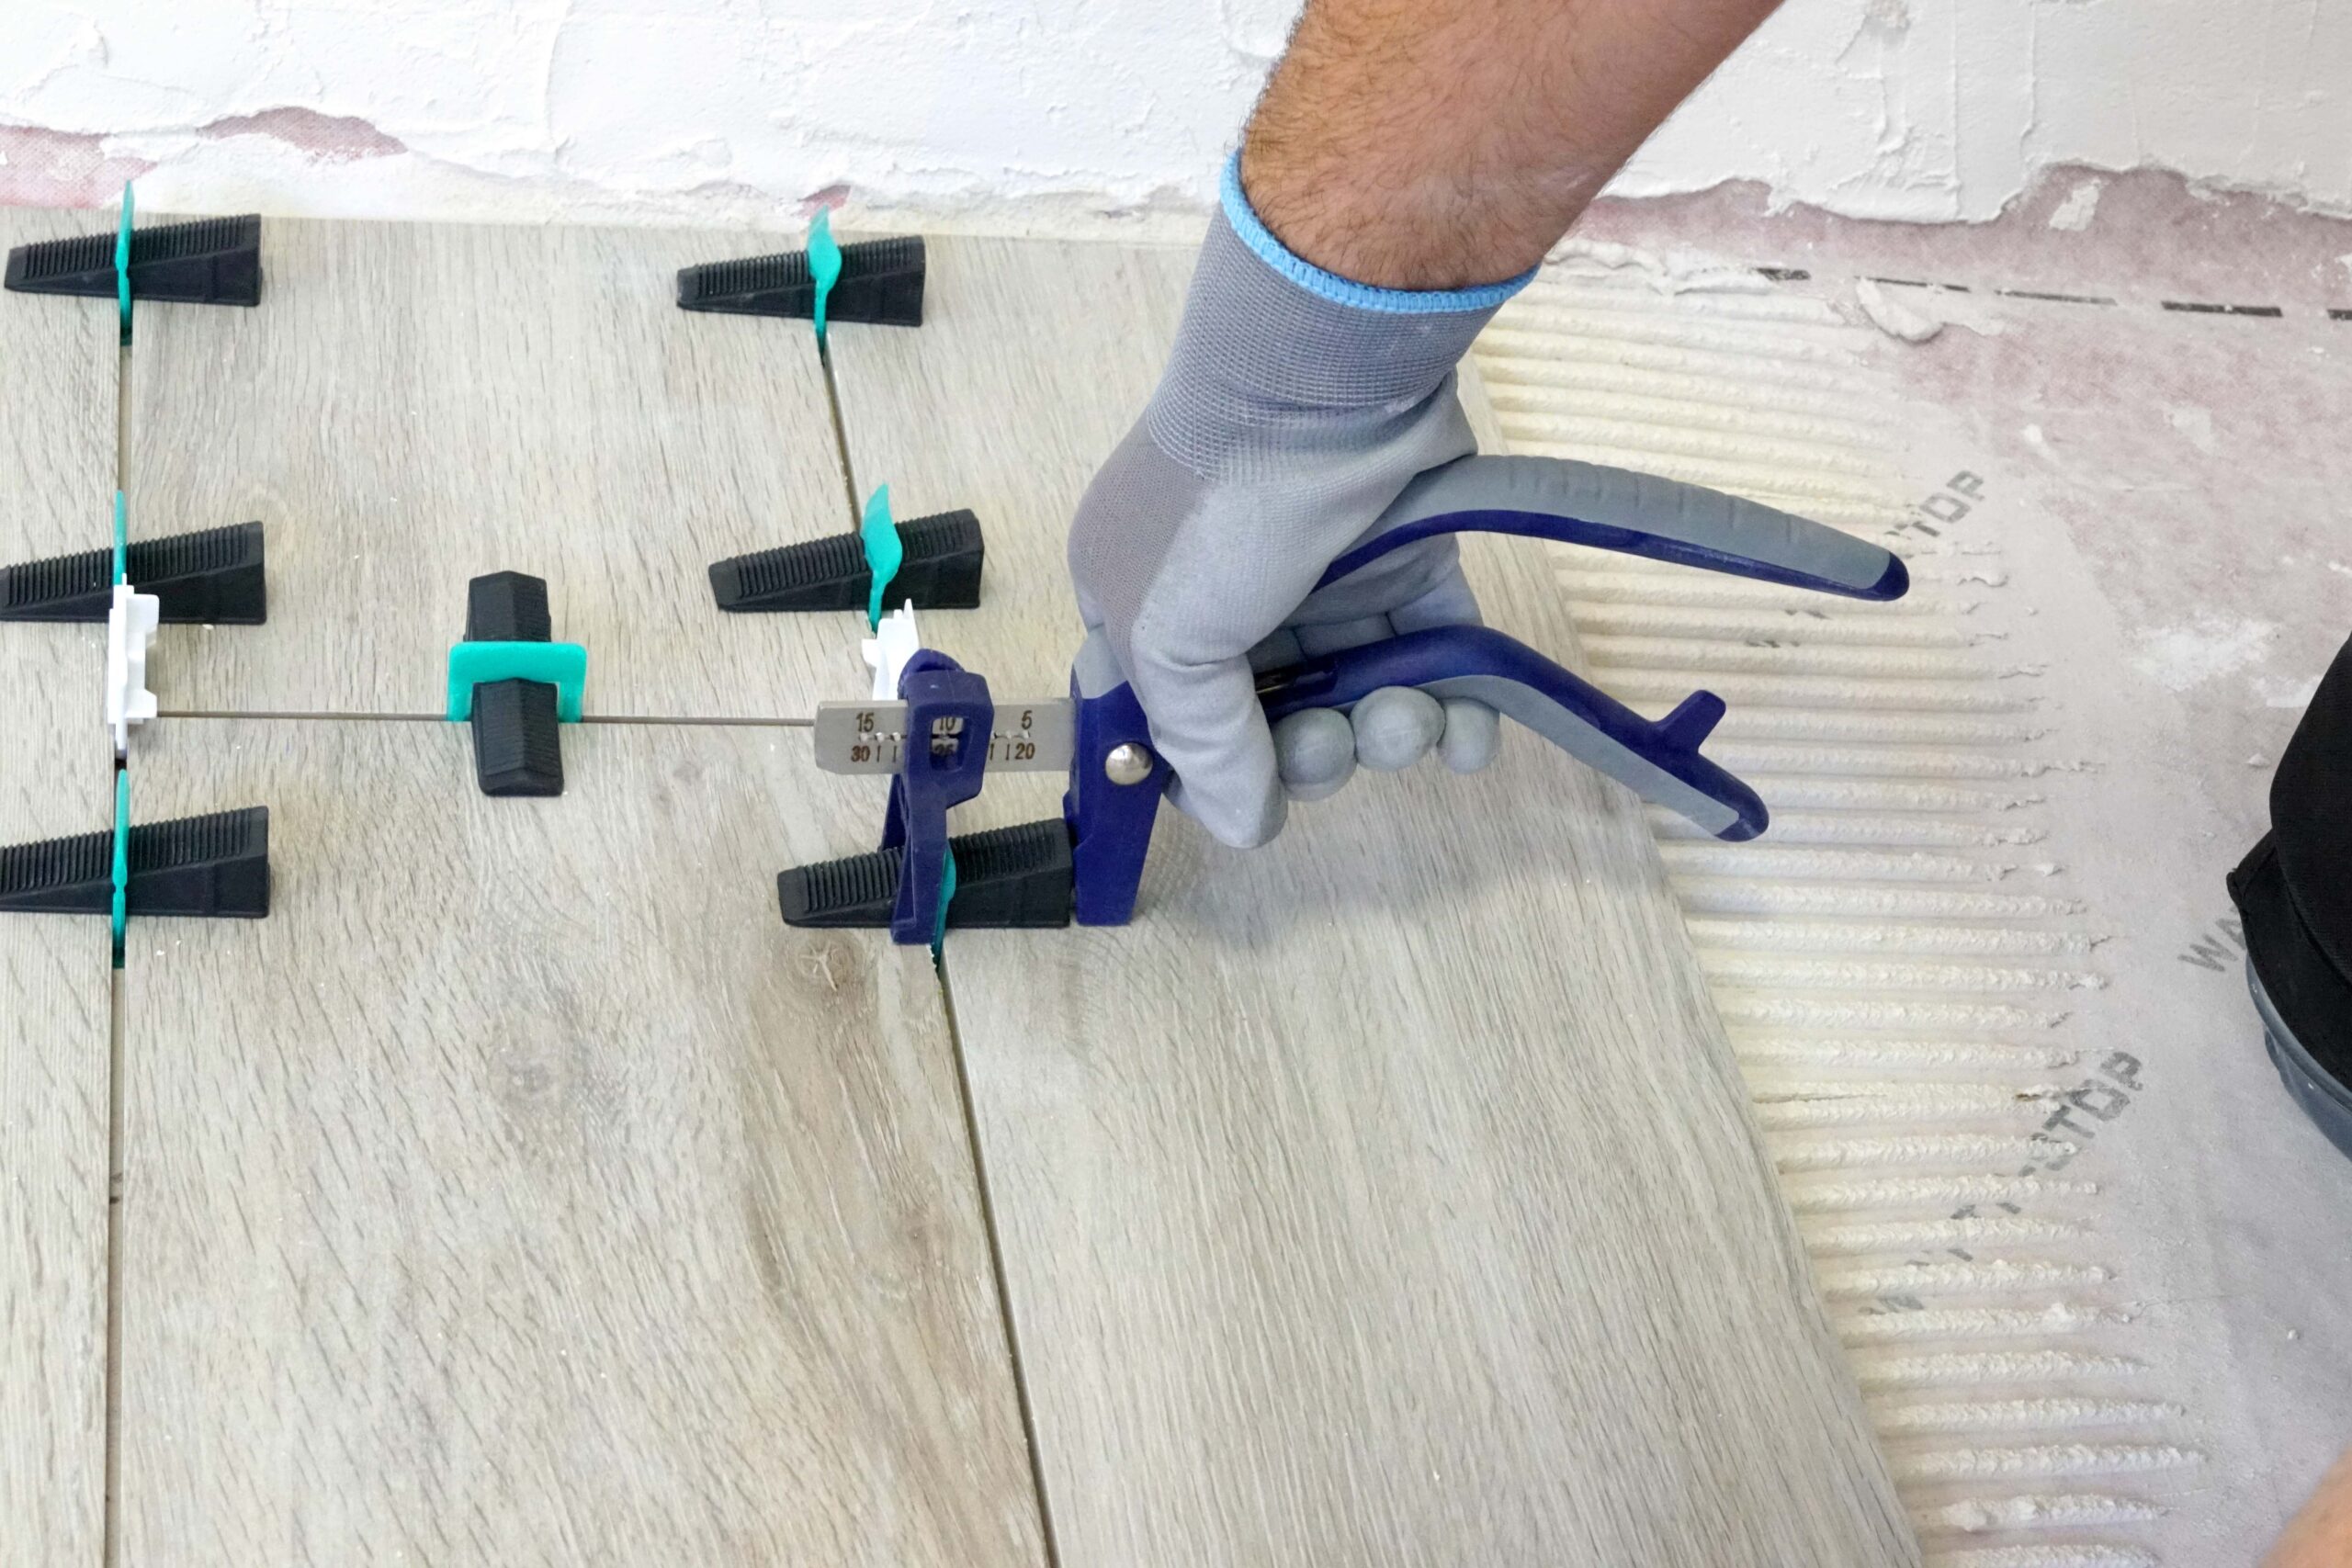
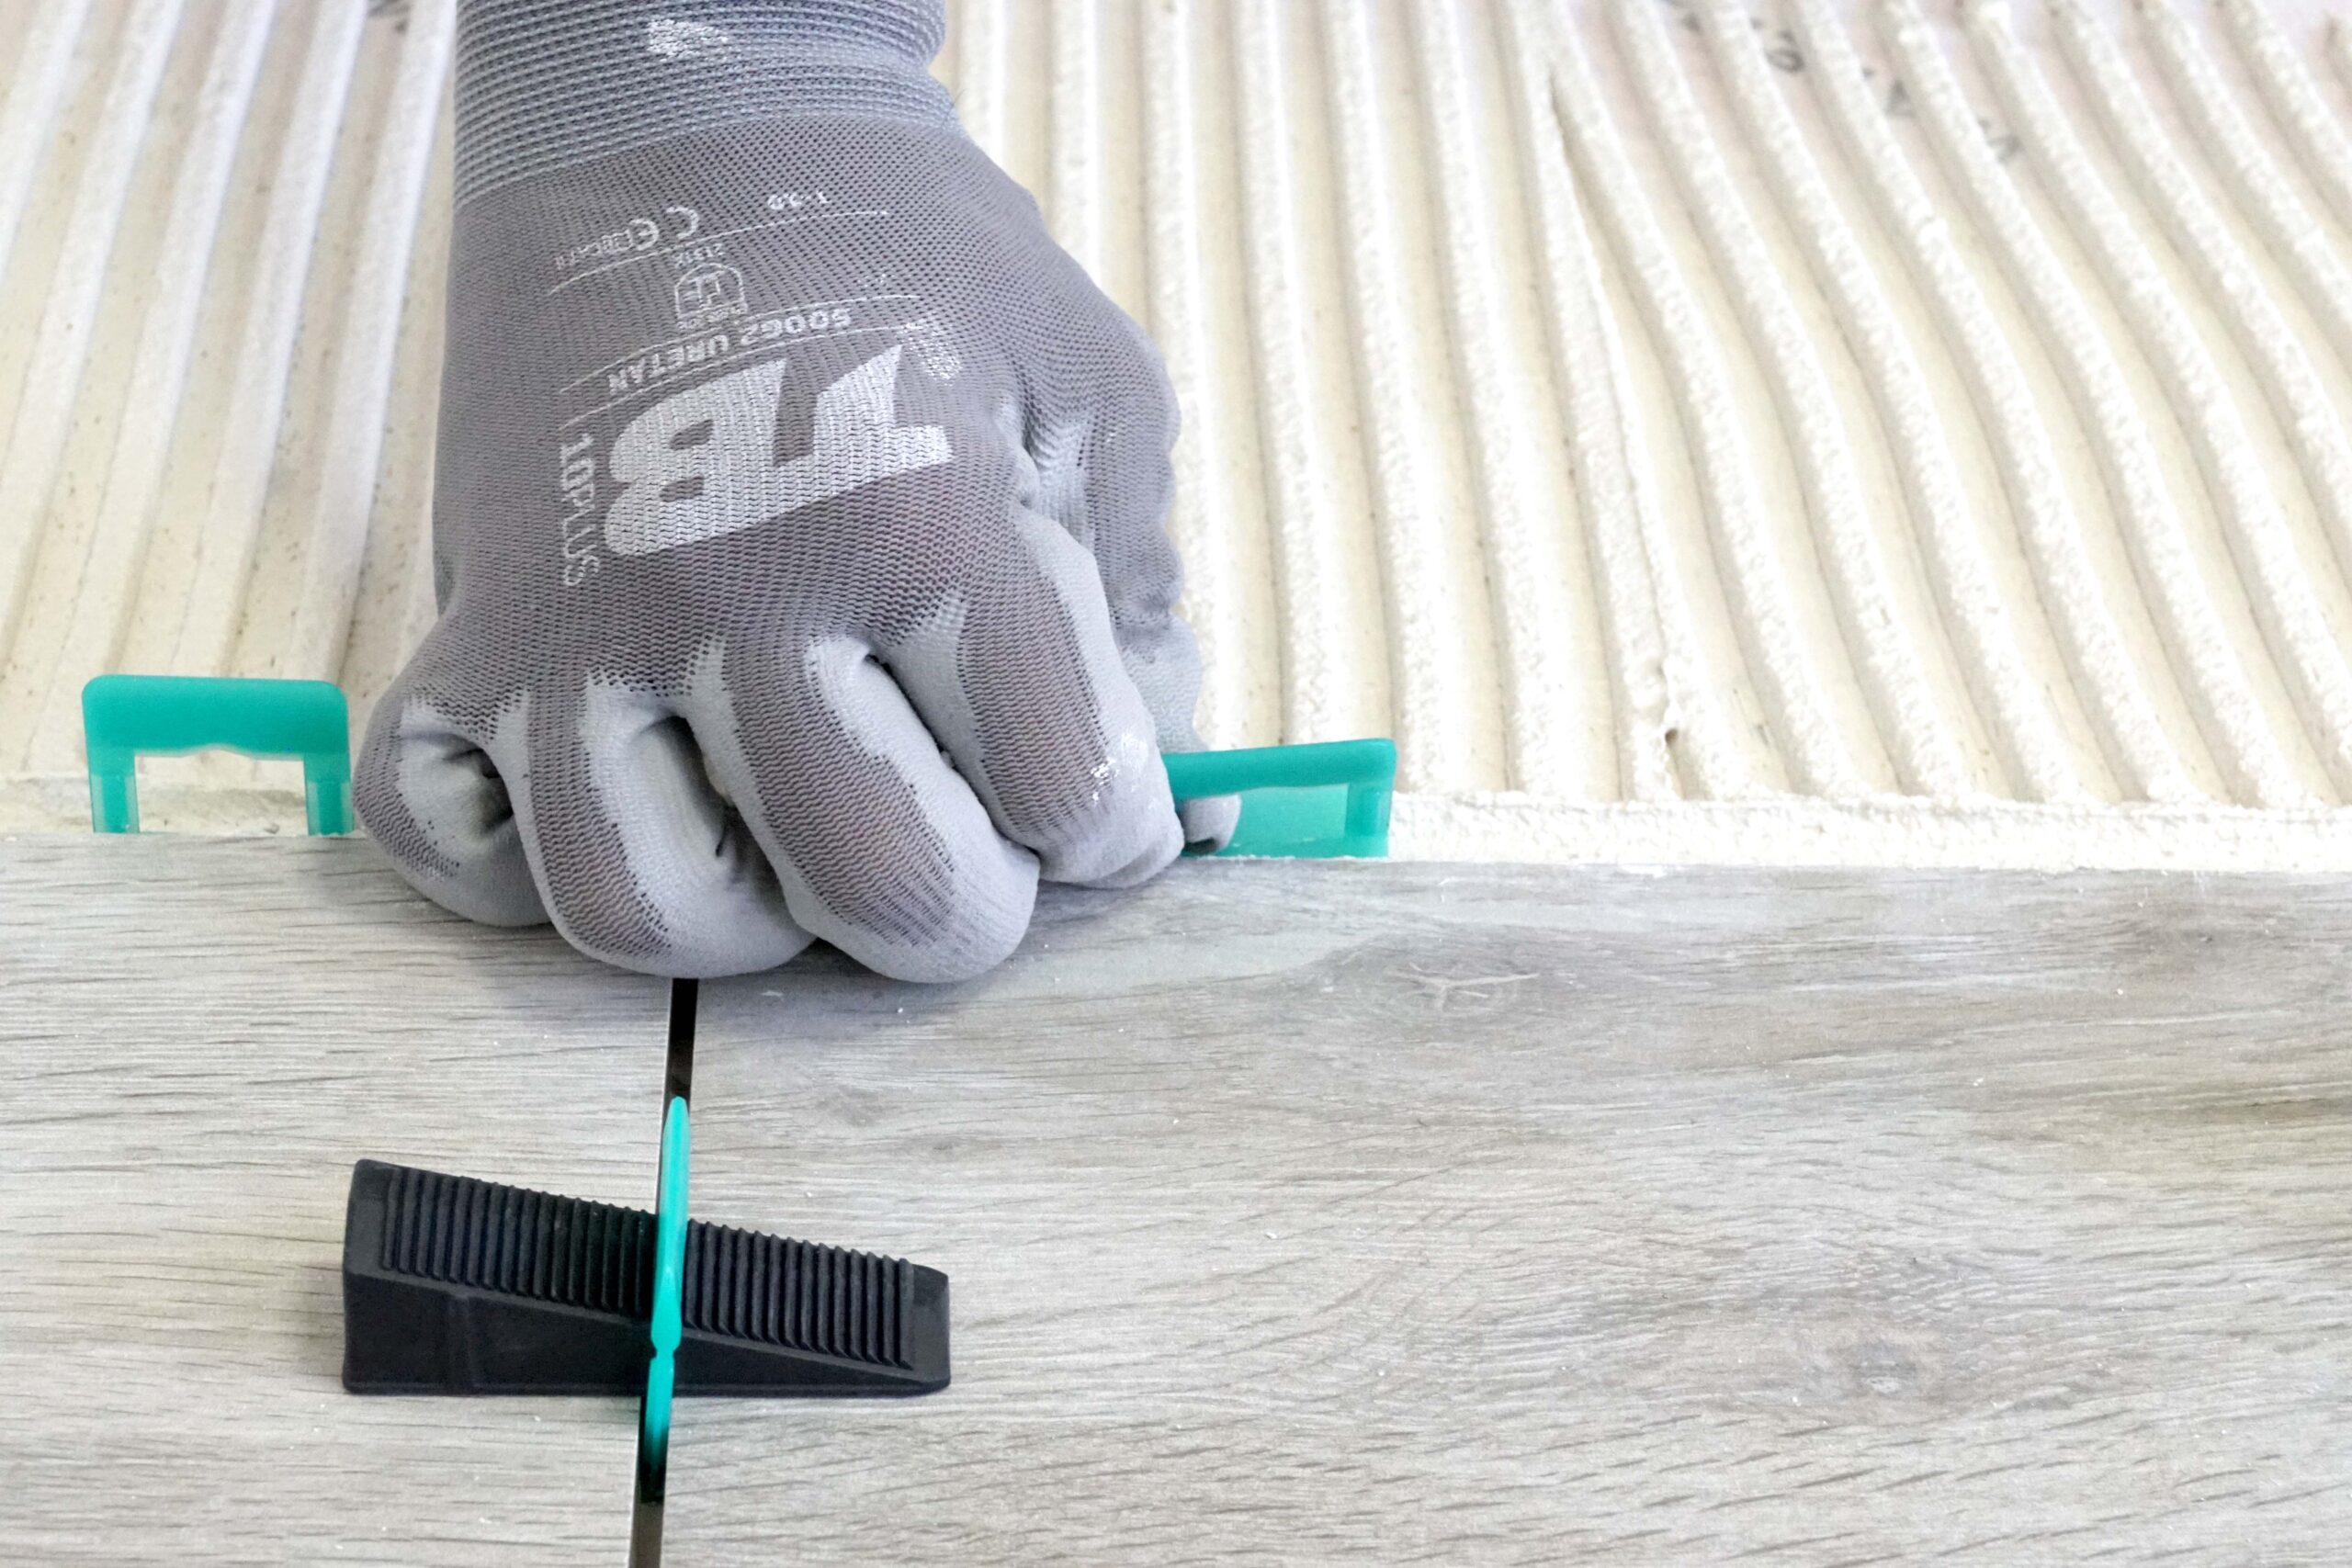
4. Tighten
Place the pliers as shown in the image and press them as far as they will go to level the tiles before the glue solidifies.
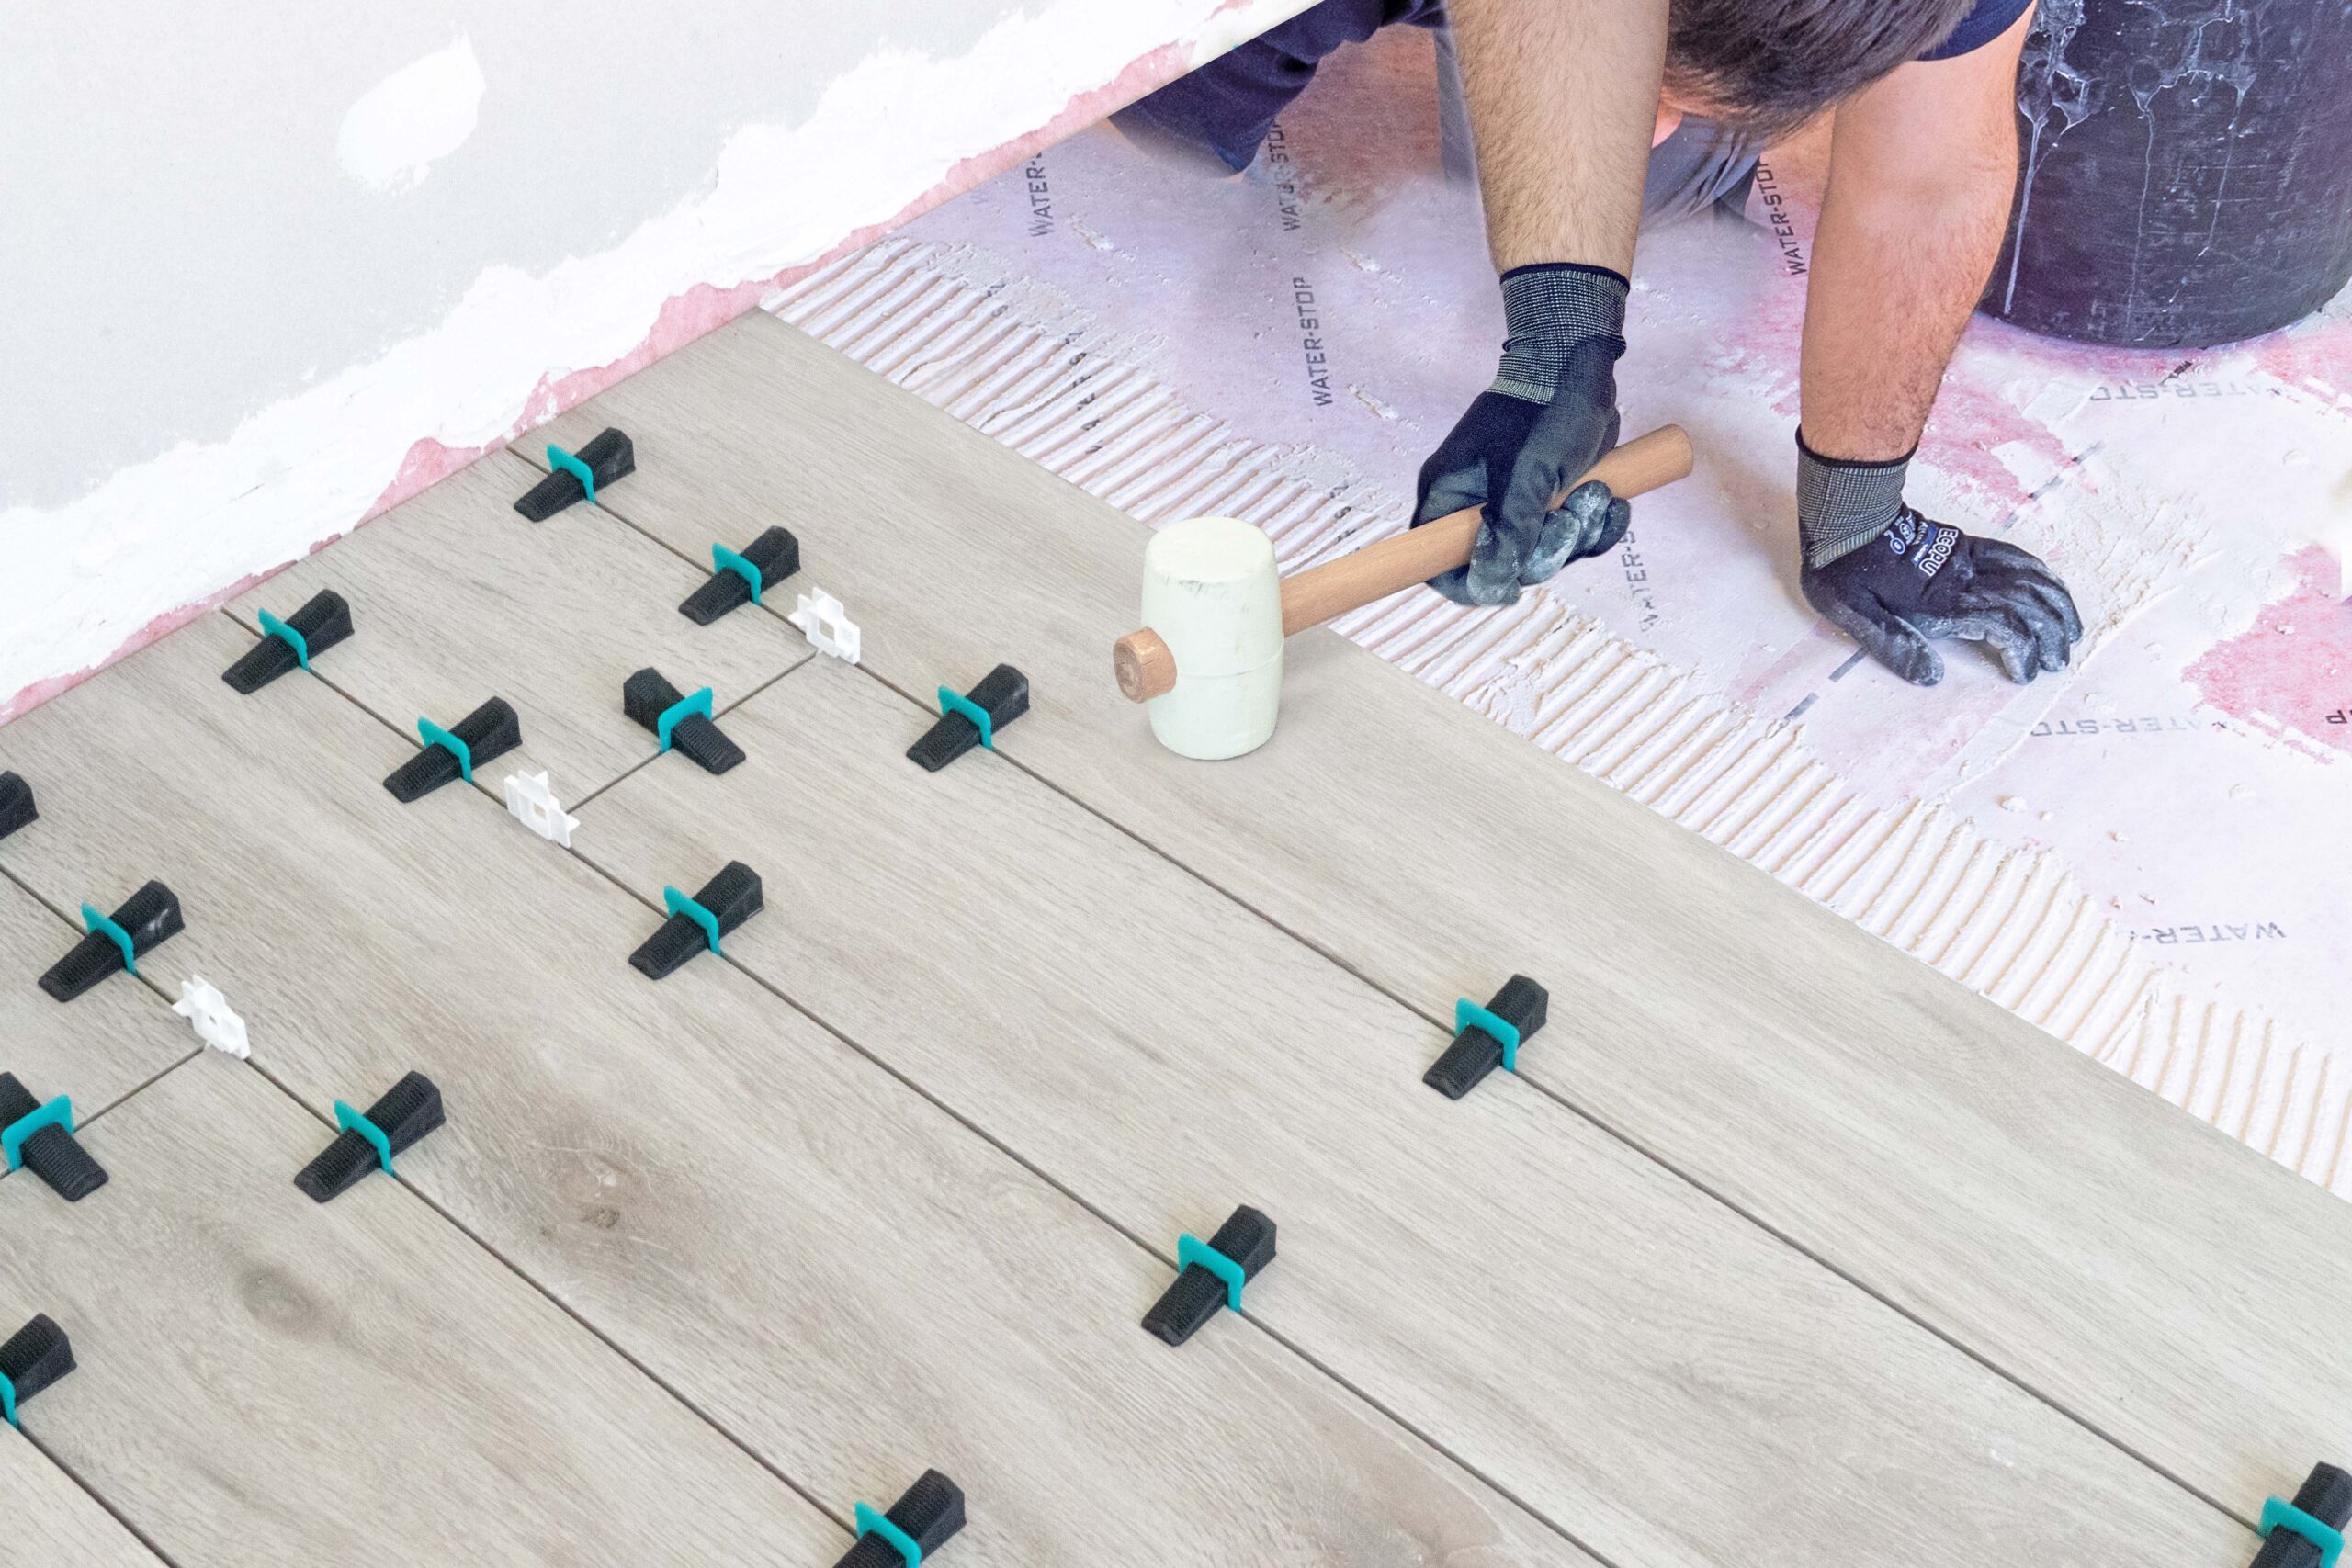
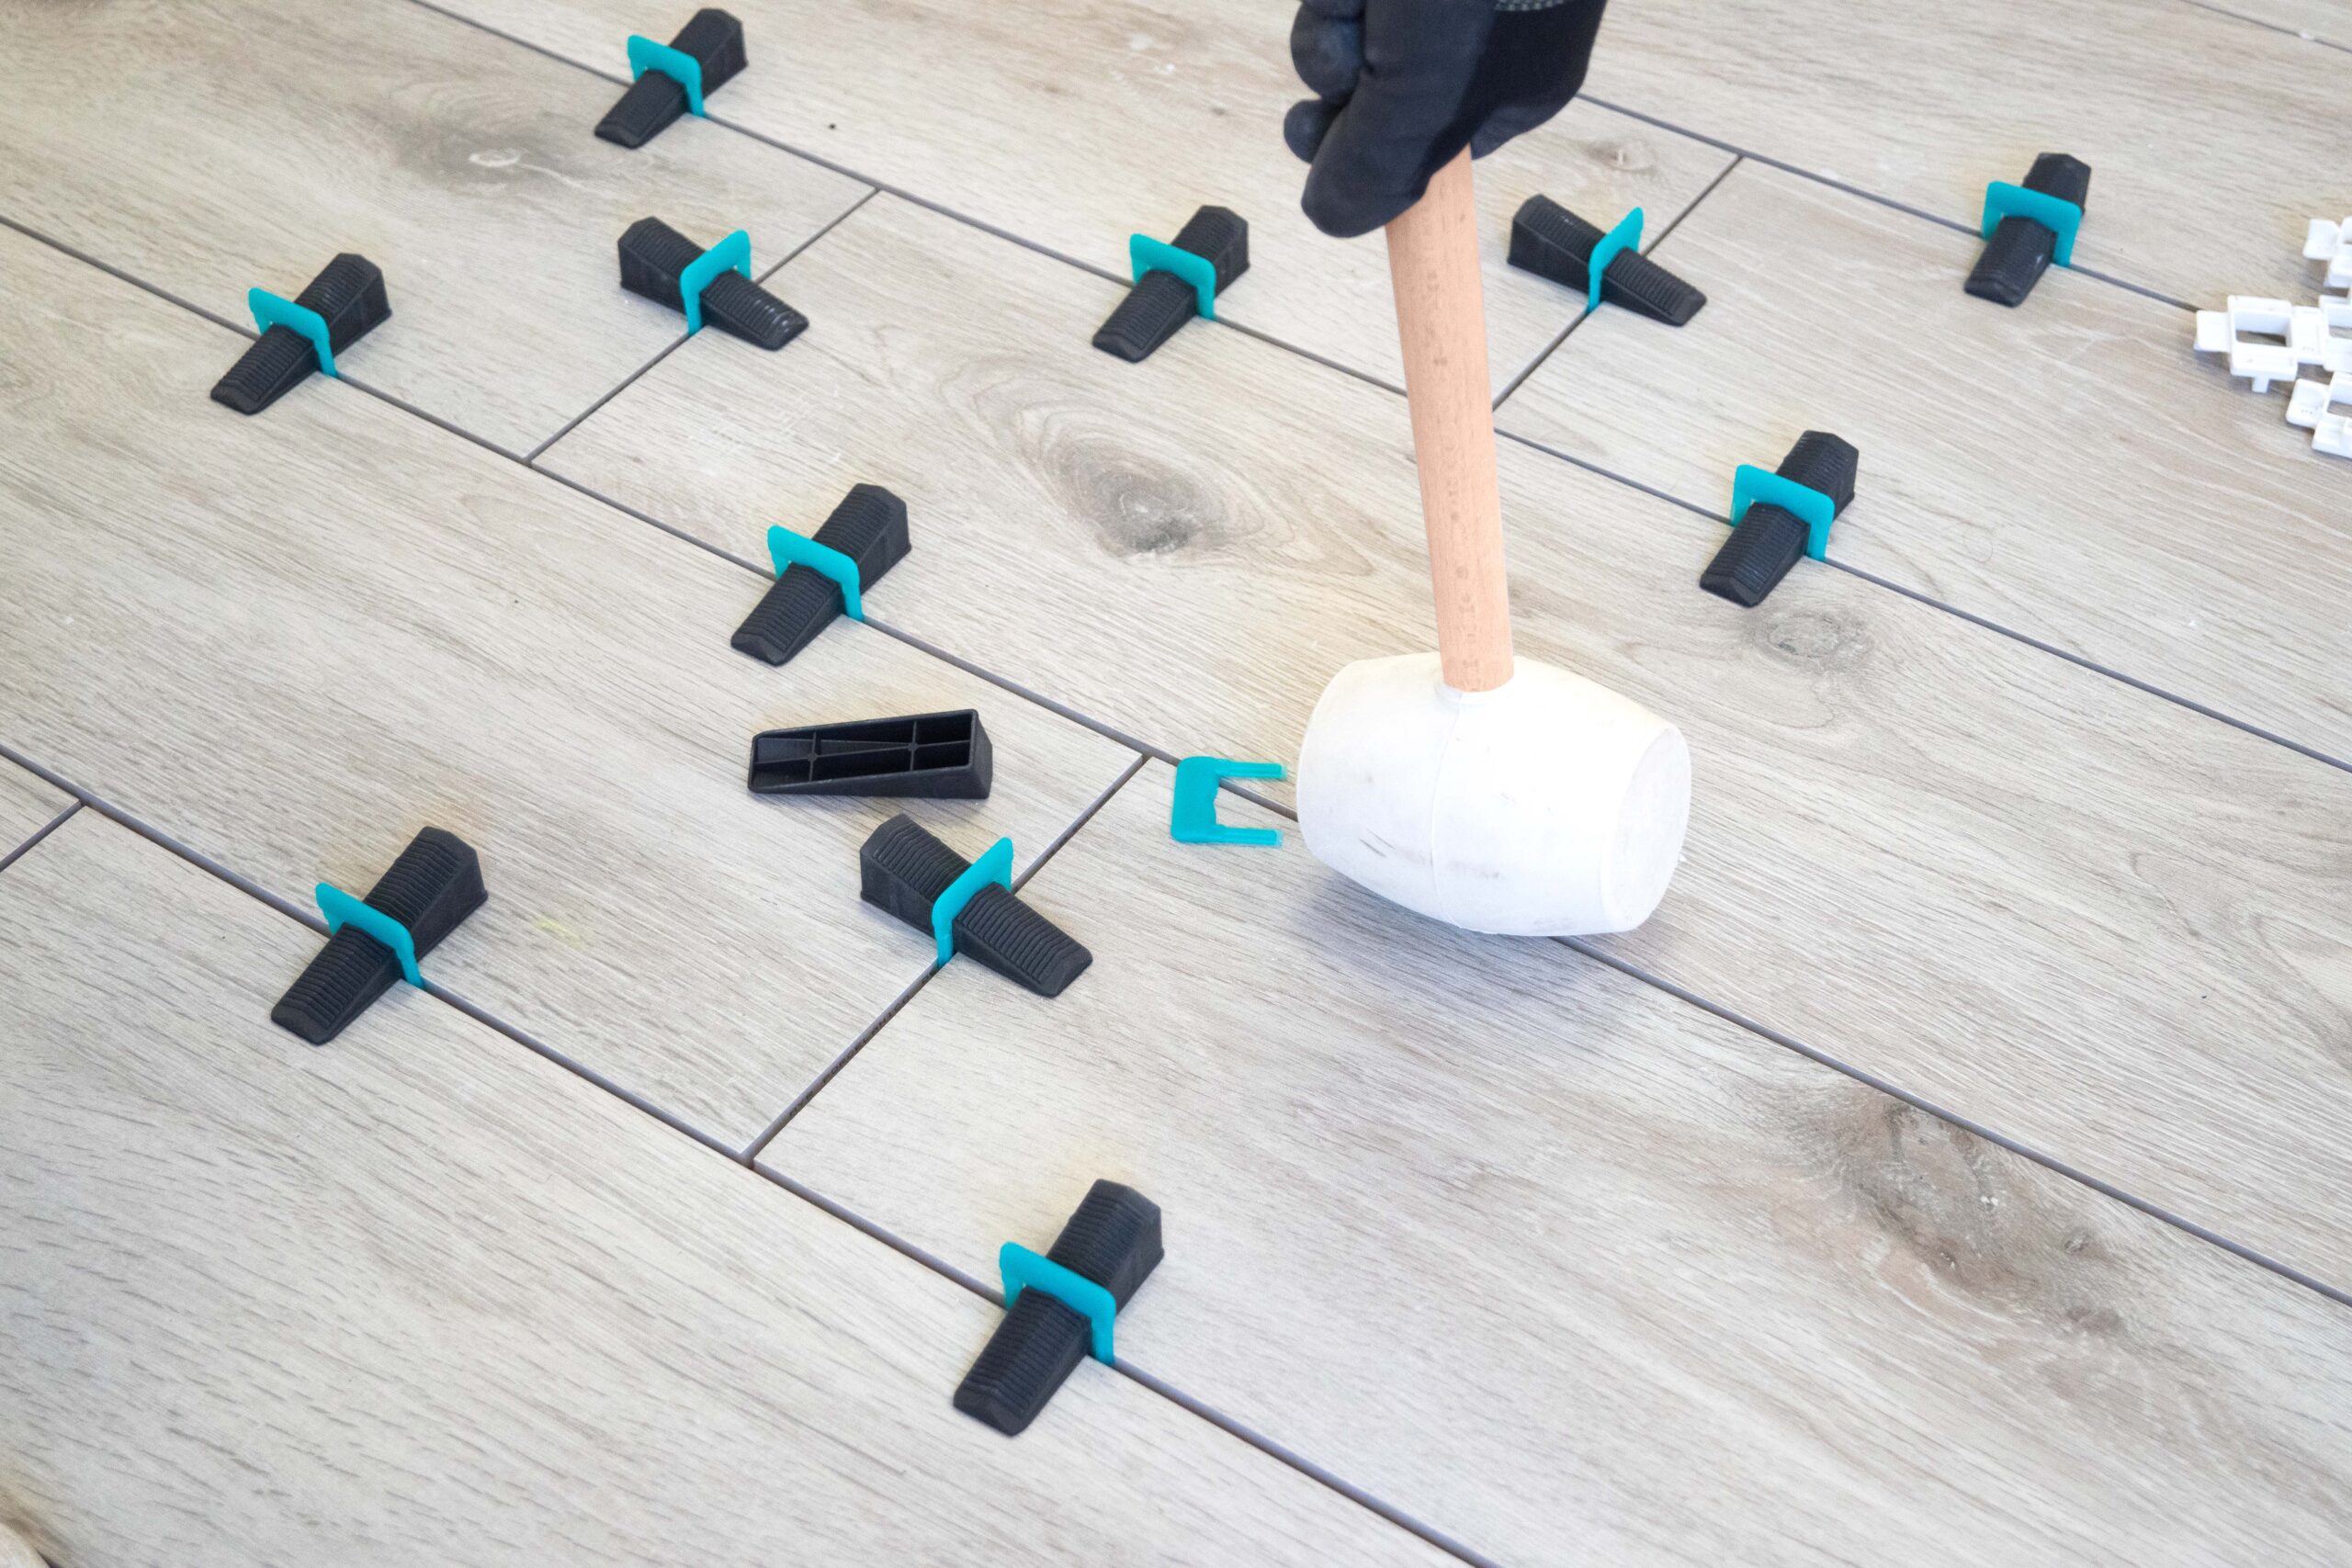
5. Tap gently with the mallet
Once the tile is leveled, it is recommended to lightly hammer it to release tension.
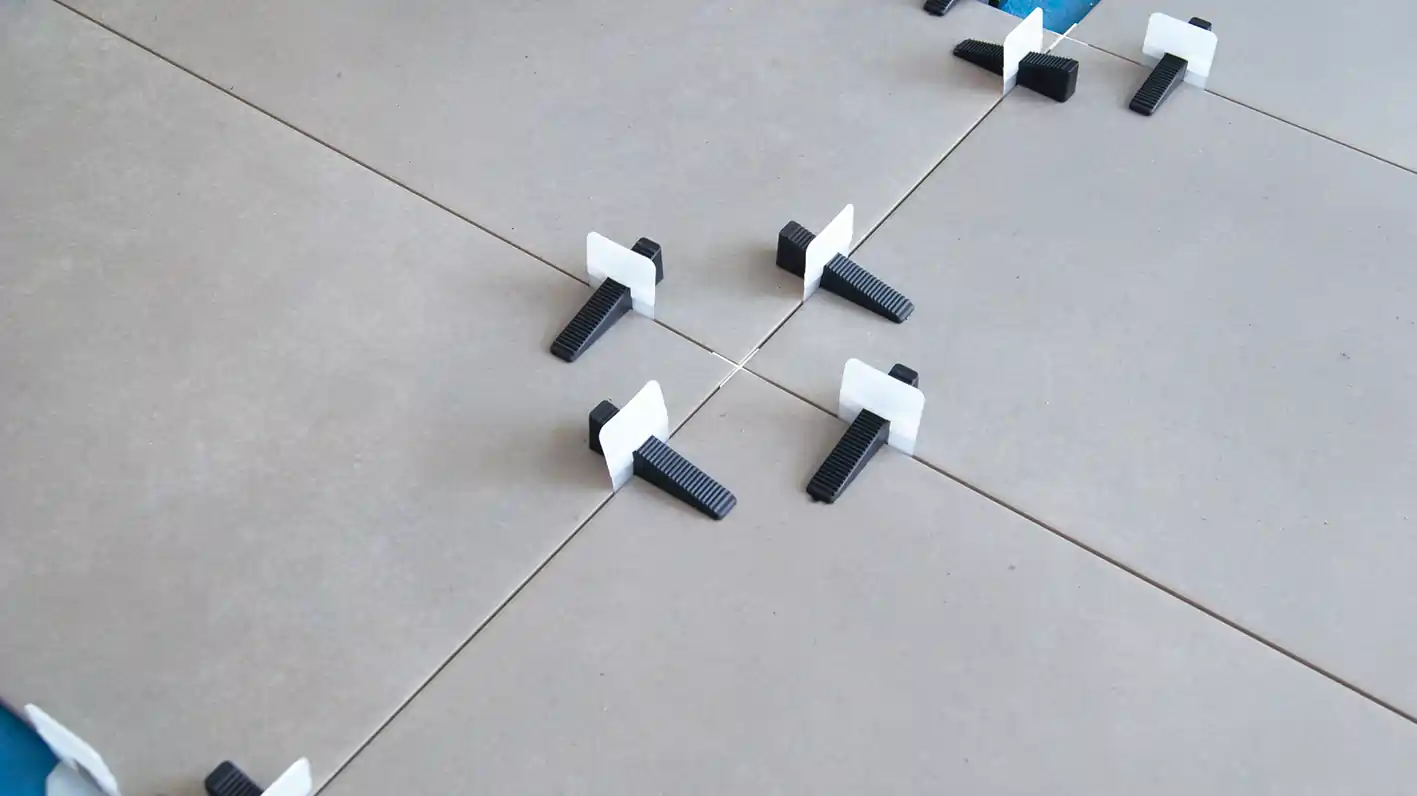
6. Allow for setting
When the surface is finished, allow the glue to set for the time recommended by the manufacturer.
7. Remove the system
After the necessary time has elapsed, remove the clips by hitting them with a rubber mallet or with your foot in the direction of the joint (do not hit the wedges). The clip will always break by the side cuts, under the ceramic.
8. Reusable wedges
Finally, recover the wedges, dispose of the rest of the clip and grout the tiles.

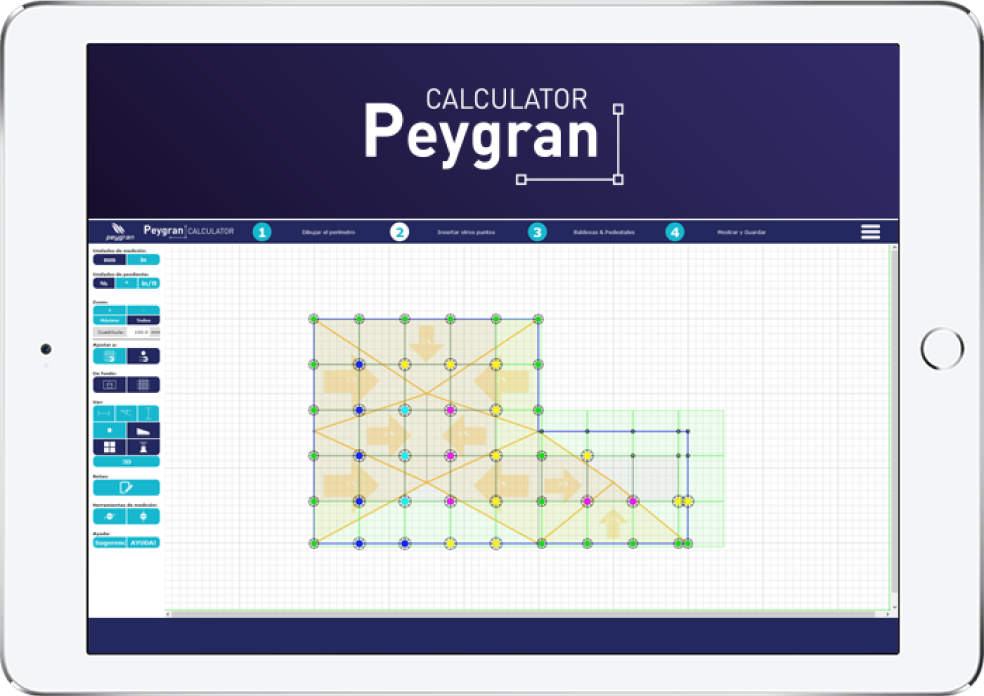
Instrucciones
- 1. introducir el formato de baldosa AxB en cm
- 2. introducir la superficie total de baldosado en m2
- 3. Obtén los resultados: - Calzos en unidades
- - cantidad bolsas 100
- - cantidad bolsas 300

FORMATO BALDOSA
CALZOS/M²
SUPERFICIE ALICATAR
TOTAL CALZOS
TOTAL BOLSAS
-
CALZOS 500 uds.x 0
-
CALZOS 300 uds.x 0
-
CALZOS 100 uds.x 0
-
 CUÑAS 500 uds.x 0
 -
CUÑAS 300 uds.x 0
-
CUÑAS 100 uds.x 0
El material necesario no es el sumatorio de las bolsas indicadas, se debe elegir el tamaño de bolsa y el total referente al mismo.
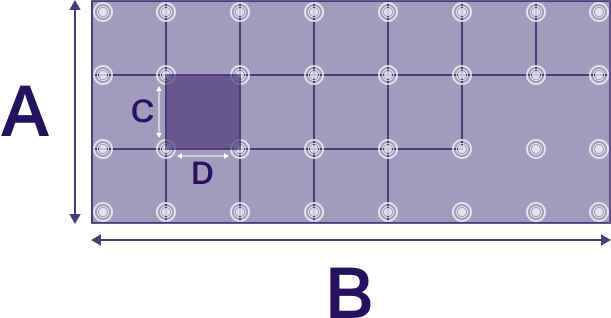

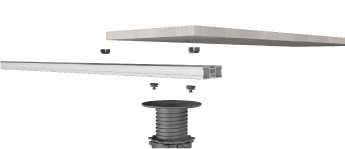
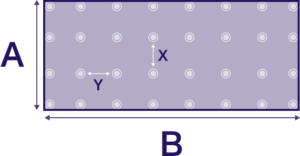
Step 1: Terrace
A
Parallel to joist (M)
B
Perpendicular to joist (M)
Sup.
M²
M
M
100,00
M
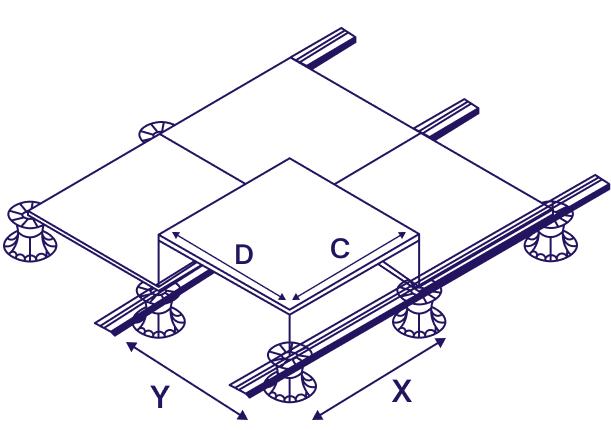
Step 2: Tile
C
Length (CM)
D
Width (CM)
E
Joint (MM)
M
M
4
MM
Step 3: INTER-AXIS
X
Inter-axis joist (MM)
Y
Pedestals spacing (MM)
MM
MM
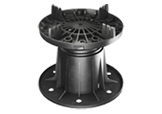
Plots

2m Joist
Ref. 03040141Z

Joist Clip
Ref. 03040132E - 100u.

Slab joist spacer
Ref. 03040131E - 100u.
324
uds
100
uds
13
bags
4
bags
1296
bags
324
bags