precise levelling
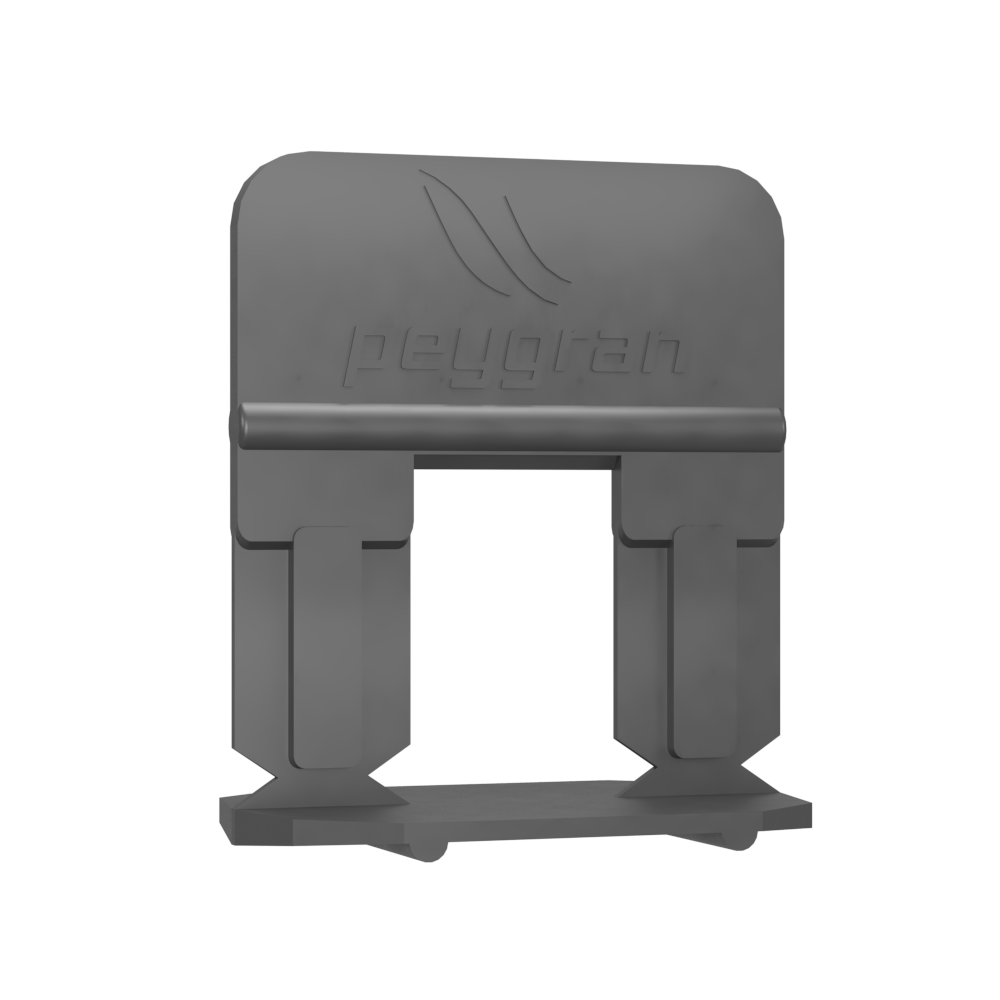
maximum realiability
precise levelling
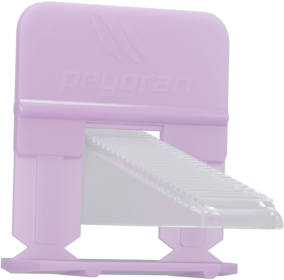
maximum realiability
LS Classic levelling system
Renamed as Classic Clip, our typical crosshead has an extremely high tensile strength to adjust heavy parts in a fast and effective way.
It has some side cuts (patented) that facilitate removing them after the installation has been completed (mortar setting) in an easy way, just tapping sideways in joint direction, skipping the mentioned points that remain under the levelled part.
It has some side cuts (patented) that facilitate removing them after the installation has been completed (mortar setting) in an easy way, just tapping sideways in joint direction, skipping the mentioned points that remain under the levelled part.
The Classic Wedge fits into the Clip Classic with our pliers. Have sawshaped teeth to be adjusted to the crosshead precisely and achieve top efficiency. The wedge base is round not to damage ceramics. Wedges can be reused.
Available in 5 sizes to get the fit you need
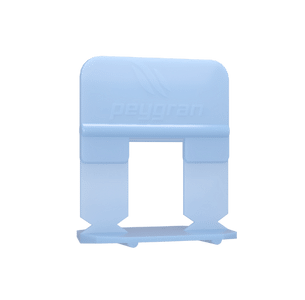
0,5 mm Clip
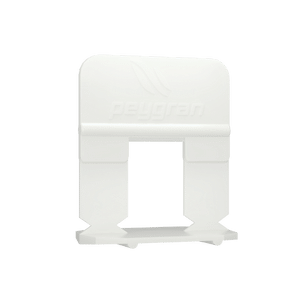
1 mm Clip
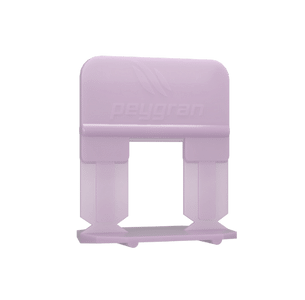
1,5 mm Clip
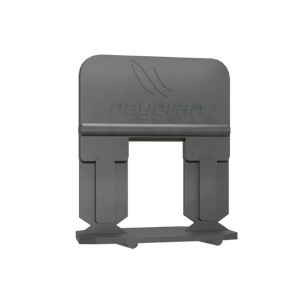
2 mm Clip
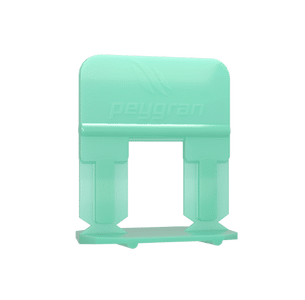
3 mm Clip
LS Classic Clip
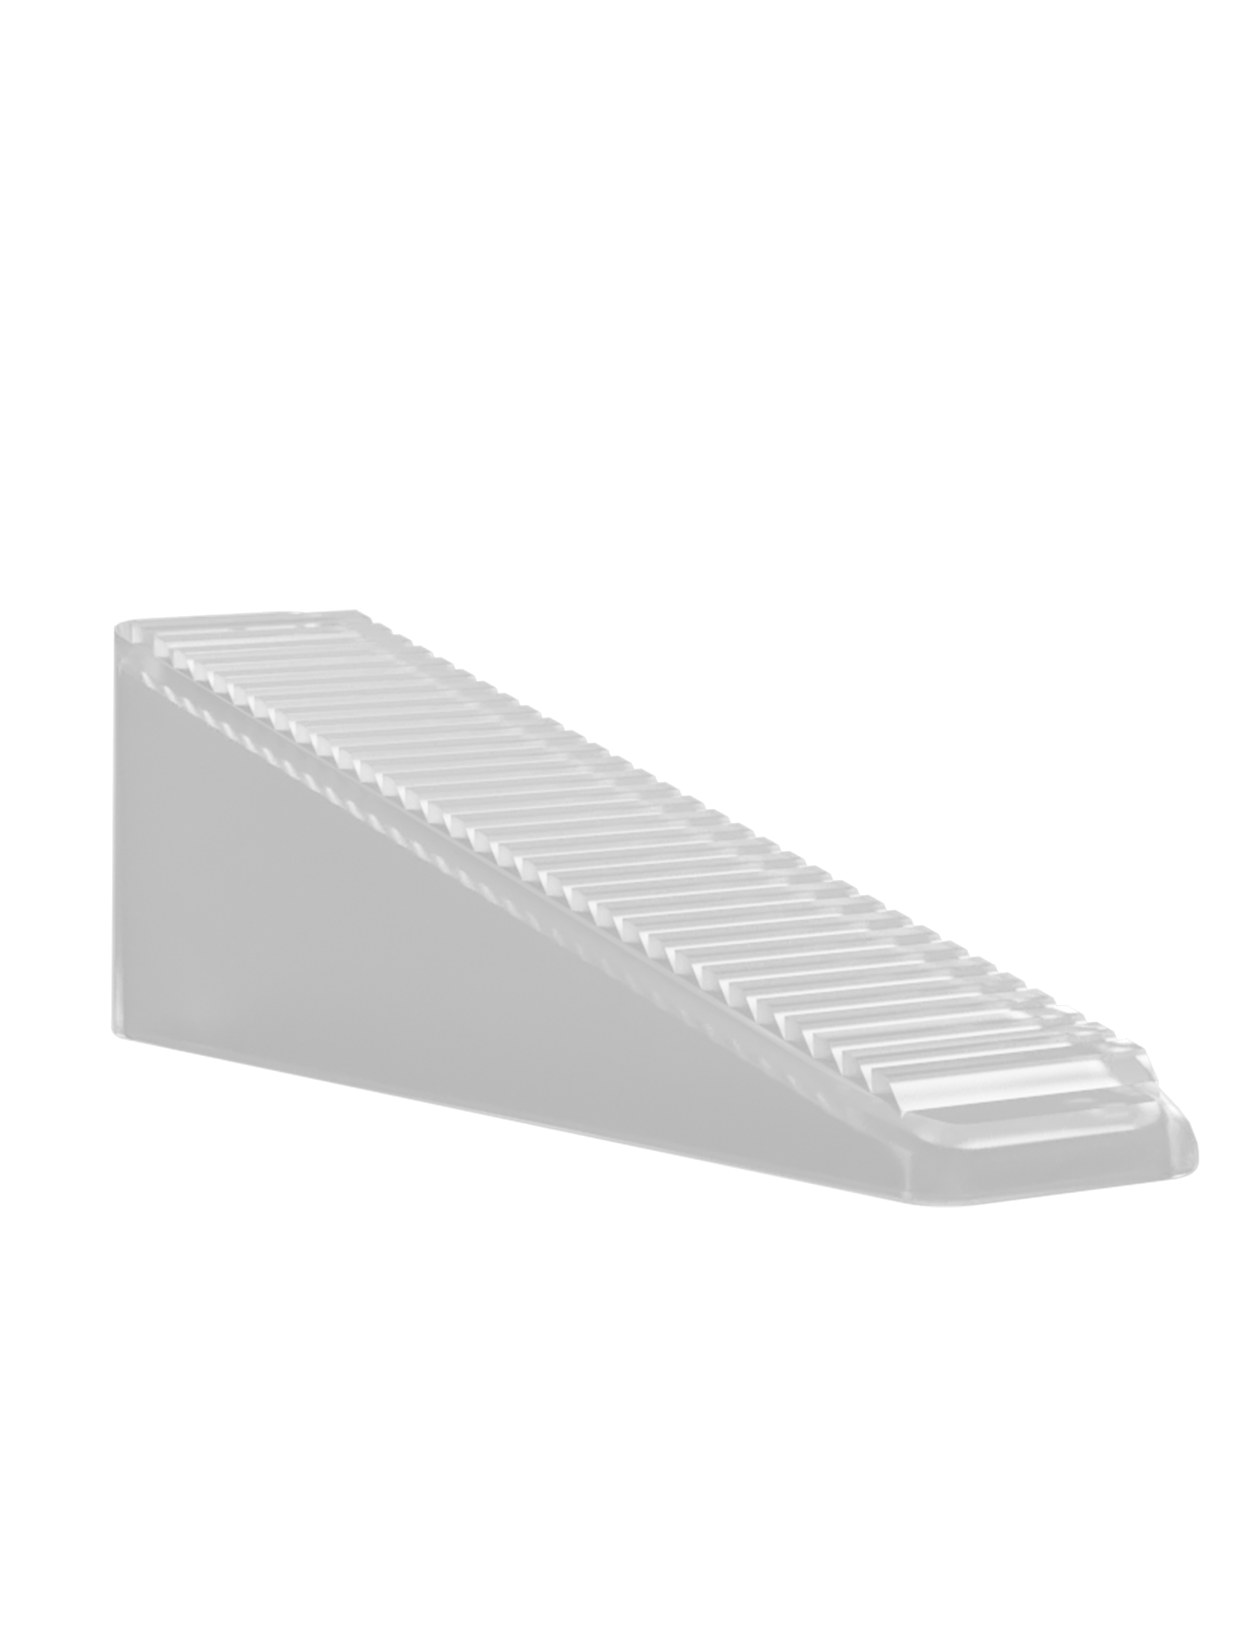
Transparent Wedge
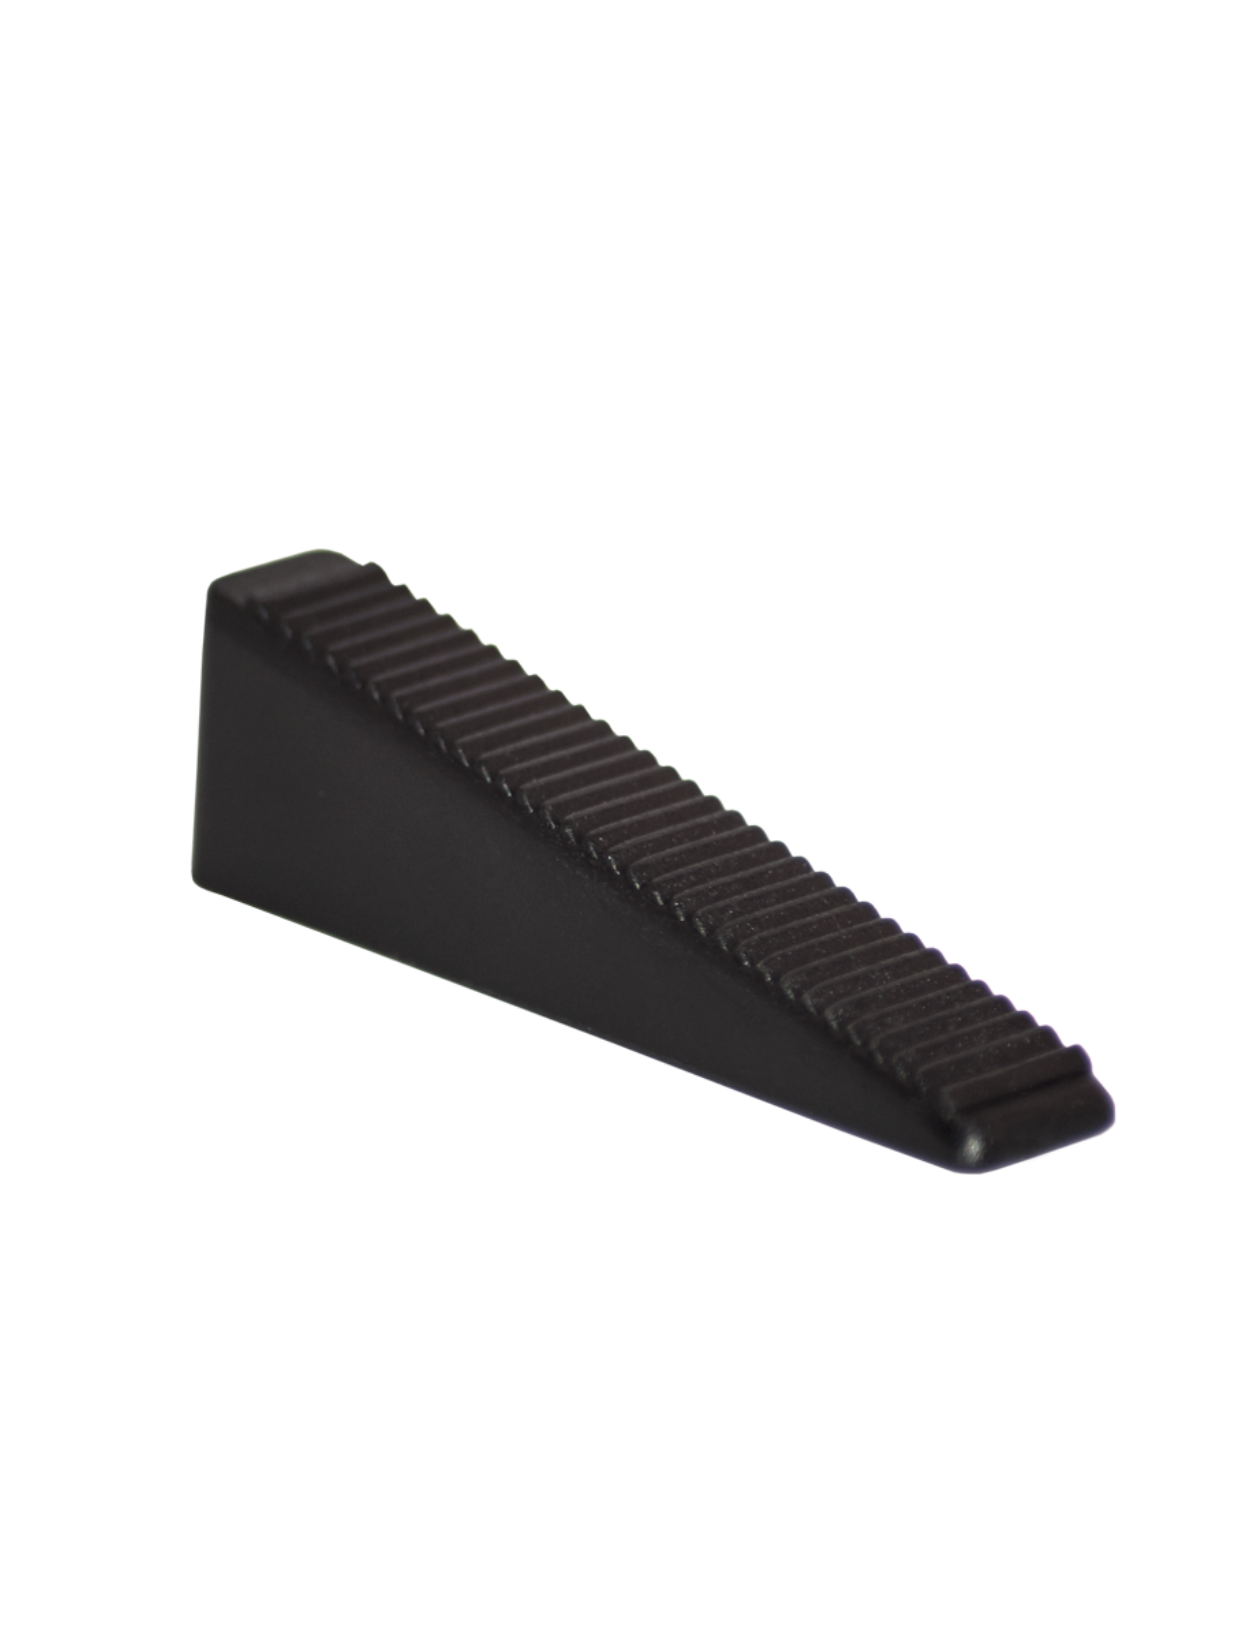
Classic wedge
Robust and effective
The Classic Wedge fits into the Clip Classic with our pliers.
Have sawshaped teeth to be adjusted to the crosshead precisely and achieve top efficiency. The wedge base is round not to damage ceramics. Wedges can be reused.
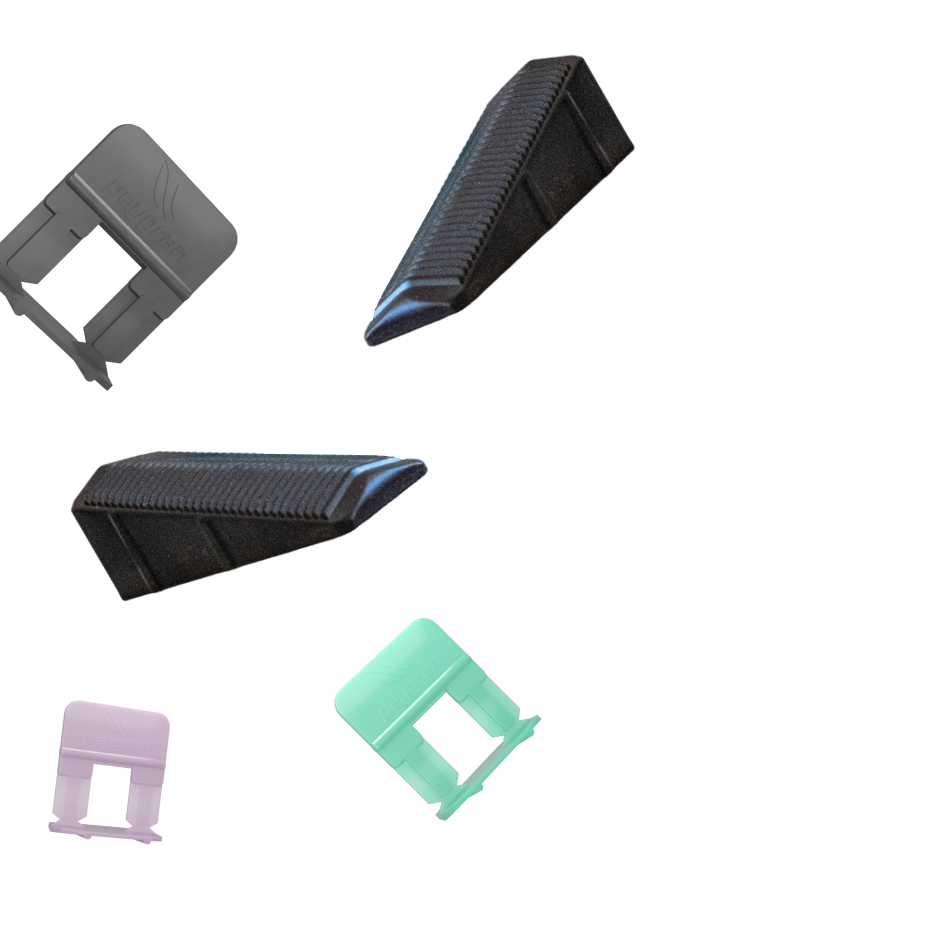
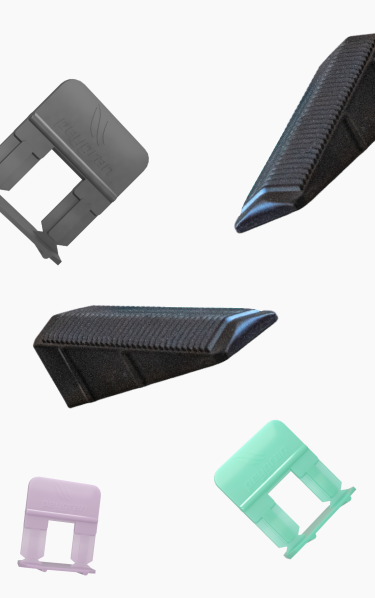
100% high-quality material
Breaks under the tile
Does not damage porcelain tiles
Peygran LS Levelling System ensures flatness between tiles avoiding movements during the mortar setting.
This reduces the time for the ceramic laying obtaining a perfect lippage-free finish.
Mode of use
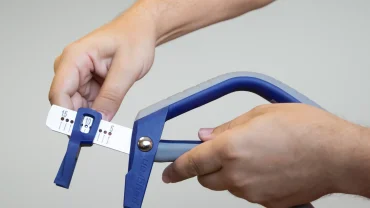
1. Adjust the pliers
Adjust the pliers to the scale required by the ceramics thickness.
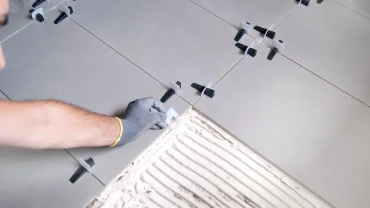
2. Place the clips
Spread the glue cement and then lay and level the first tile, then set with the mallet. Insert the clip at the ends of the tile (approx. > 50 mm from the edge).
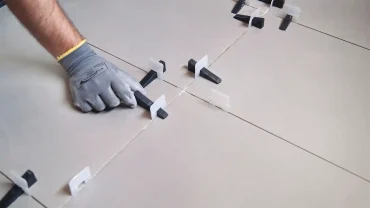
3. Insert the wedges
When laying adjacent tiles, we will insert the wedges into the shims manually.
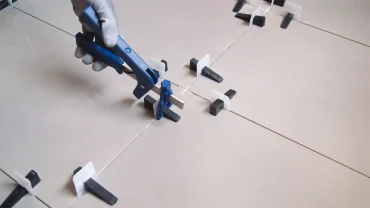
4. Tighten
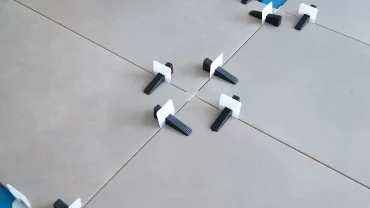
Place the pliers as shown in the image and press them as far as they will go to level the tiles before the glue solidifies.
.
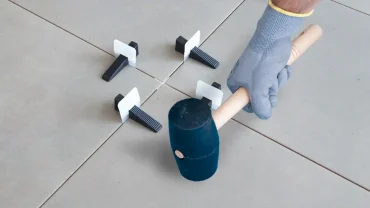
5. Tap gently with the mallet
Once the tile is leveled, it is recommended to lightly hammer it to release tension.
6. Allow for setting
When the surface is finished, allow the glue to set for the time recommended by the manufacturer.
7. Remove the system
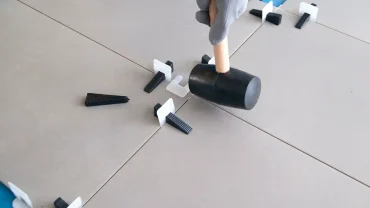
After the necessary time has elapsed, remove the clips by hitting them with a rubber mallet or with your foot in the direction of the joint (do not hit the wedges). The clip will always break by the side cuts, under the ceramic.
8. Reusable wedges
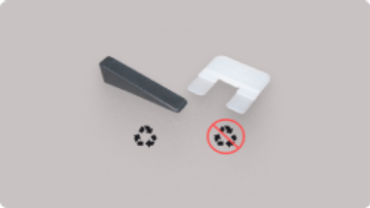
Finally, recover the wedges, dispose of the rest of the clip and grout the tiles.

Instrucciones
- 1. introducir el formato de baldosa AxB en cm
- 2. introducir la superficie total de baldosado en m2
- 3. Obtén los resultados: - Calzos en unidades
- - cantidad bolsas 100
- - cantidad bolsas 300

FORMATO BALDOSA
CALZOS/M²
SUPERFICIE ALICATAR
TOTAL CALZOS
TOTAL BOLSAS
-
 CALZOS 500 uds.x 0
 -
 CALZOS 300 uds.x 0
 -
 CALZOS 100 uds.x 0
 -
 CUÑAS 500 uds.x 0
 -
 CUÑAS 300 uds.x 0
 -
 CUÑAS 100 uds.x 0
El material necesario no es el sumatorio de las bolsas indicadas, se debe elegir el tamaño de bolsa y el total referente al mismo.
- 1. Indicate the length A and width B of the tiling in metres (M)
- 2. Indicate the tile format C and D in centimetres (cm)
- 3. Indicate the maximum length of the tile between supports.
- 4. Indicate whether central Pedestal is required or not.


Step 1: Terrace
A
Length (M)
B
Width (M)
Sup.
M²
M
M
87.00
M
Step 2: Tile
C
Length (CM)
D
Length (CM)
CM
CM
Step 3/4: Pedestals parameter
Maximum length between Plots [cm]
Central plot [yes/no]
Board [mm]
CM
TOTAL CLIPS
Ratio
u/M²
536.00
uds
6.2


1
Create Perimeter
2
Watercourse
3
Tile Type
4
Final result
