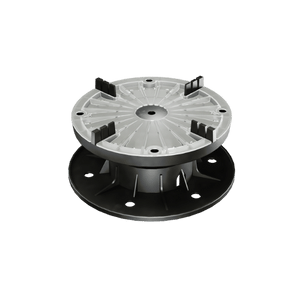
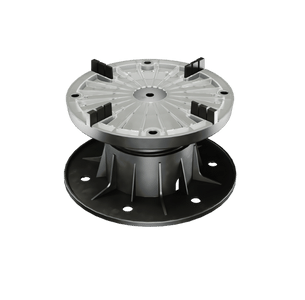

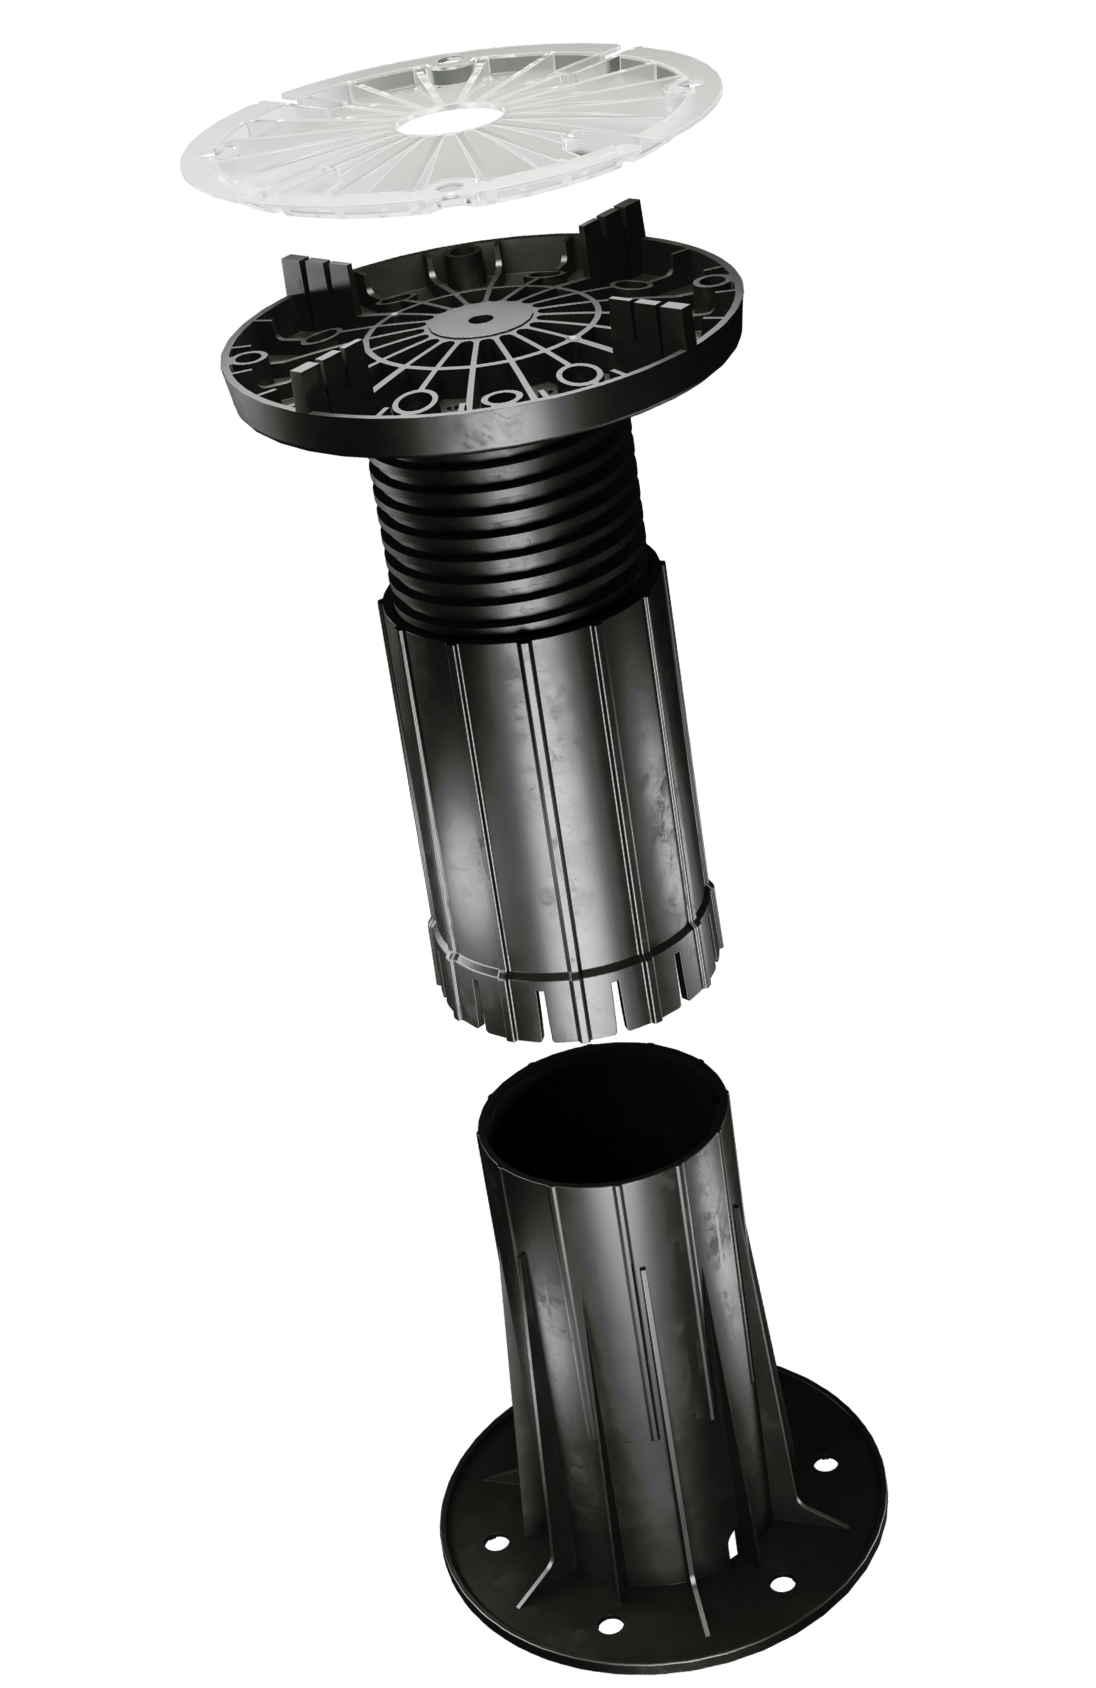
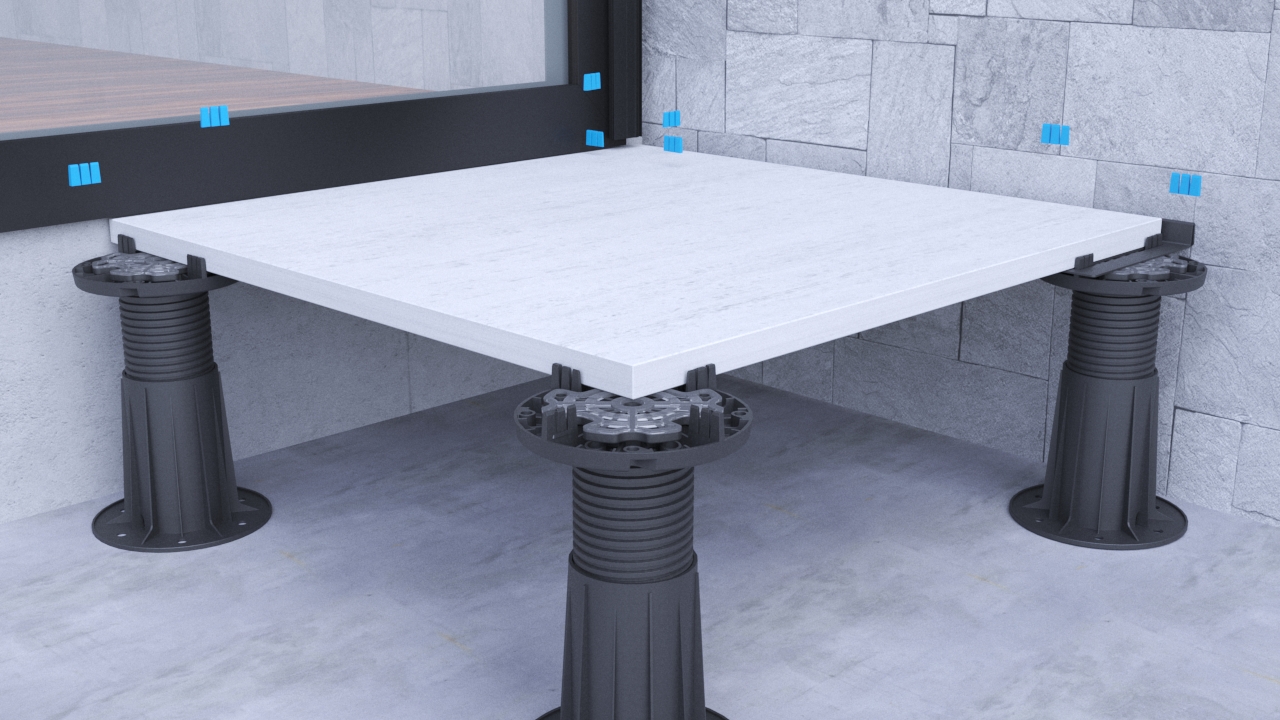
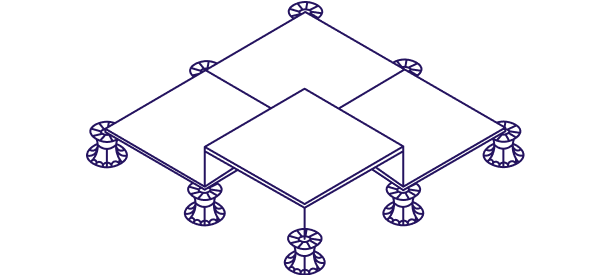
1. Fitting of edge pieces
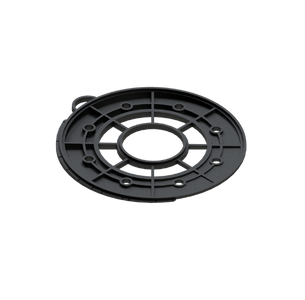
It will be necessary to remove the tile spacer tabs on top of the plots that are around the perimeter's edge, so that the plot is fully beneath the tile and not on the centre line of the joint.
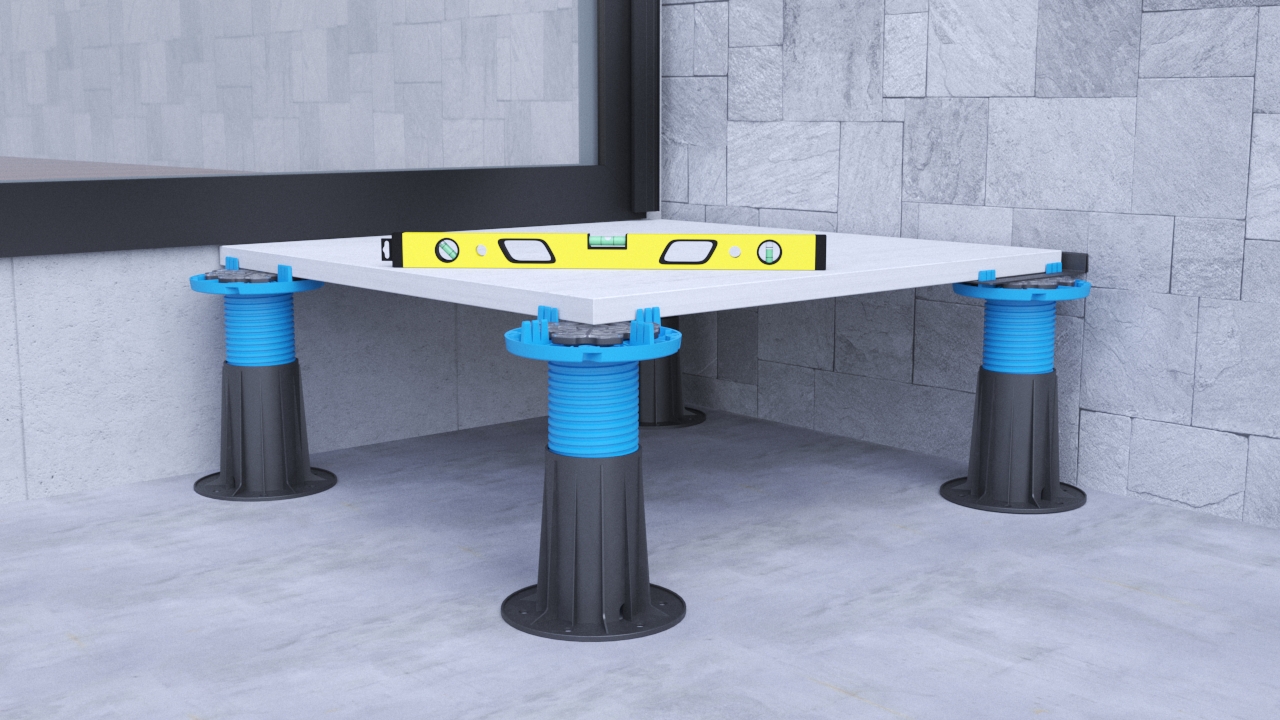
2. Tile levelling
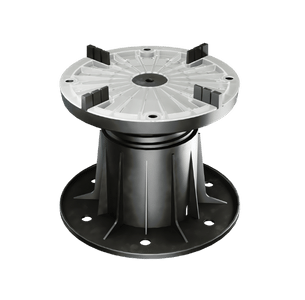
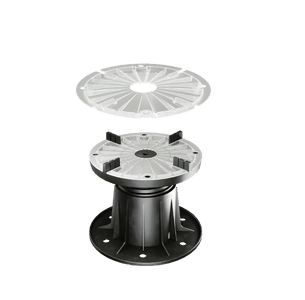
Place the tiles on the supports. Check with a level and adjust the height at each support point by turning the bases of each of the plots.
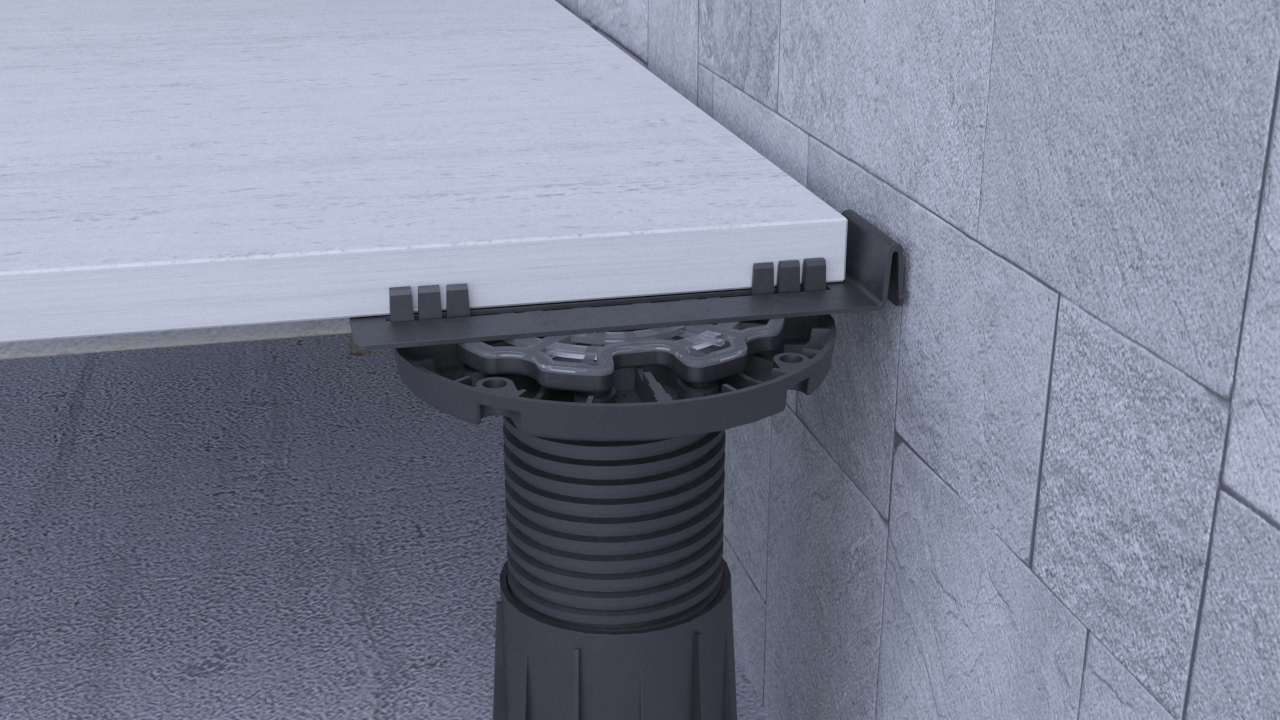
3. Creating an edge joint
Use a Perimeter Joint or Perimeter Spacer (accessories) to create edge joints. This ensures that the joint width between the tiles remains constant.
4. Access flooring
Finally, we obtain a completely accessible surface that
allows access to lower installations such as drains, electrical wiring
, pipes, etc.
")
1. Fitting of edge pieces
It will be necessary to remove the tile spacer tabs on top of the plots that are around the perimeter's edge, so that the plot is fully beneath the tile and not on the centre line of the joint.

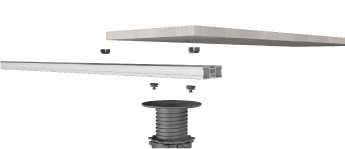
2. Slope correction
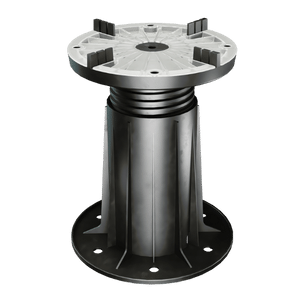
The Tilting Head (accessory) works automatically together with the plot and corrects the existing slope up to 3%, thus preventing the appearance of eyebrows between tiles.

3. Tile levelling
Place the tiles on the supports. Check with a level and adjust the height at each support point by turning the bases of each of the plots.

4. Creating an edge joint
Use a Perimeter Joint or Perimeter Spacer (accessories) to create edge joints. This ensures that the joint width between the tiles remains constant.

5. Access flooring
Finally, we obtain a completely accessible surface that allows access to lower installations such as drains, electrical wiring , pipes, etc.

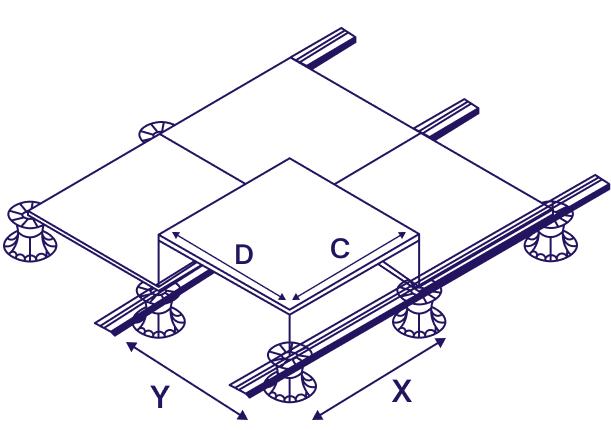
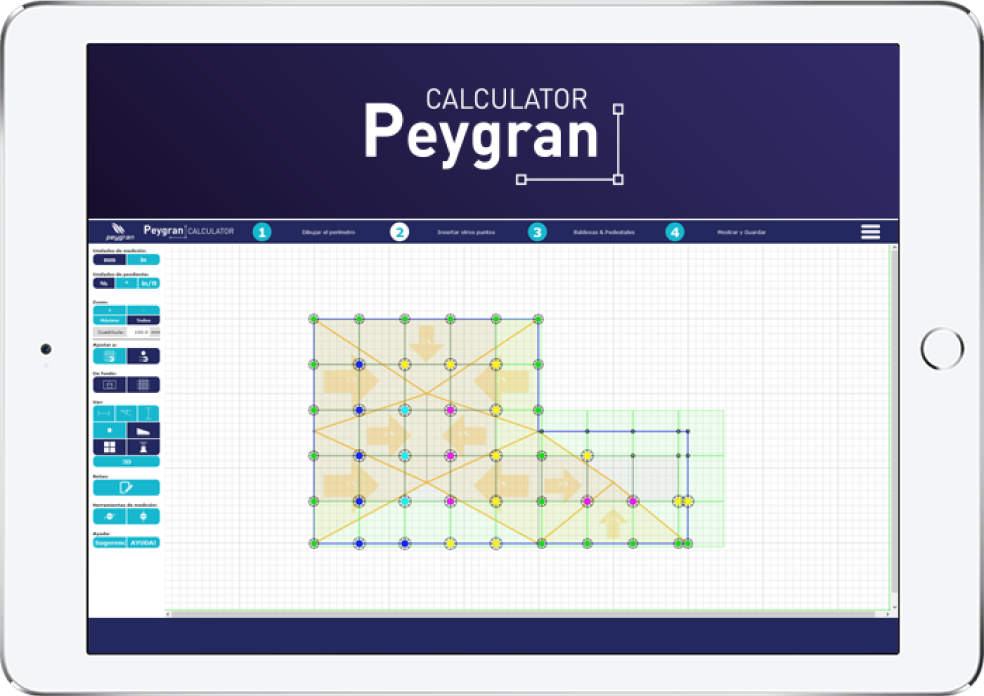
Step 1: Terrace
A
Parallel to joist (M)
B
Perpendicular to joist (M)
Sup.
M²
M
M
100,00
M
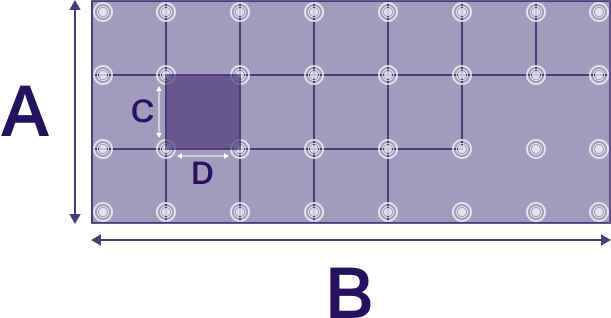
Step 2: Tile
C
Length (CM)
D
Width (CM)
E
Joint (MM)
M
M
4
MM
Step 3: INTER-AXIS
X
Inter-axis joist (MM)
Y
Pedestals spacing (MM)
MM
MM
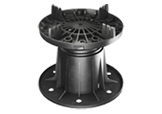
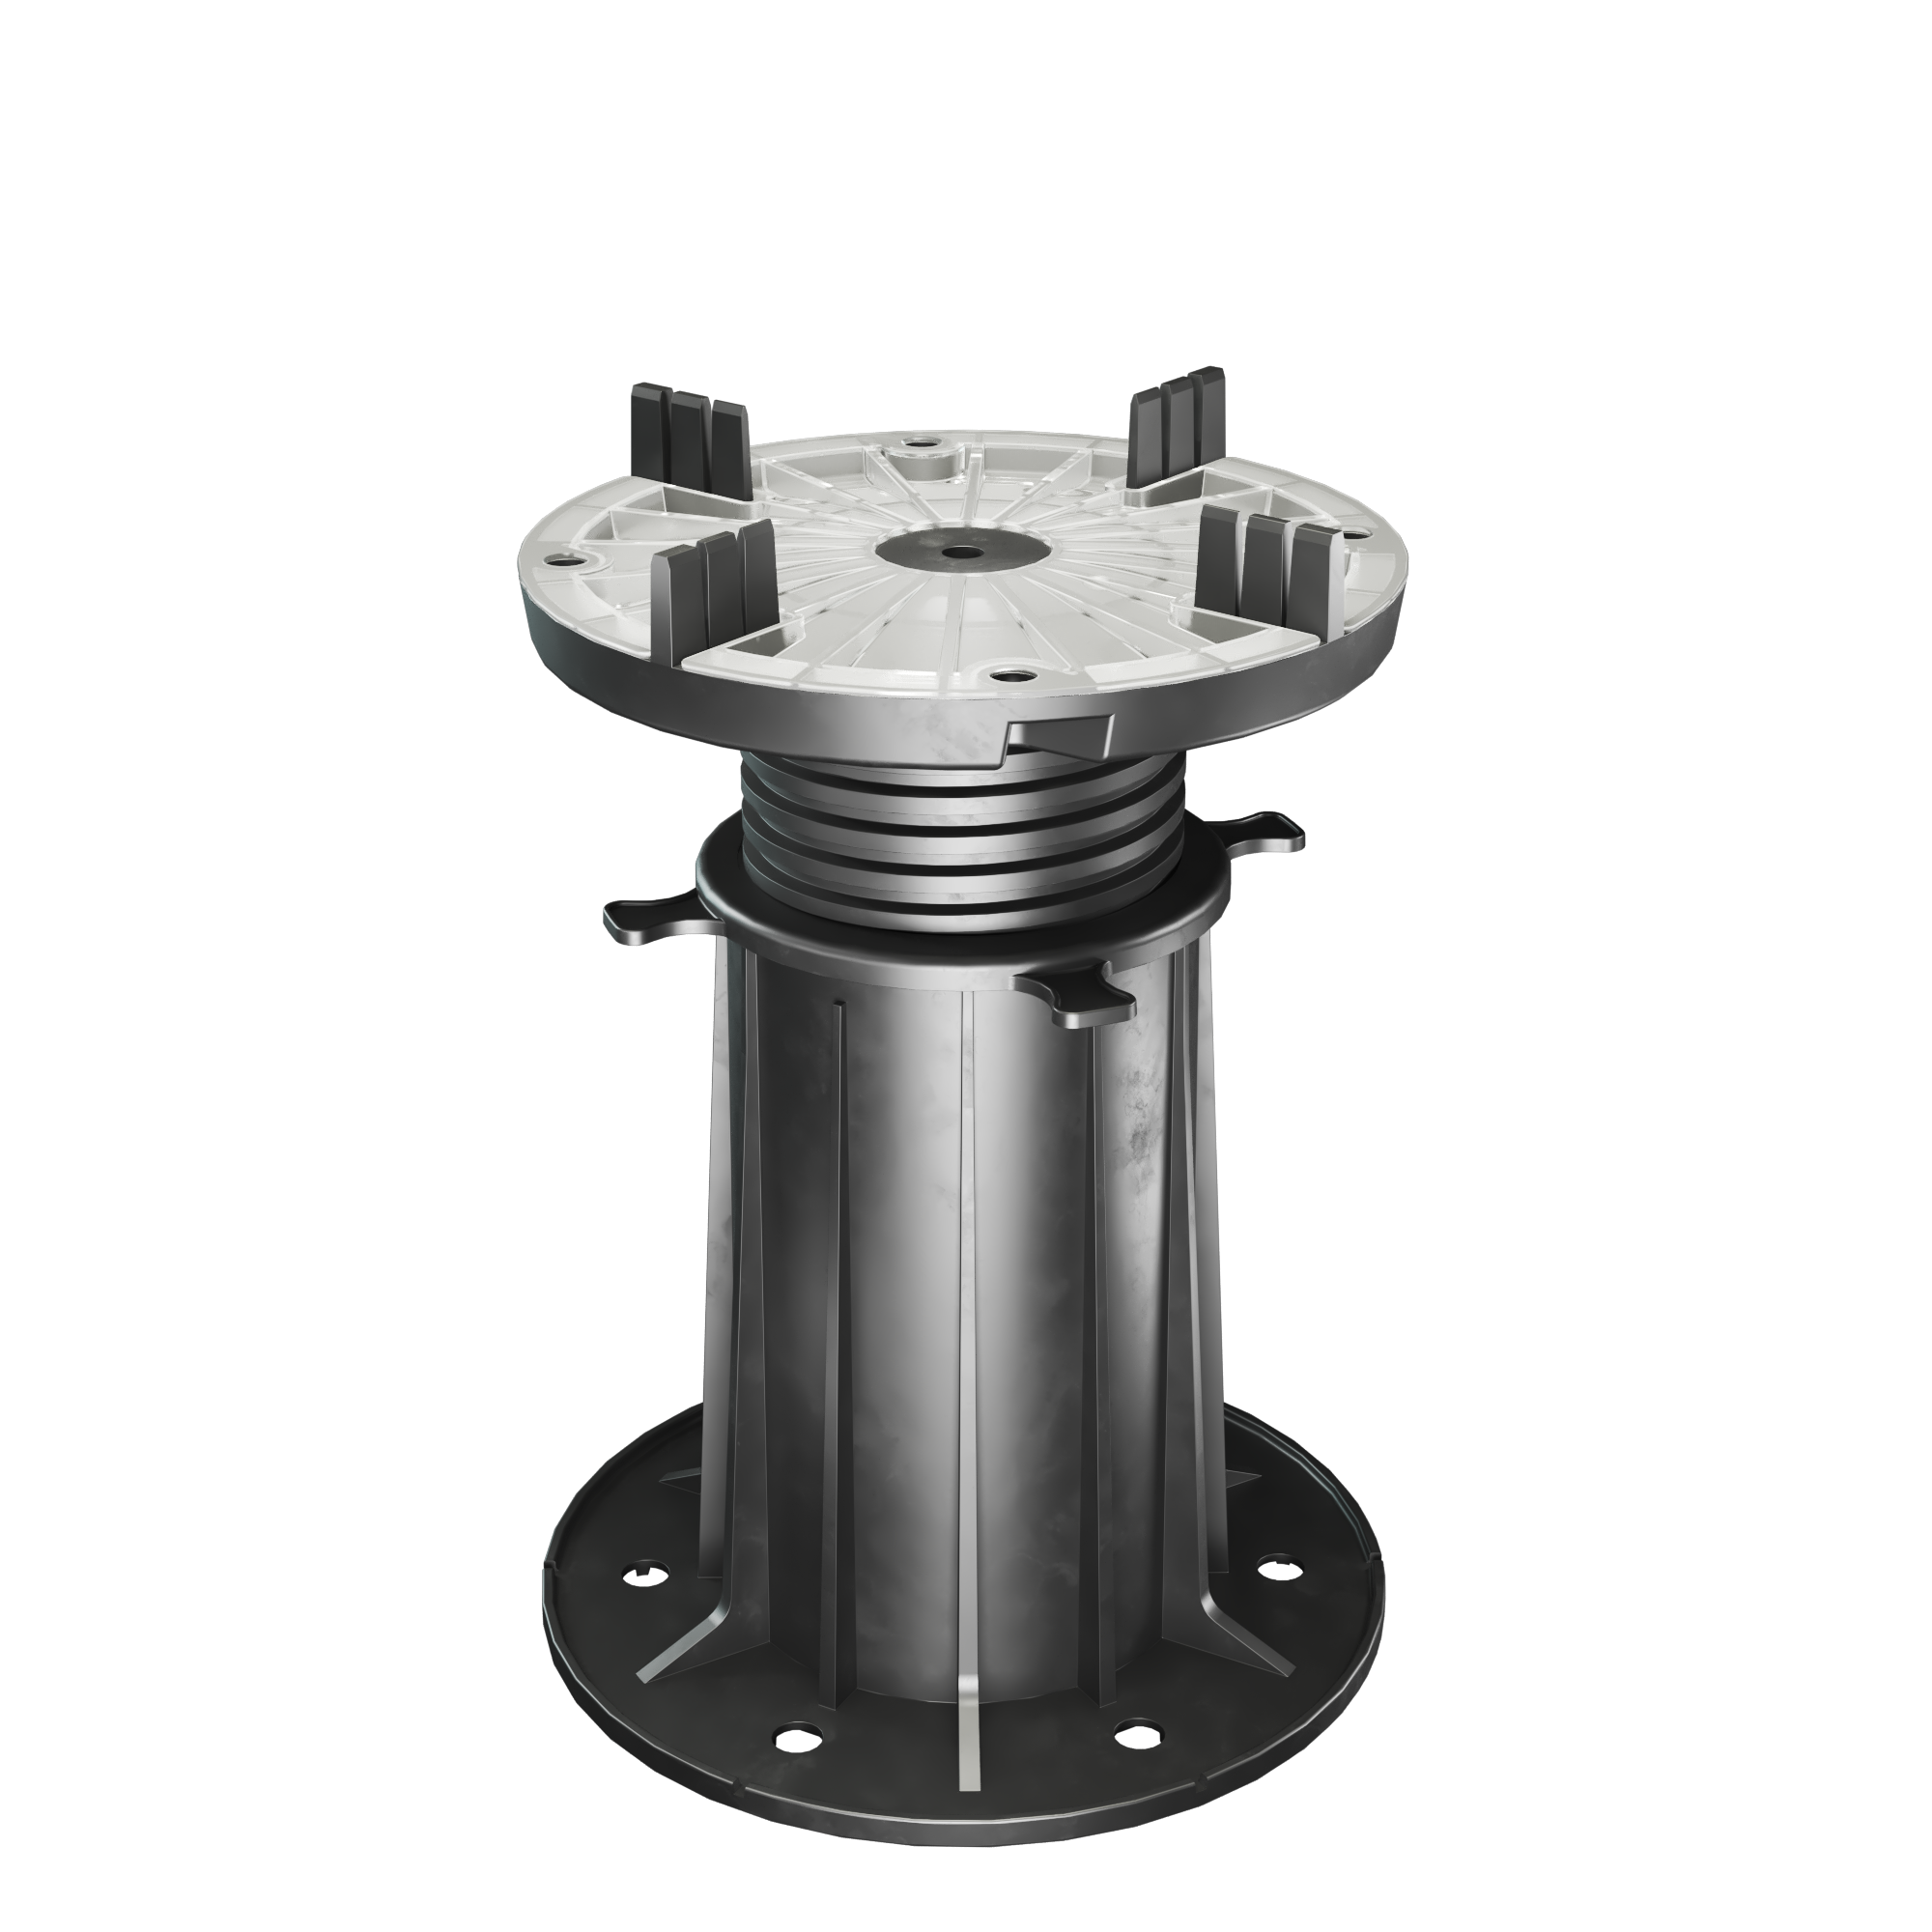
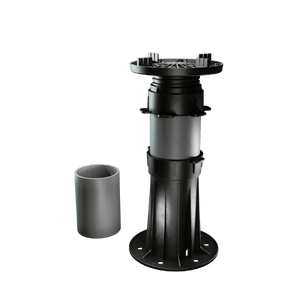
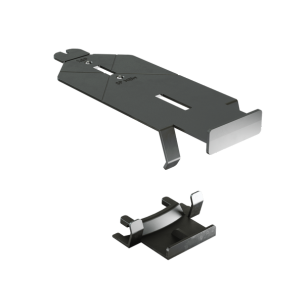
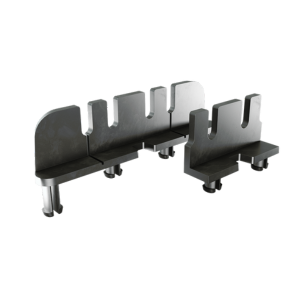
Plots

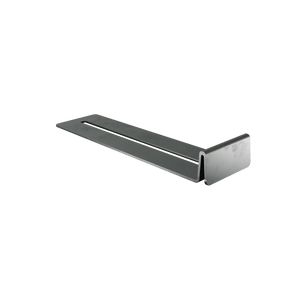
2m Joist
Ref. 03040141Z

Joist Clip
Ref. 03040132E - 100u.

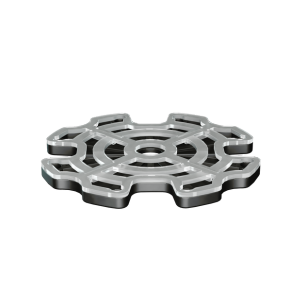
Slab joist spacer
Ref. 03040131E - 100u.
324
uds
100
uds
13
uds
4
uds
1296
uds
324
uds