

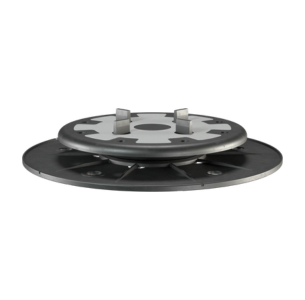
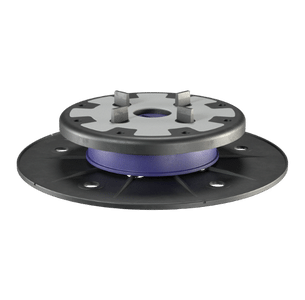
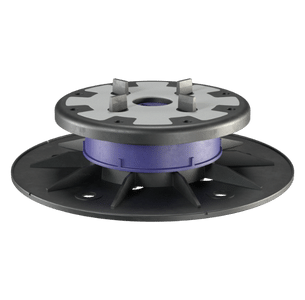

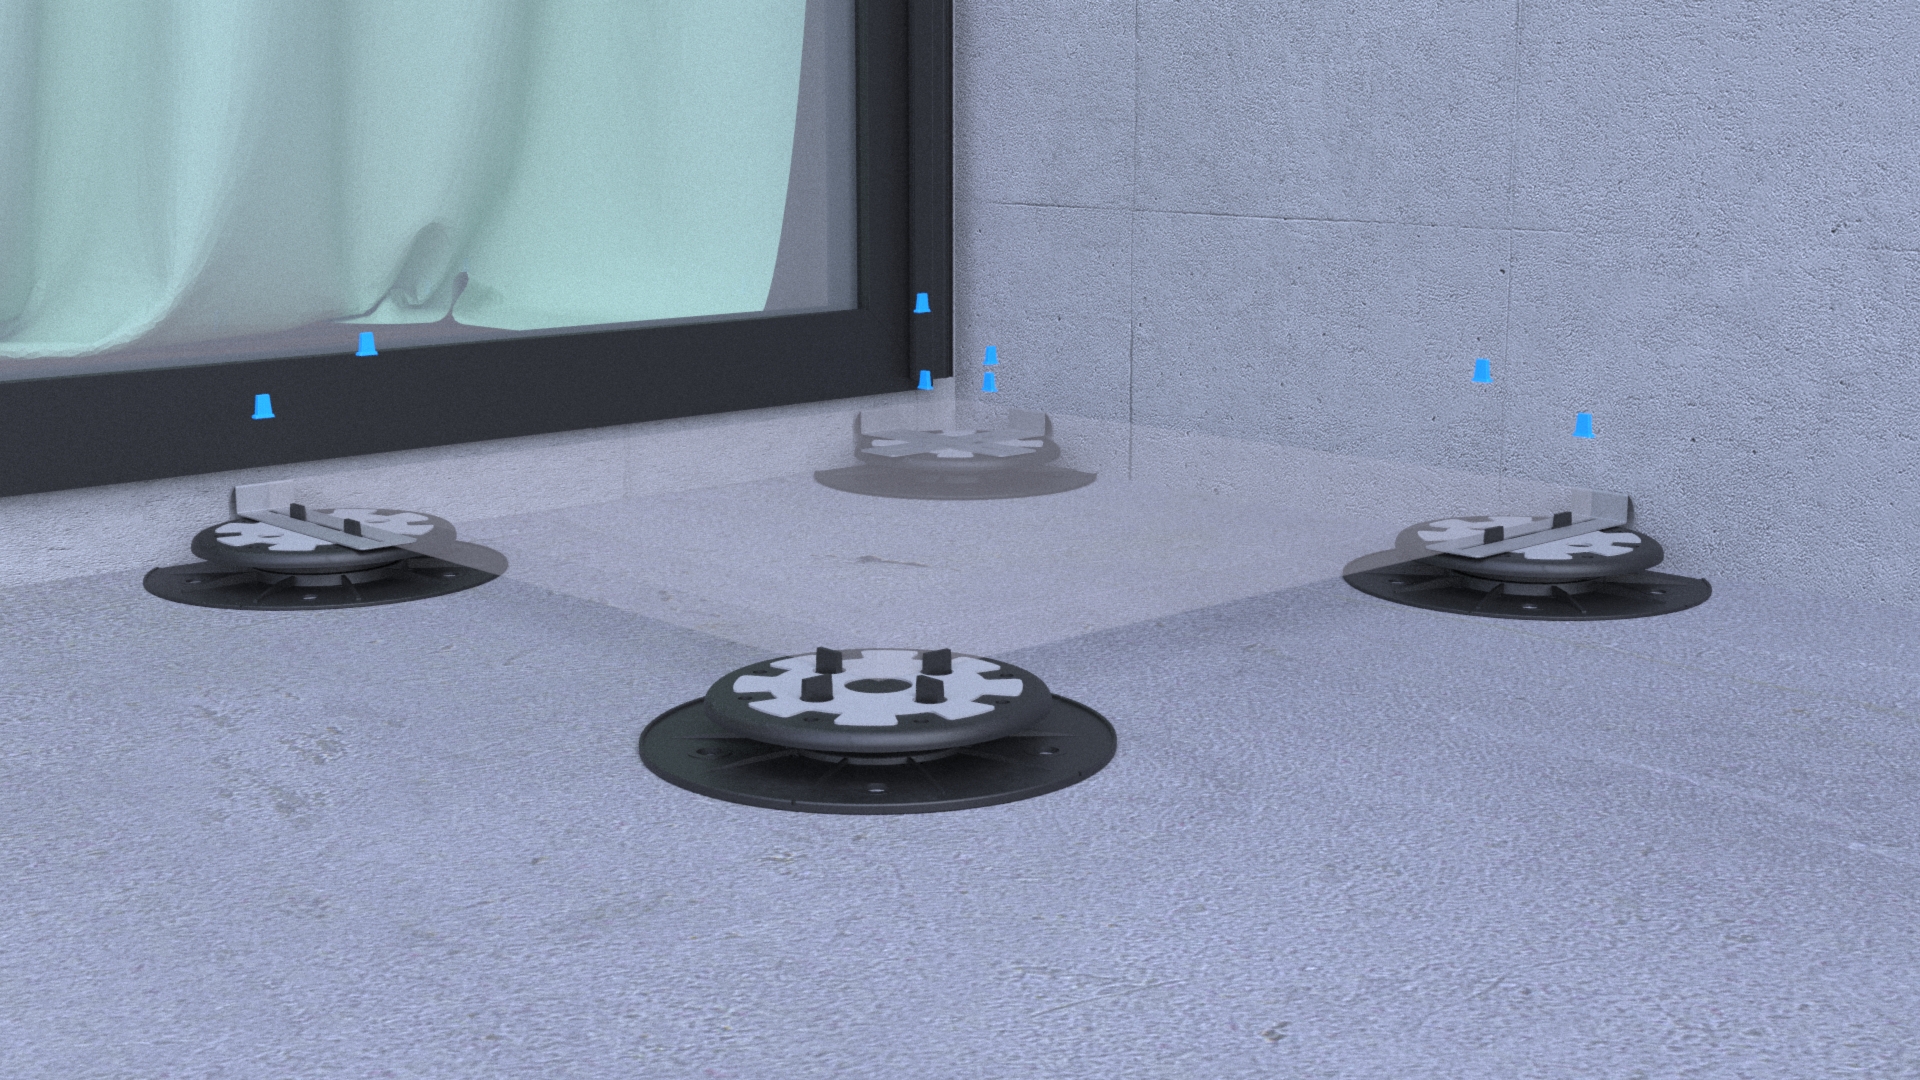
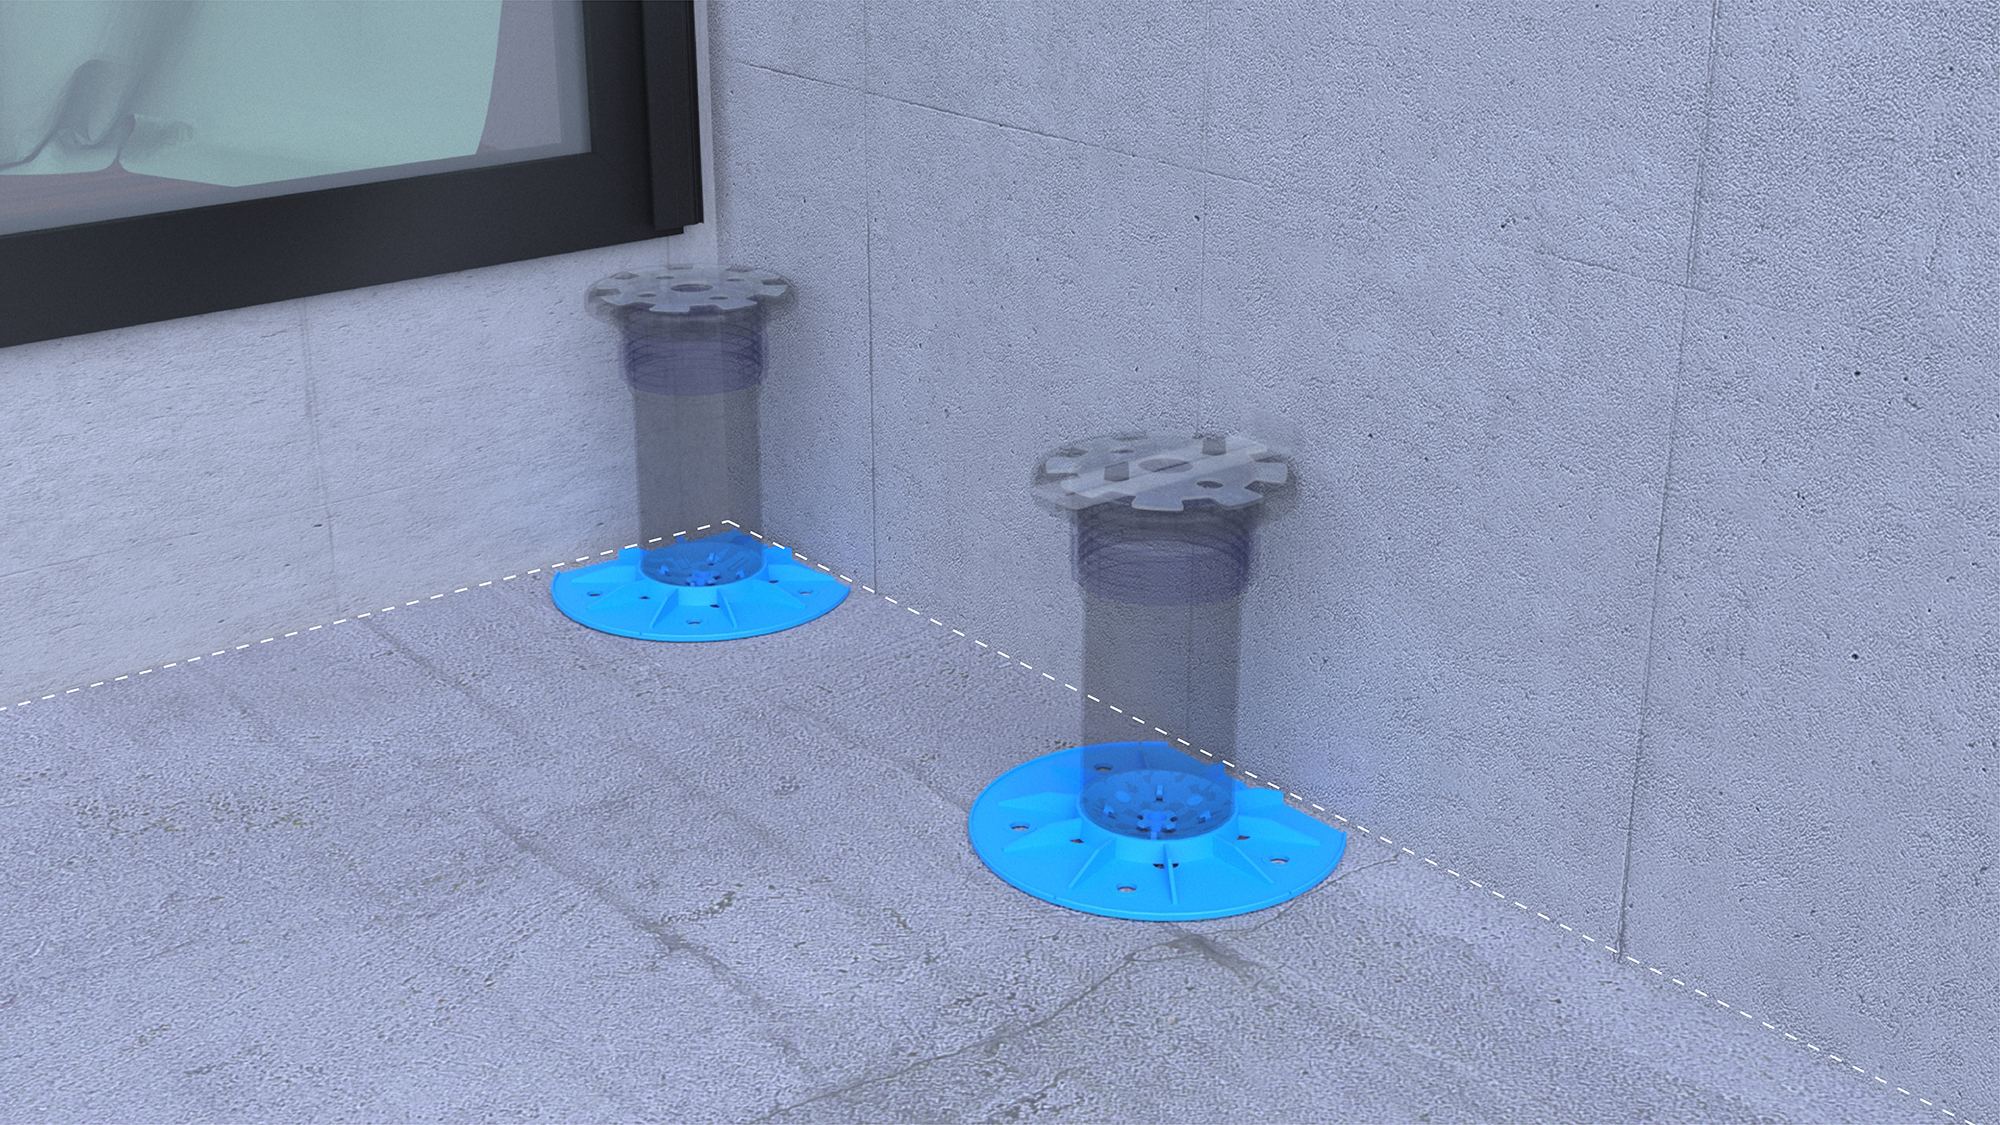
1. Cut the bases for the edges and the corners
Cut the base to adjust the pedestal position as close as possible to the edge using the base cutting guides.
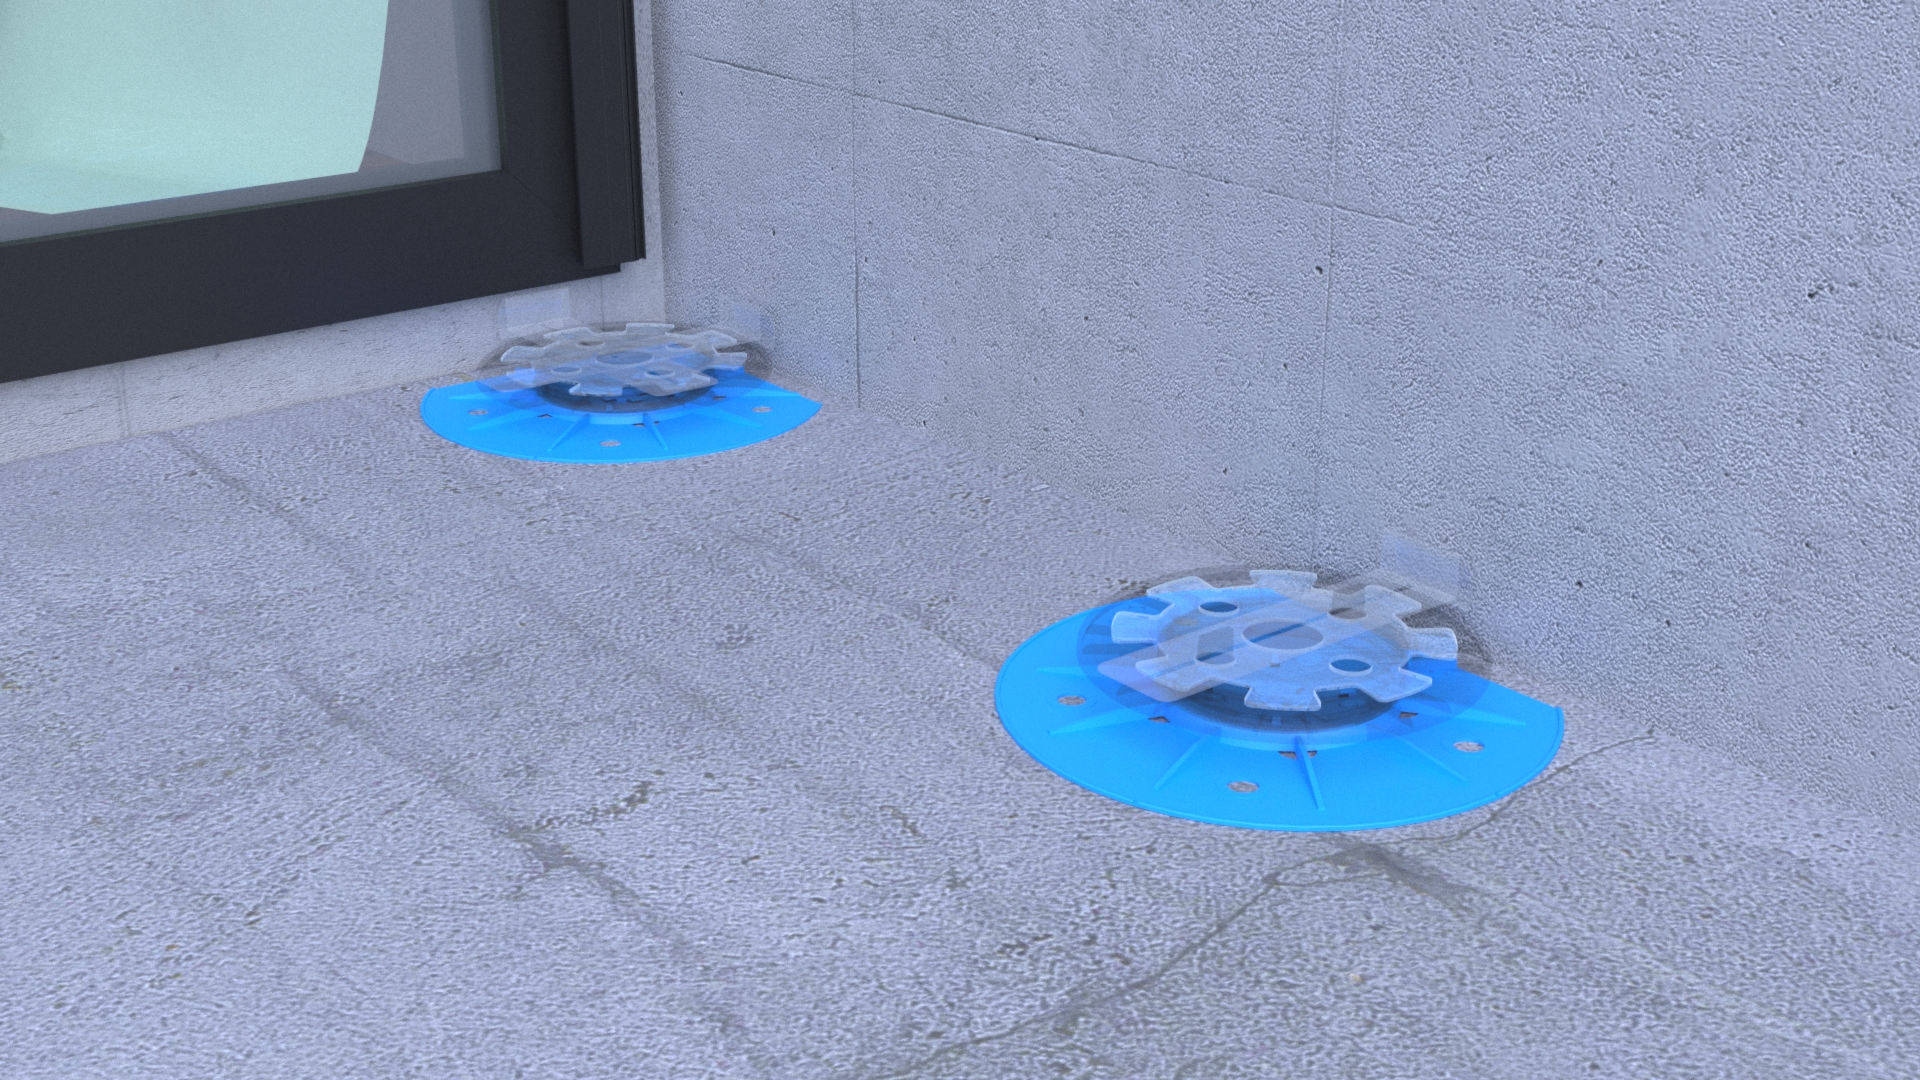
2. Remove the edge and corner spacers
Retirar los cuatro separadores en los plots situados en rincones y dos separadores paralelos en los situados al borde.
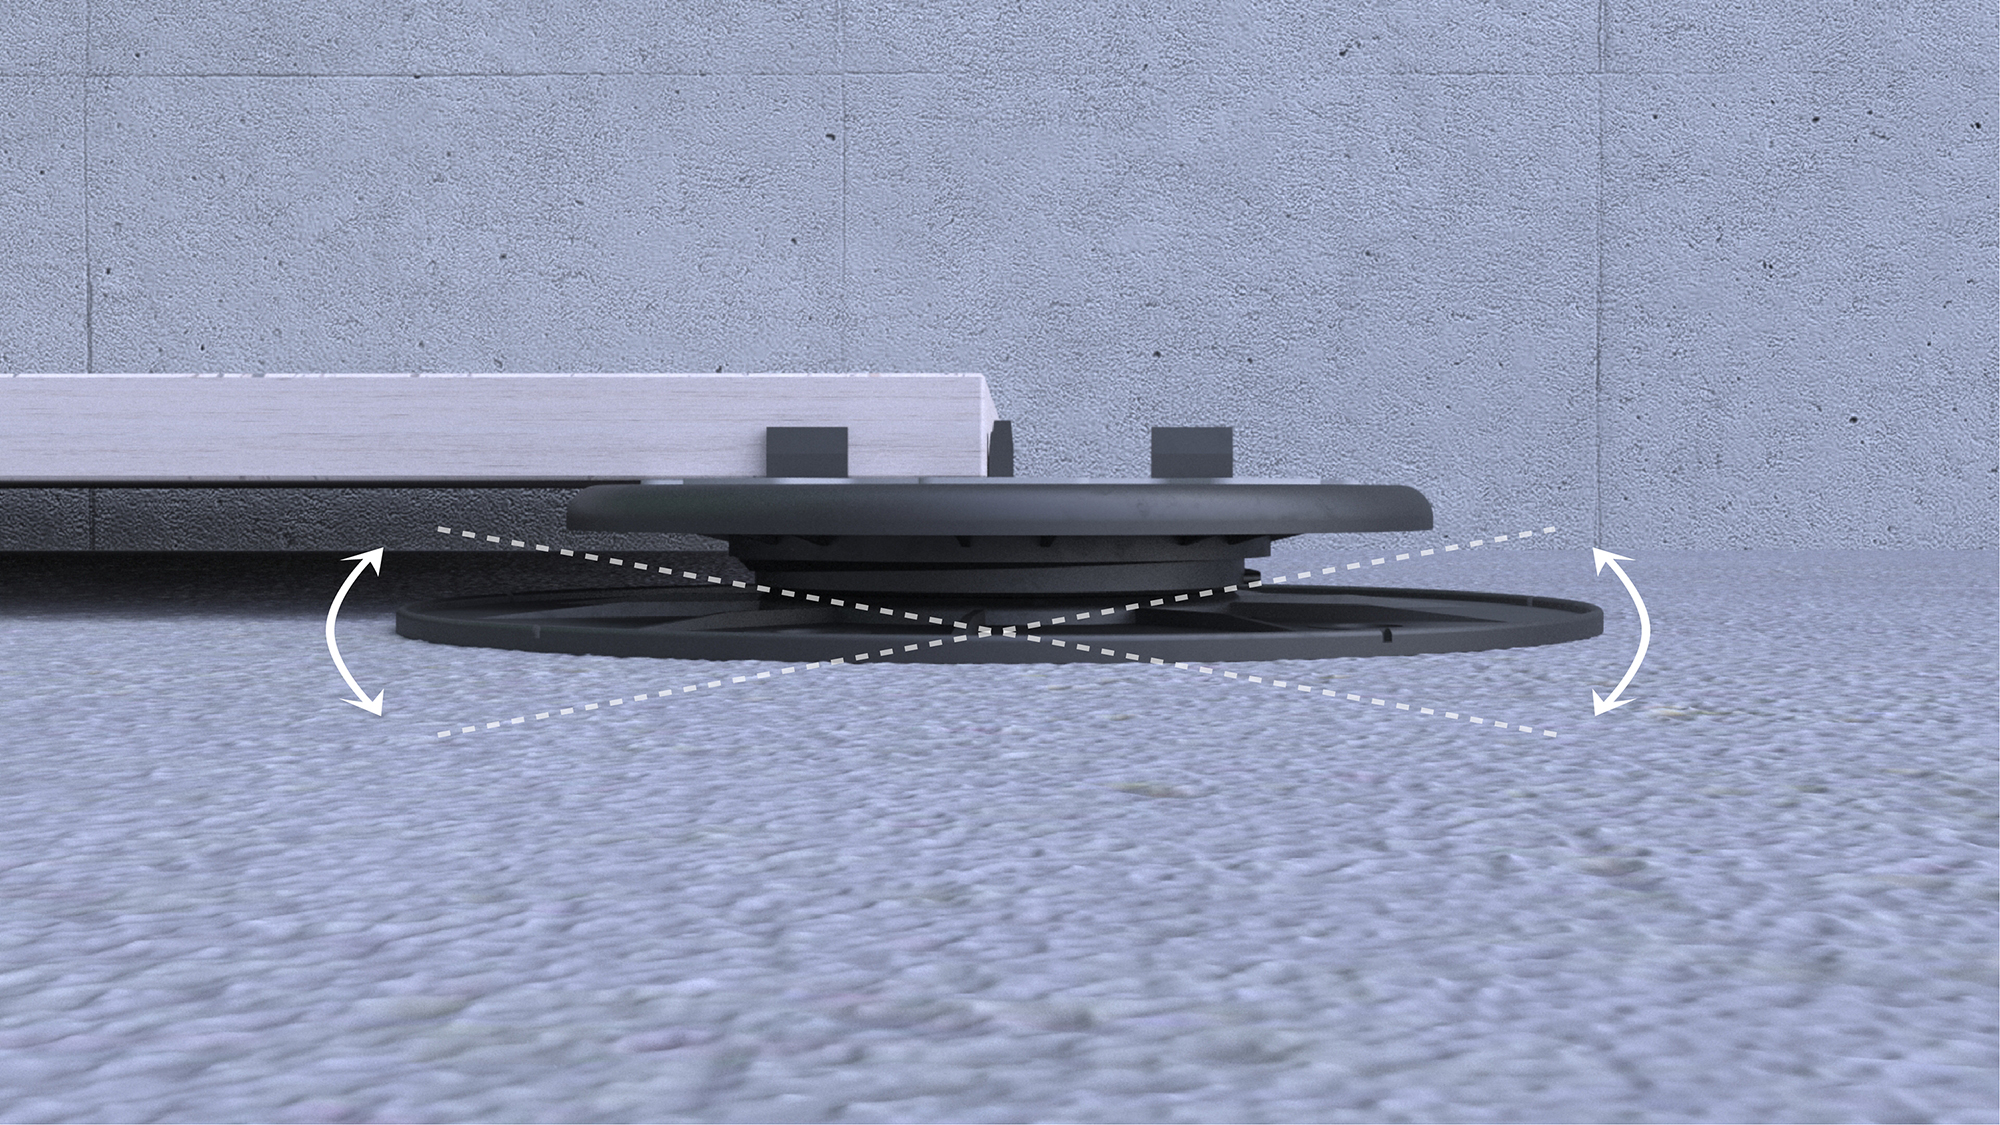
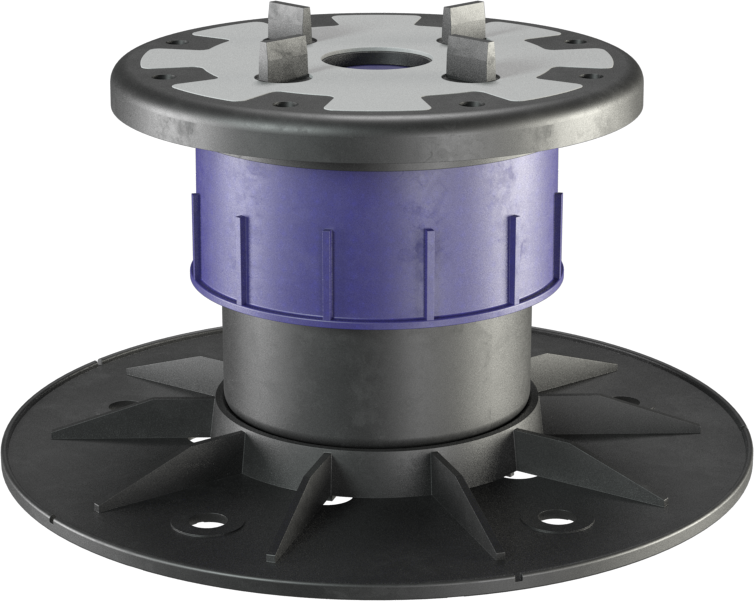
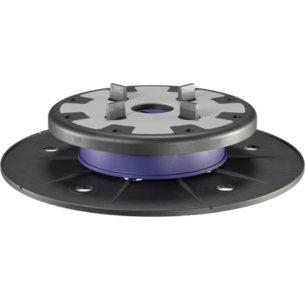
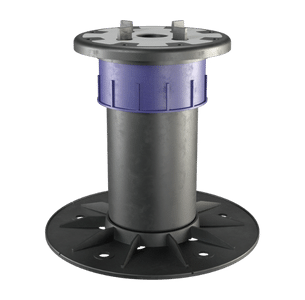
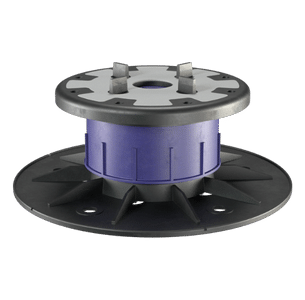
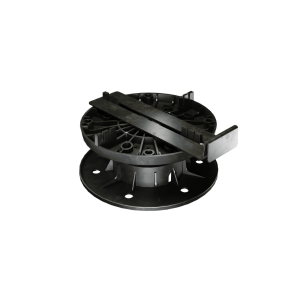
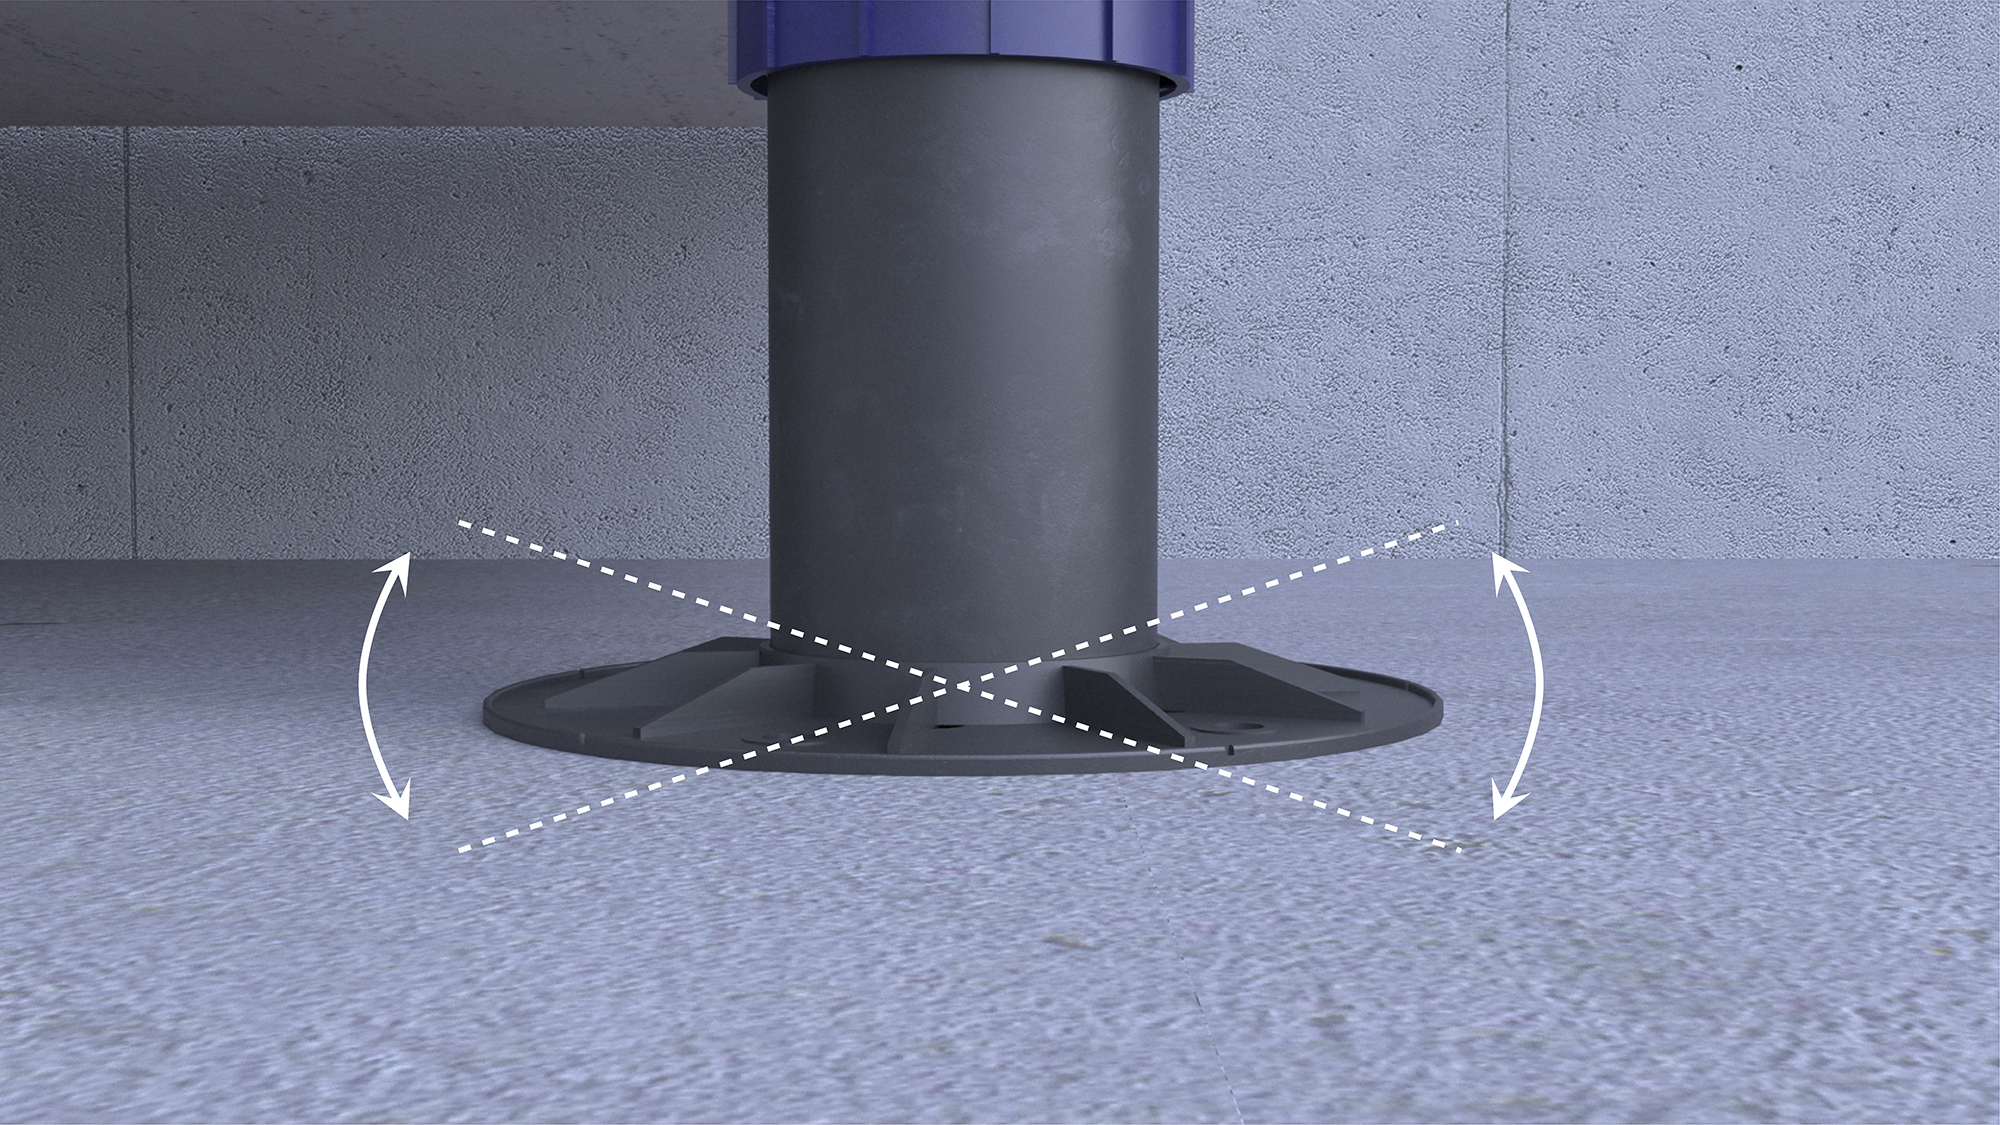
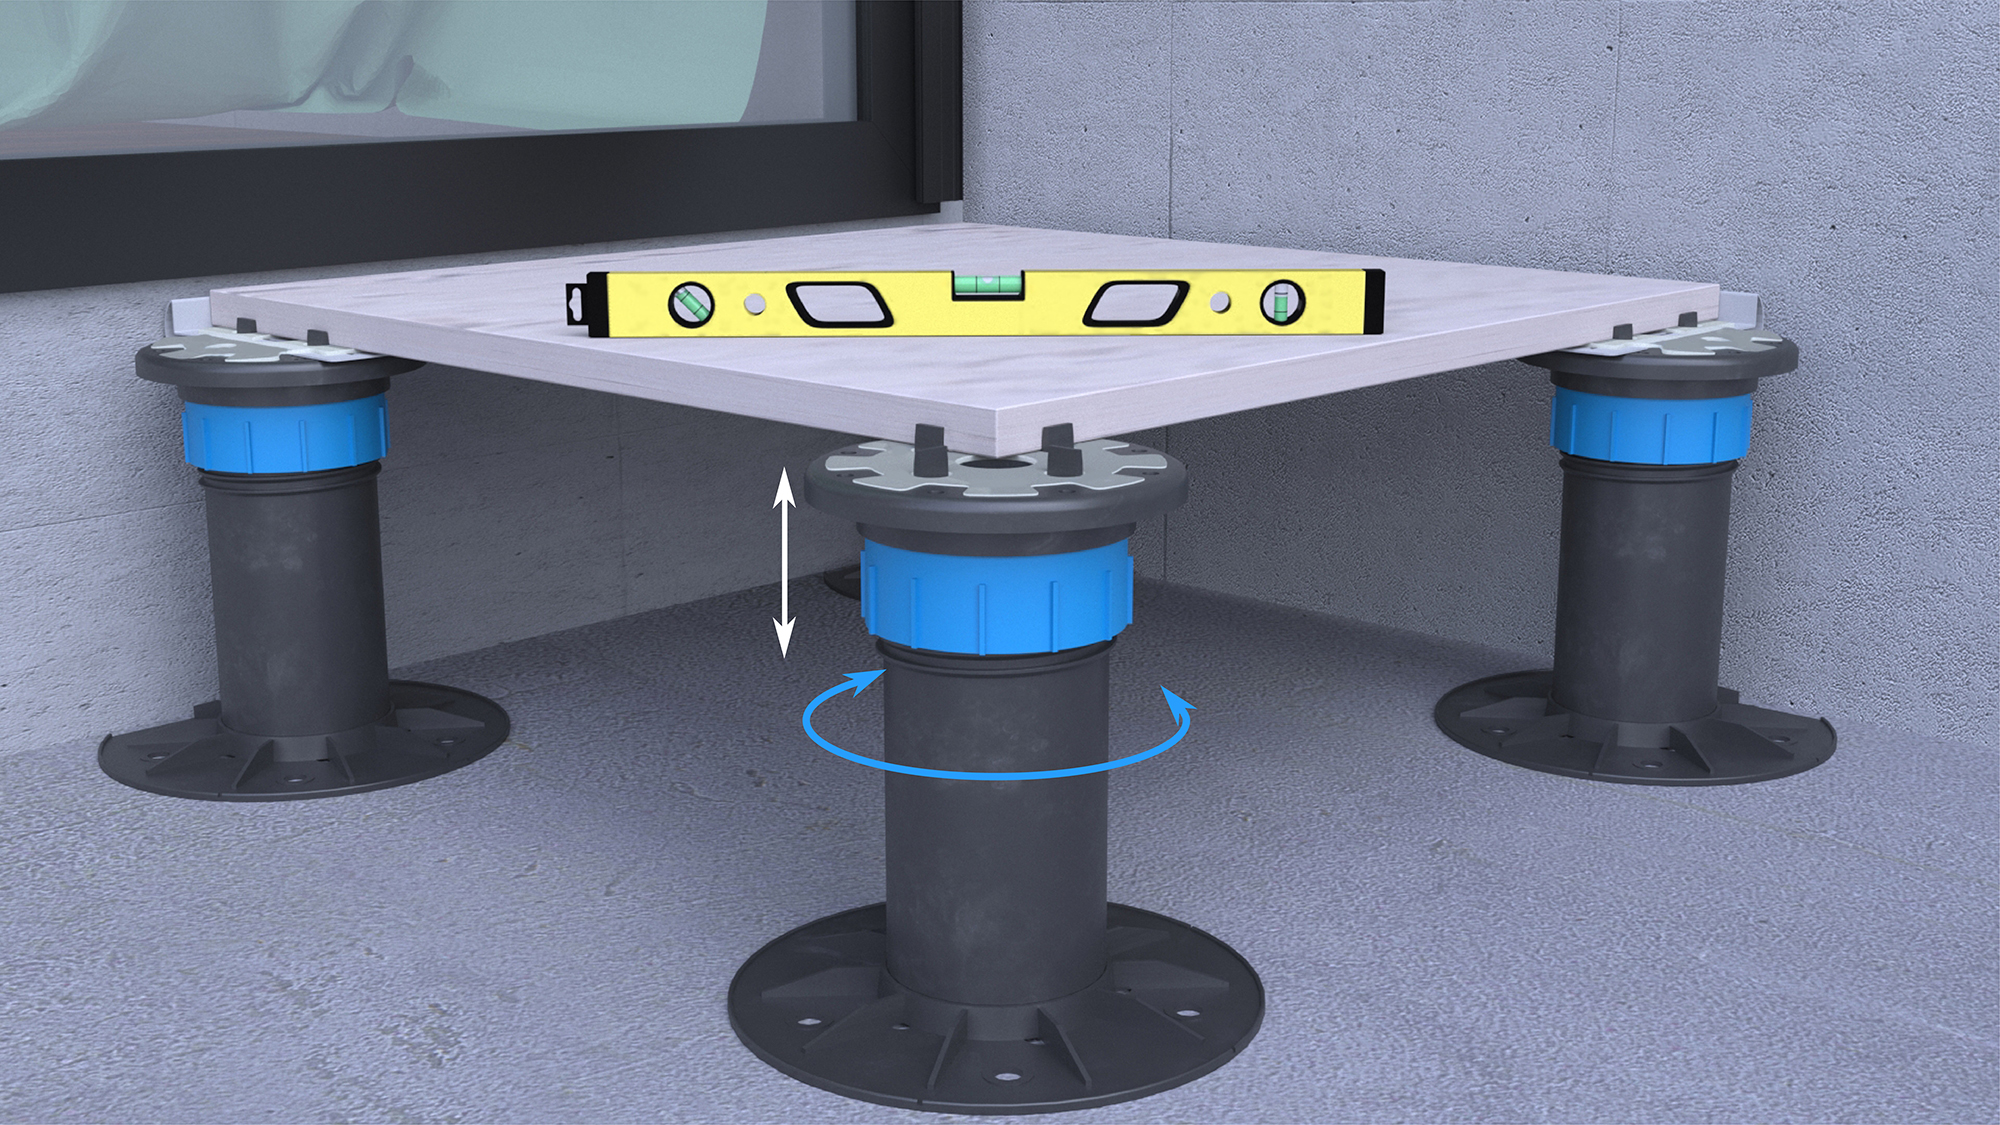
3. Self-levelling base
The bases allow correcting up to a 3% of the tilt.
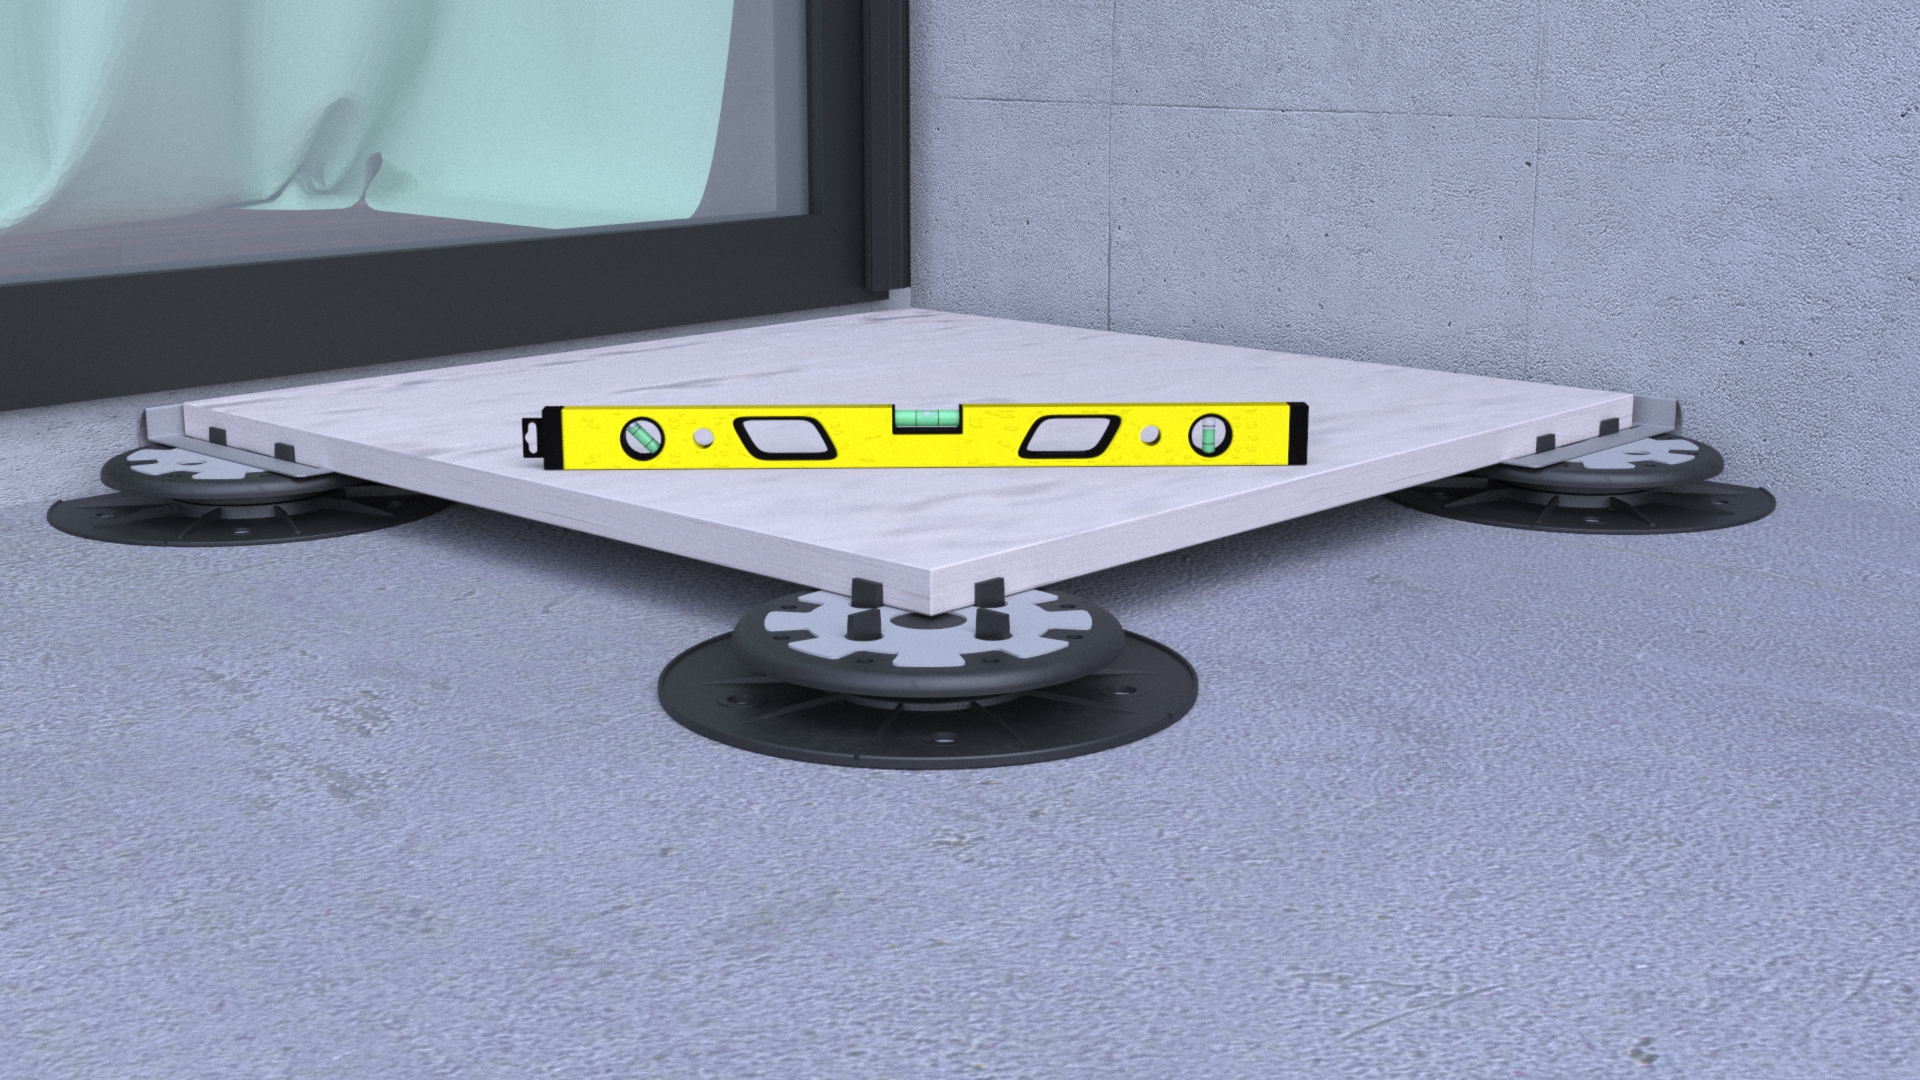
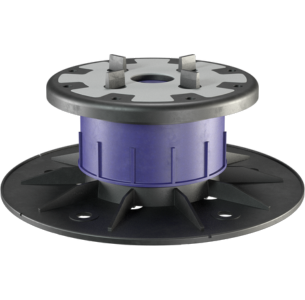
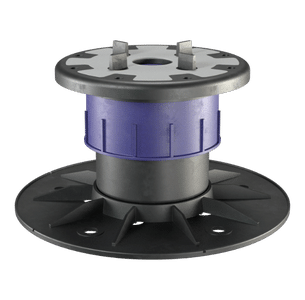
4. Slab levelling
Rotate the base clockwise to lift the slab and anticlockwise to lower it, until levelled.
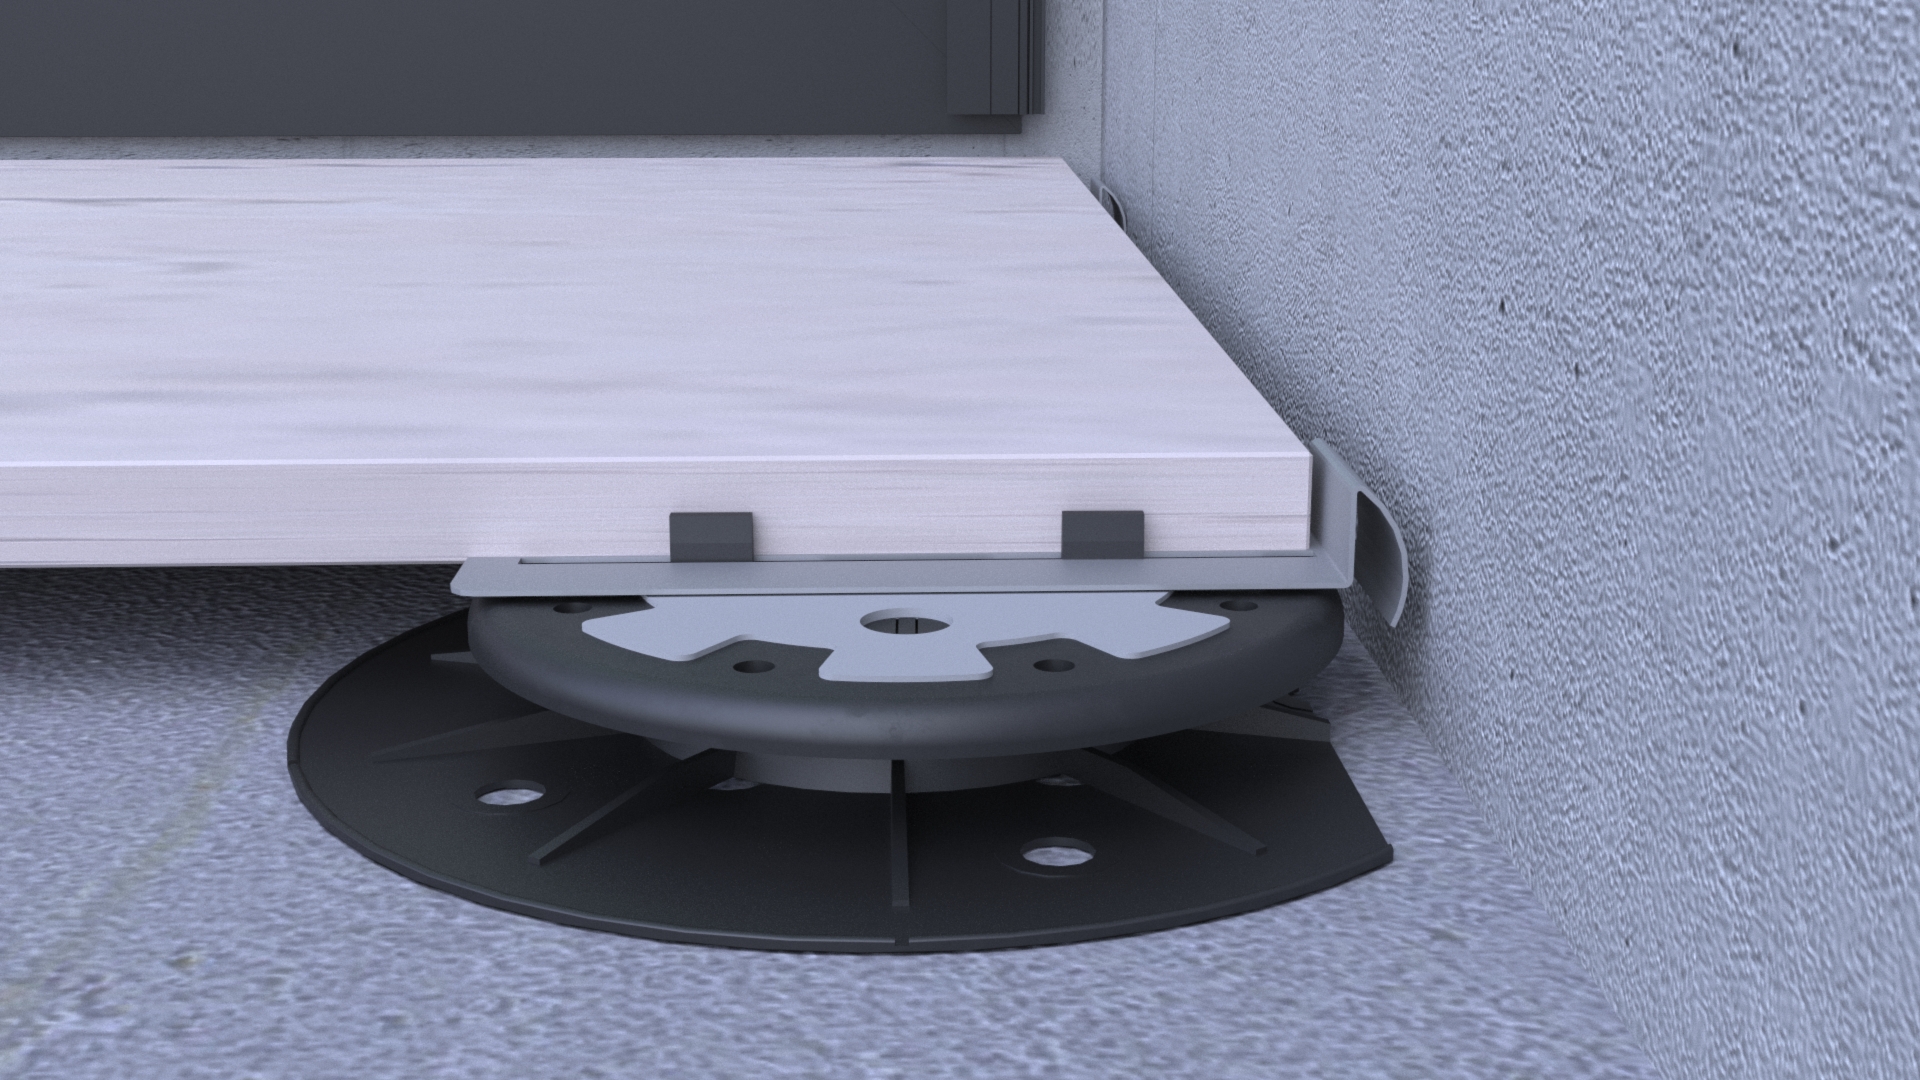
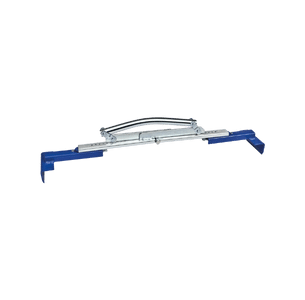
5. Create the edge trim seal
Use the perimetral dilators (accessory) to create edge trim seals and allow the expansion of the slabbed surface without transferring any tension to the perimetral parameters.
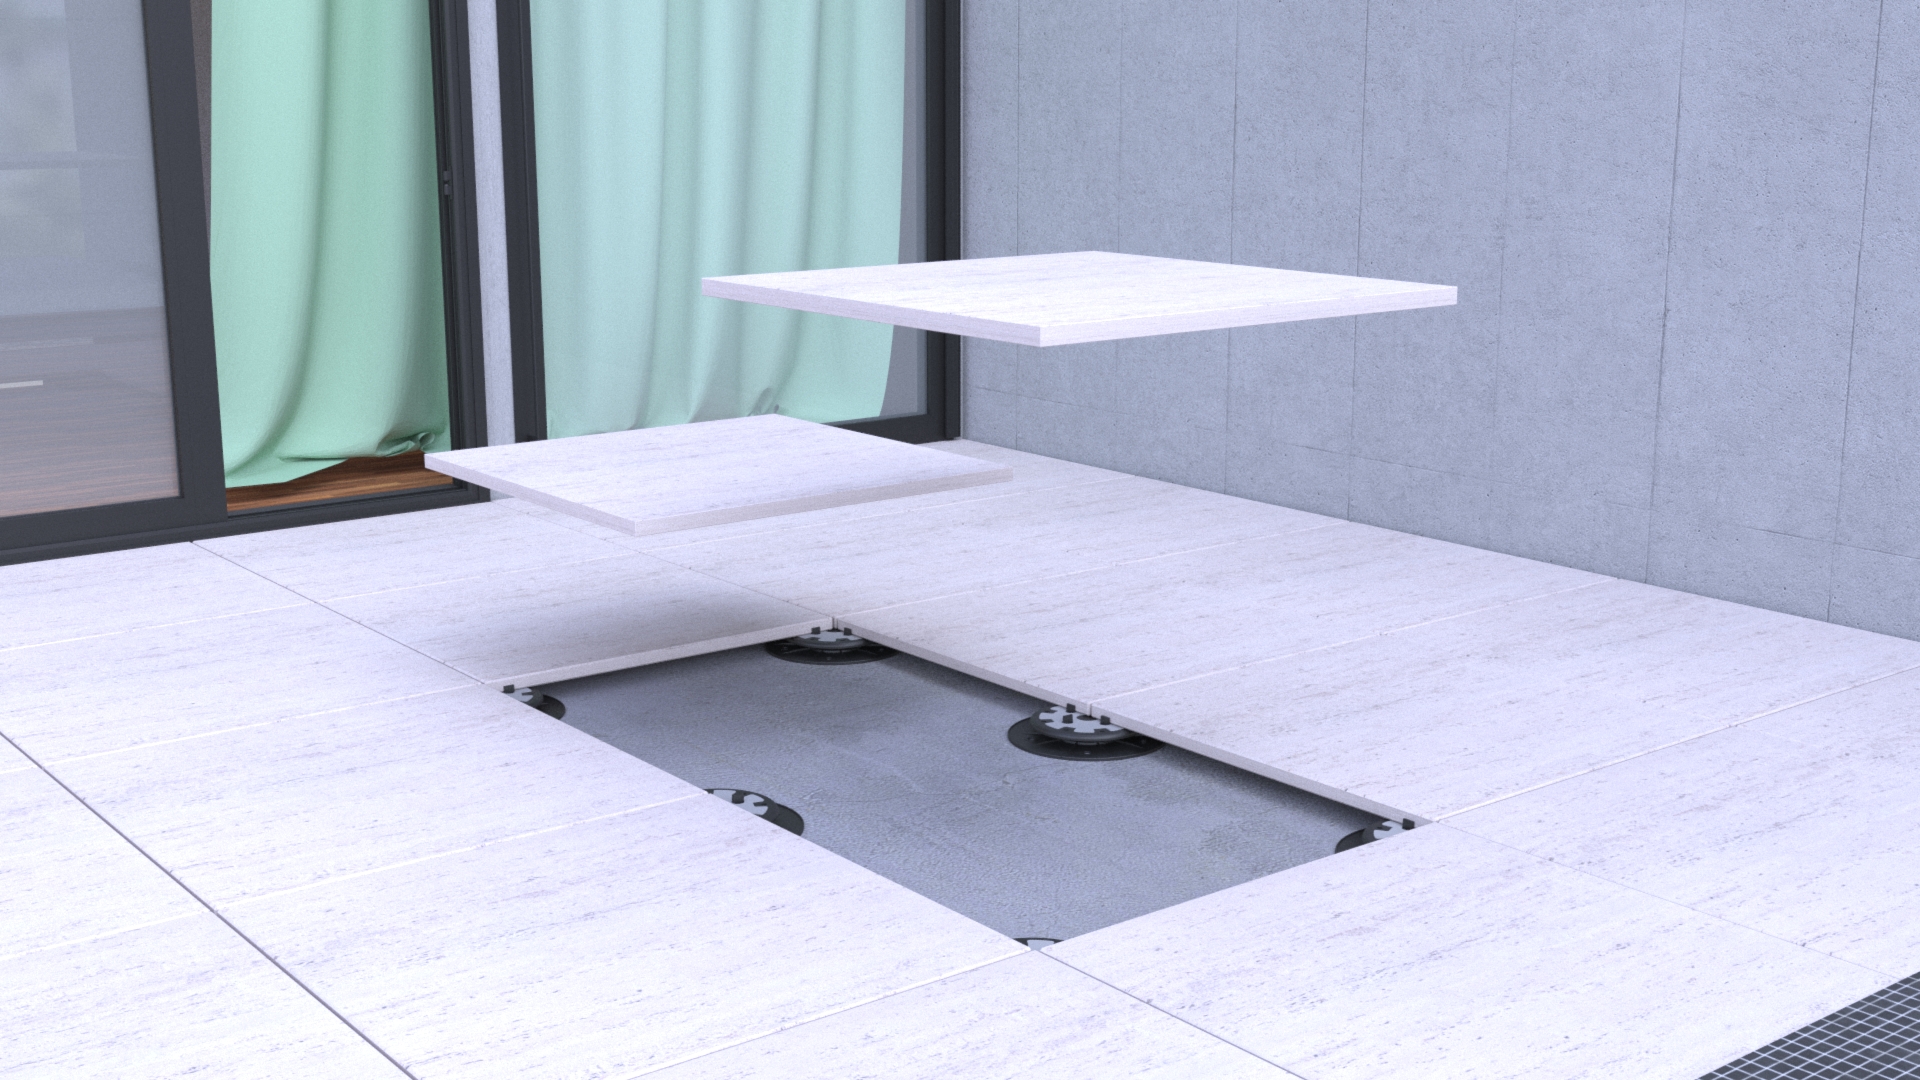
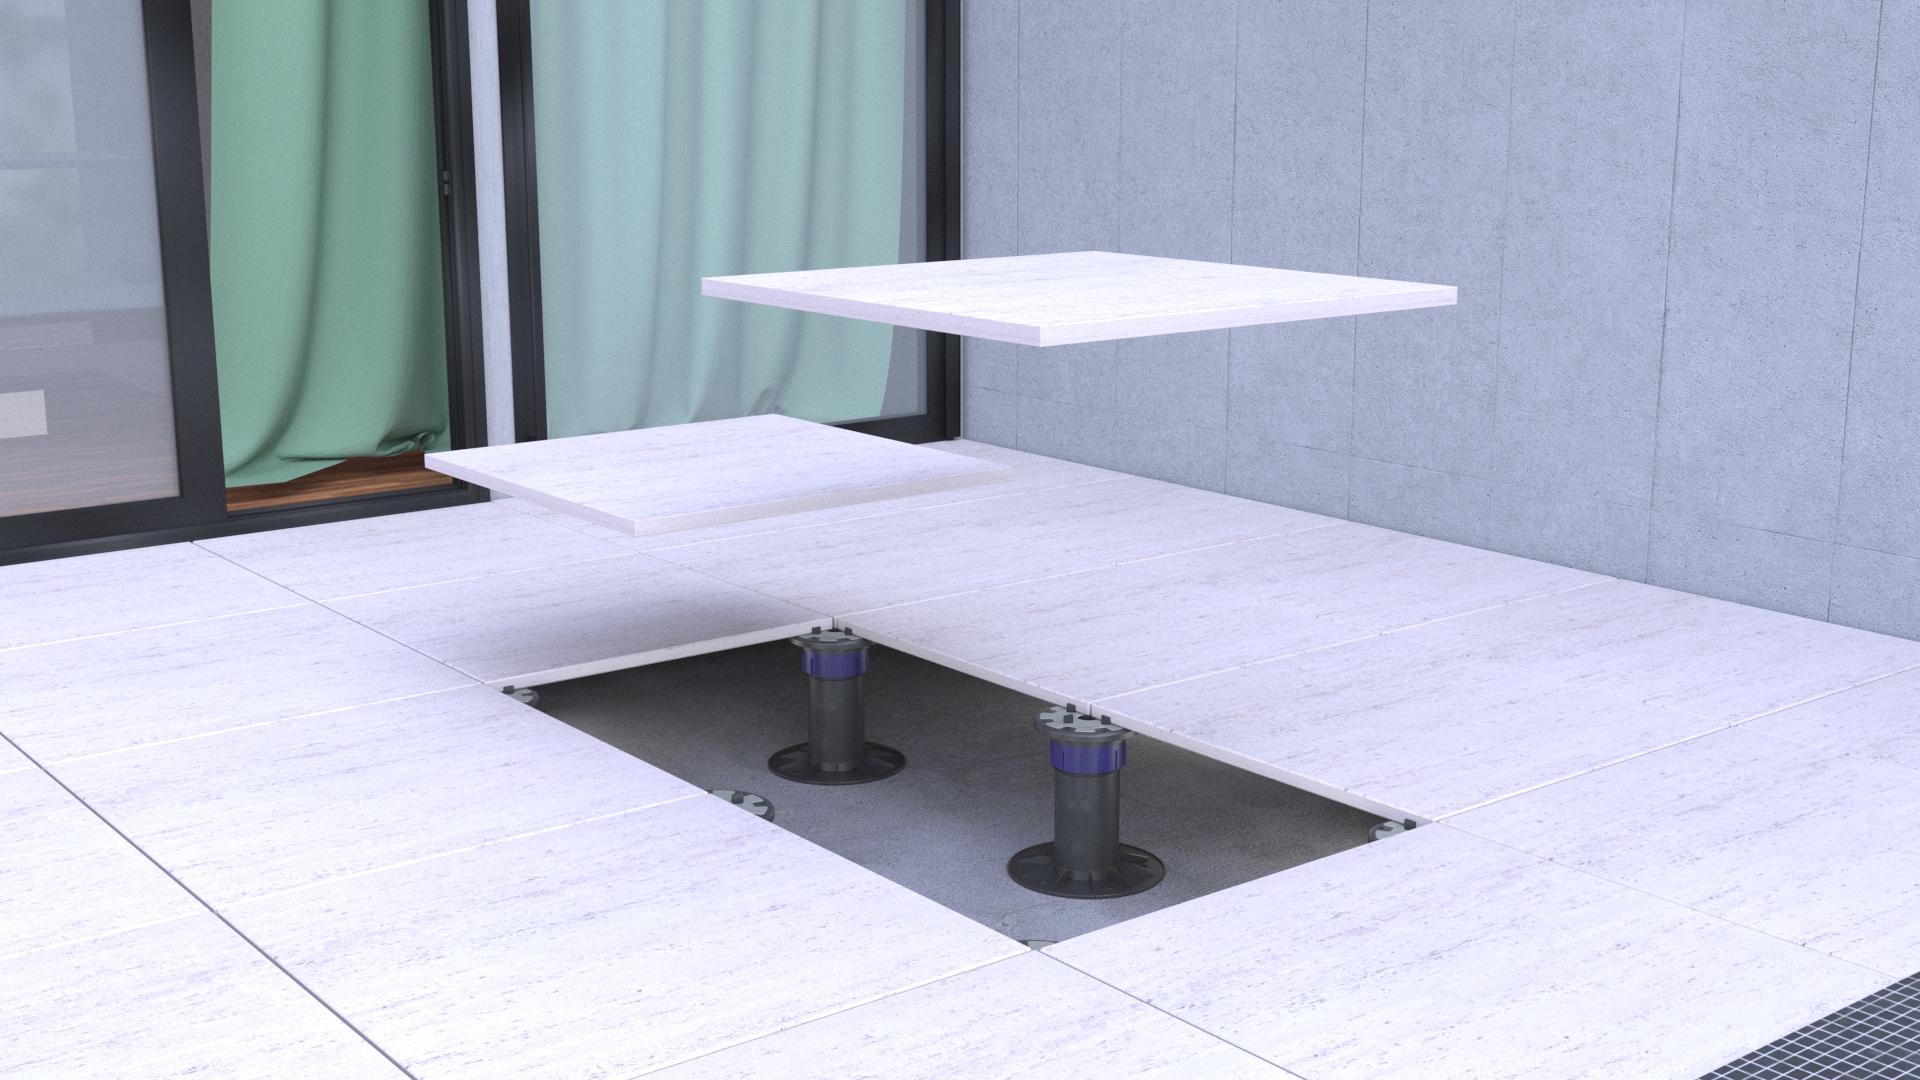
6. Removable floor
This results in a fully accessible surface that allows you to reach lower installations
such as drains, electrical wiring, plumbing, etc.
1. Cut the bases for the edges and the corners

2. Remove the edge and corner spacers
3. Self-levelling base
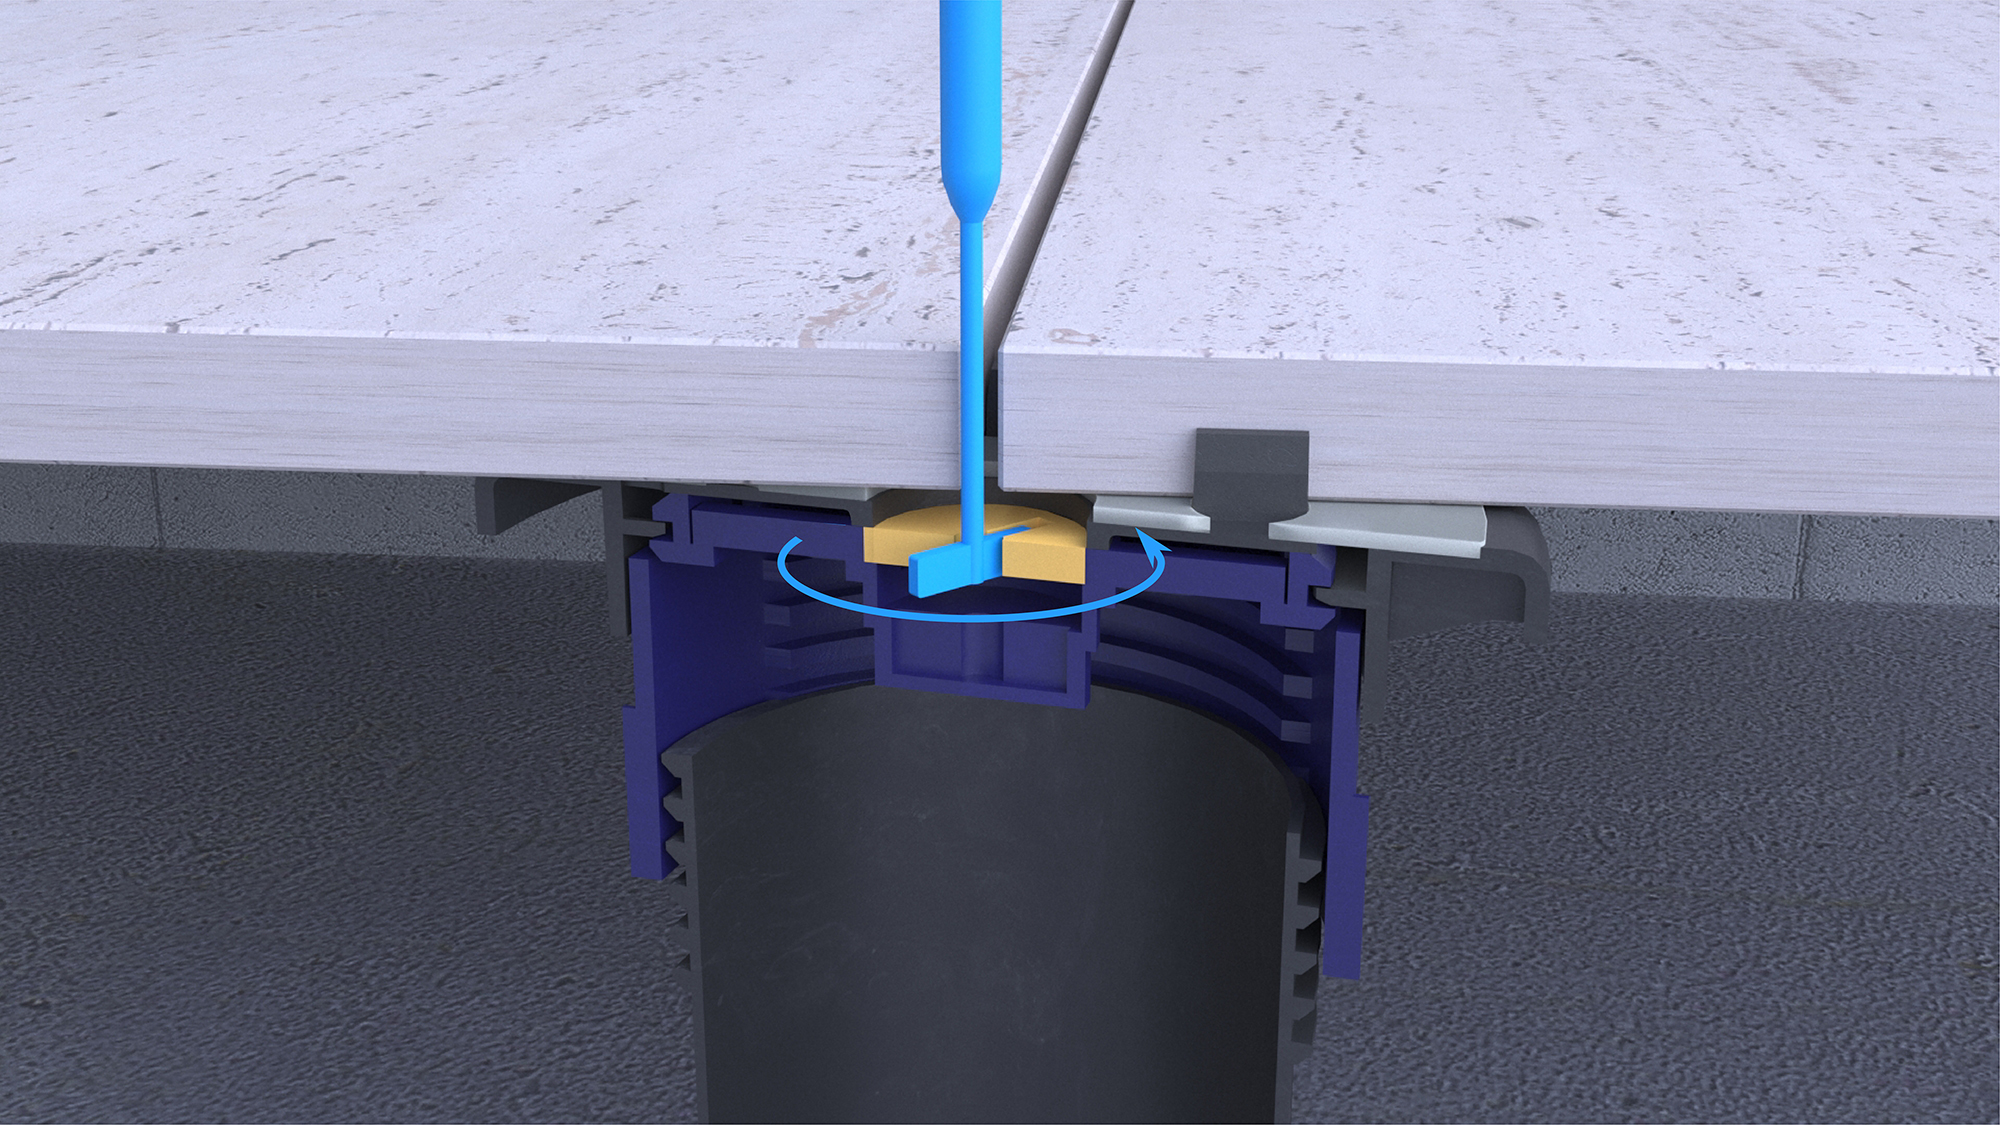
4. Slab levelling

5. Create the edge trim seal
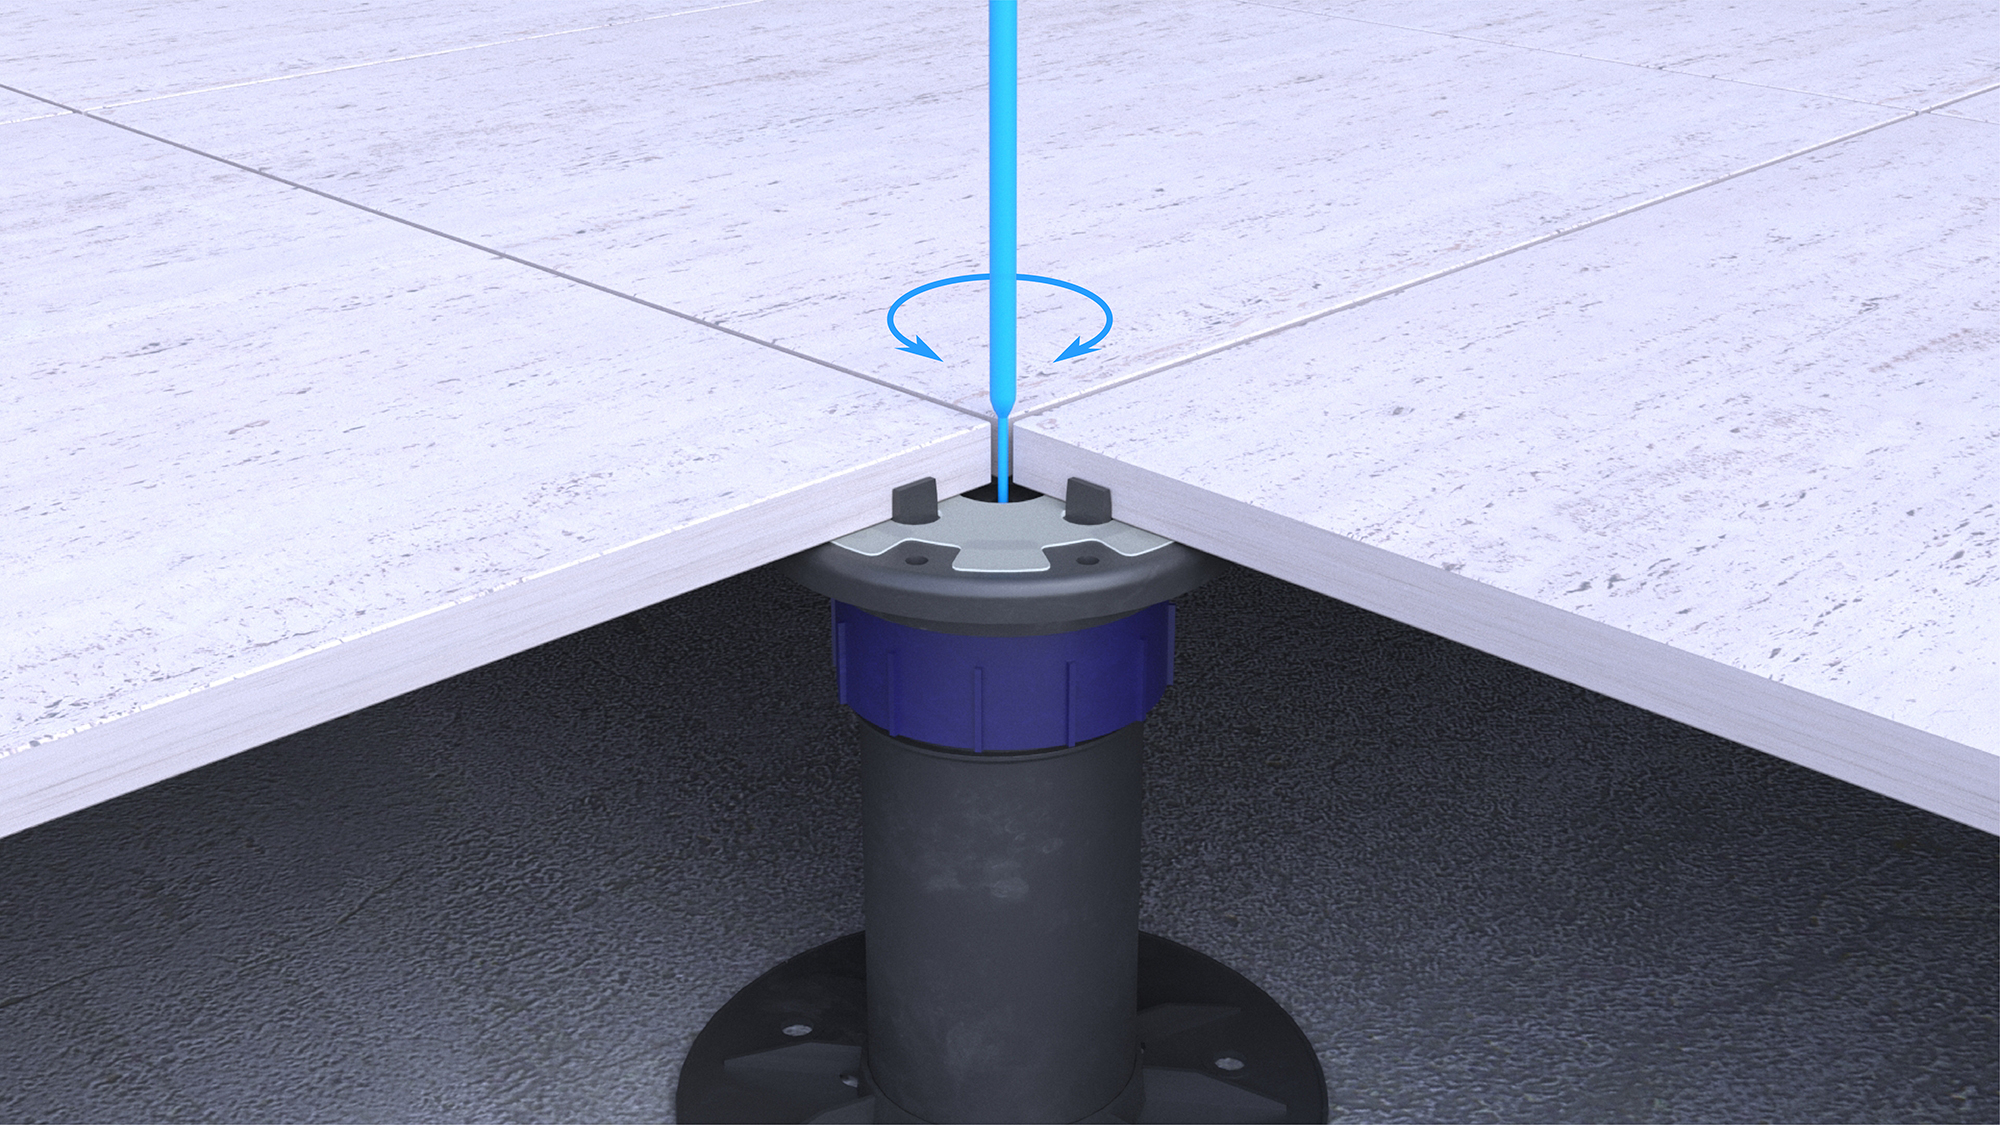
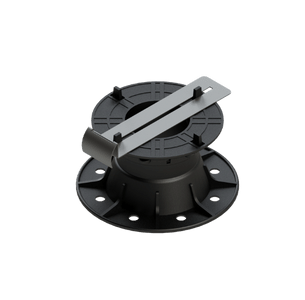
6. Adjust height with mounted floor
7. Pedestal locking
8. Removable floor

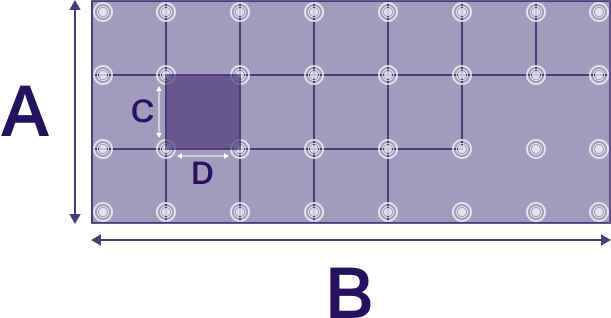
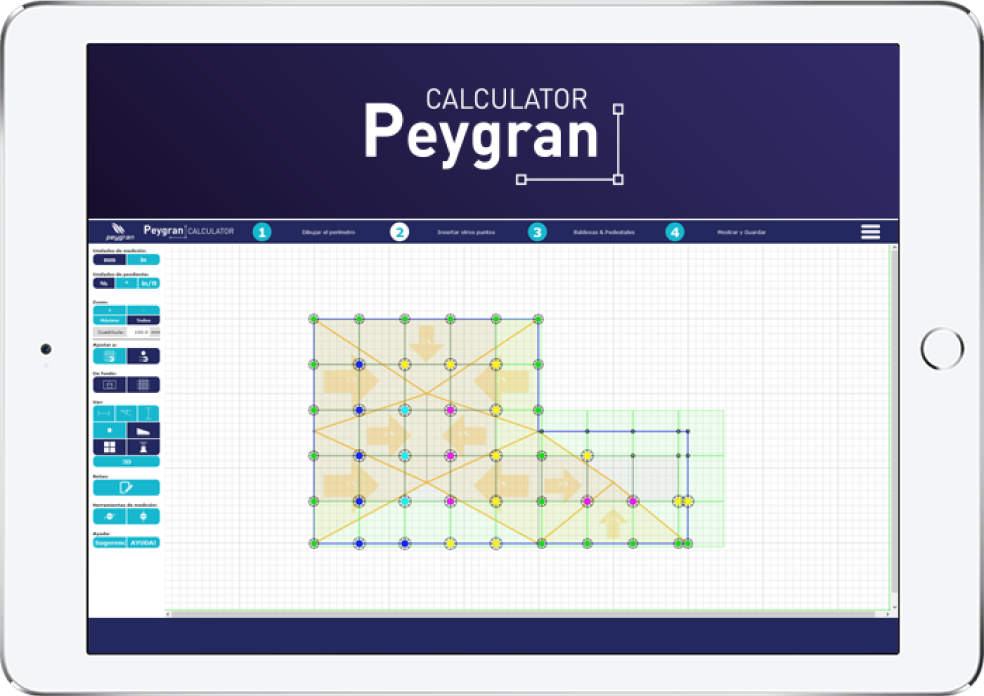
Step 1: Terrace
A
Parallel to joist (M)
B
Perpendicular to joist (M)
Sup.
M²
M
M
100,00
M
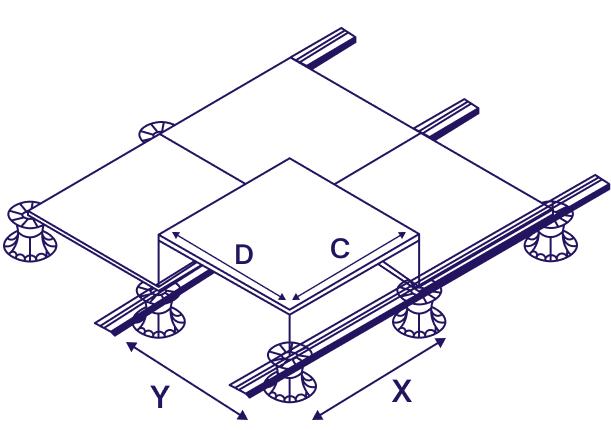
Step 2: Tile
C
Length (CM)
D
Width (CM)
E
Joint (MM)
M
M
4
MM
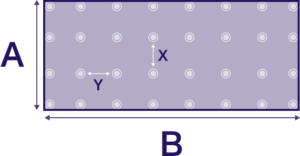
Step 3: INTER-AXIS
X
Inter-axis joist (MM)
Y
Pedestals spacing (MM)
MM
MM
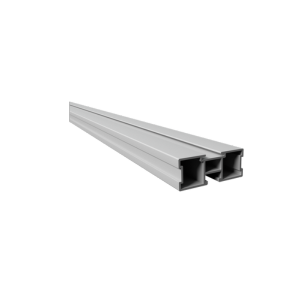
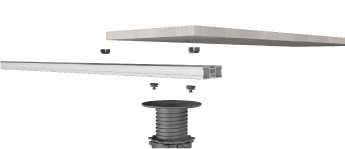
Plots

2m Joist
Ref. 03040141Z

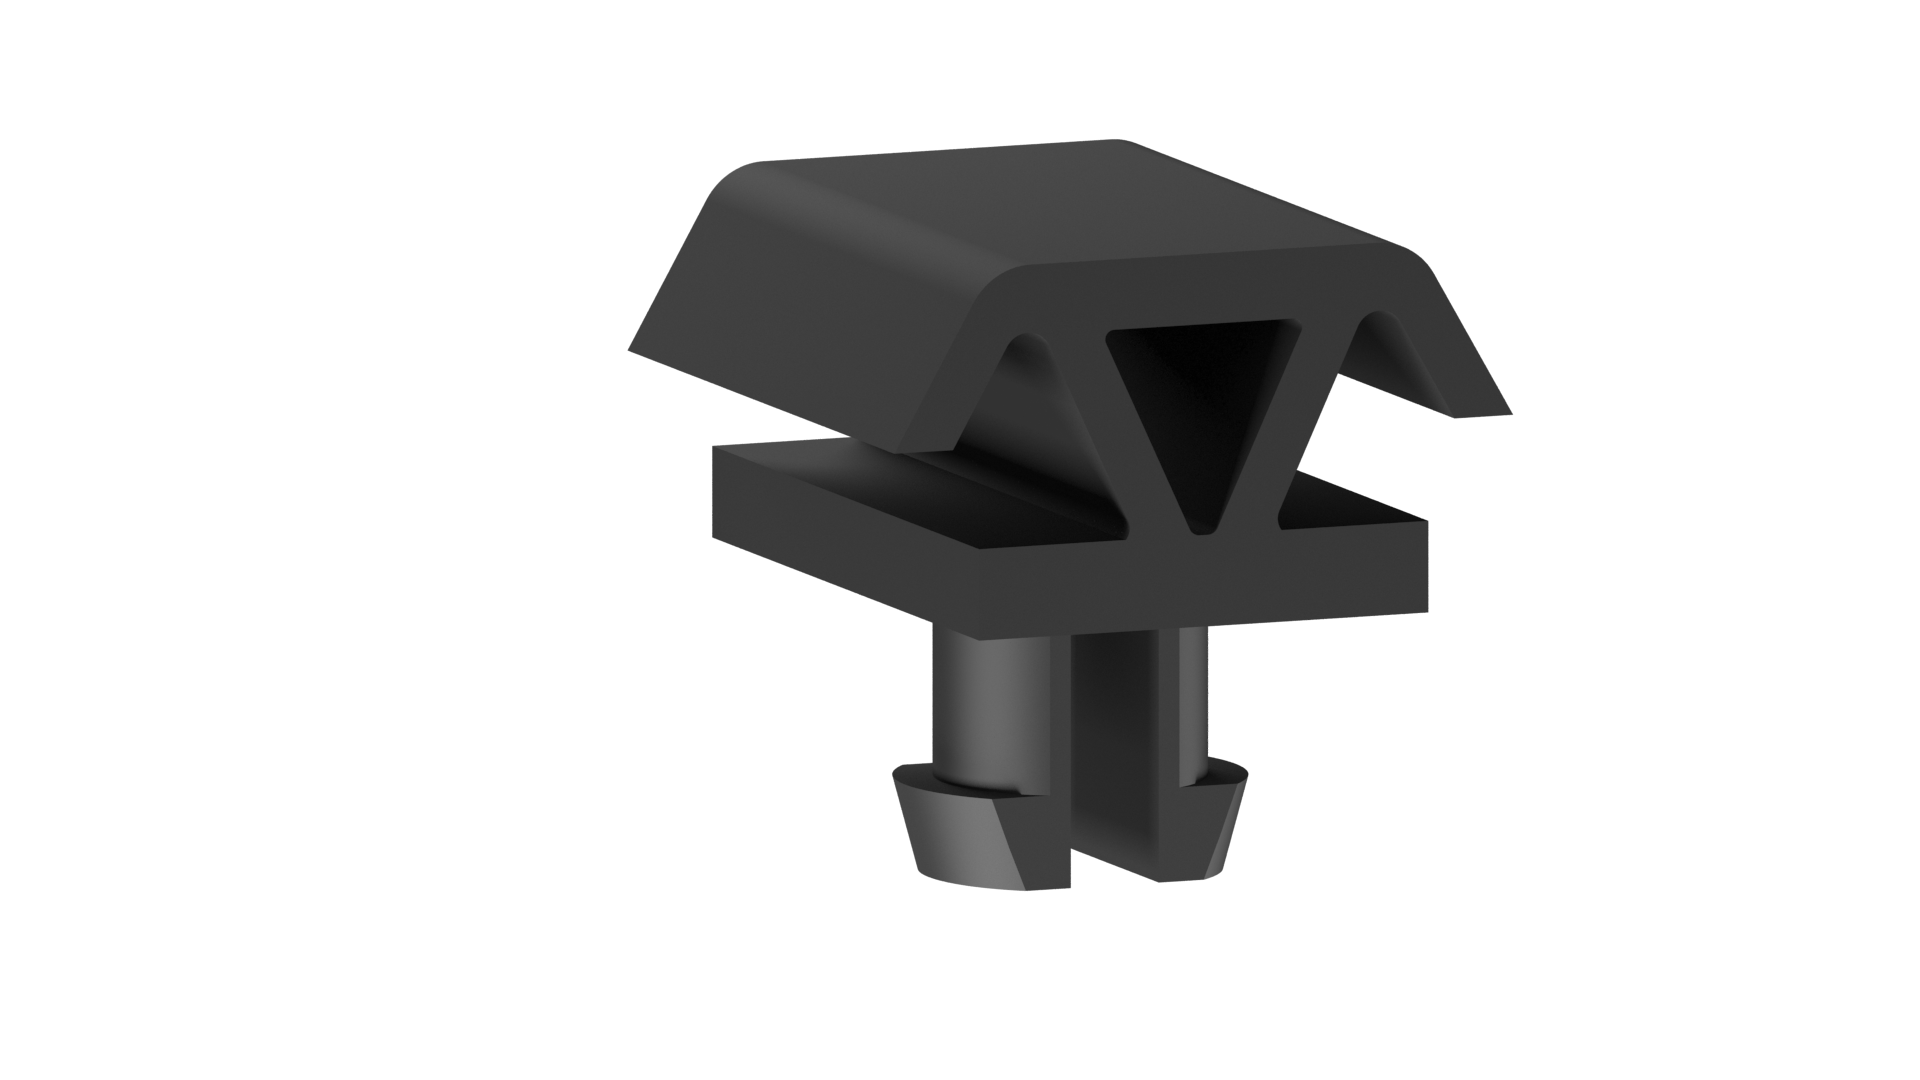
Joist Clip
Ref. 03040132E - 100u.

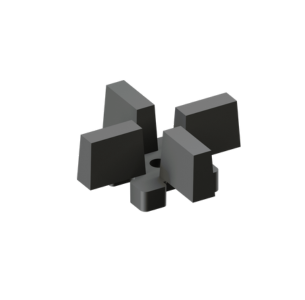
Slab joist spacer
Ref. 03040131E - 100u.
324
uds
100
uds
13
uds
4
uds
1296
uds
324
uds