maximum security

and fixation

Start Clamps

Anchoring with a tab to fasten the slabs, recommended to start and end an installation.

Two models with different measurements to carry out exposed or hidden assemblies, depending on the slab thickness.

They work as an additional safety measure to prevent the risk of detachment. The separation joint between slabs should not be made using the thickness of the anchors, but with tiling crossheads for proper installation.

The clamp to start your installations with

All cladding facade installations with anchors start with this clamp.

Material: Stainless steel AISI 316
Weight model 10: 4.70 gr.
Weight model 15: 5.15 gr.

Start Clamp

Anchoring with a tab to fasten the slabs, recommended to start and end an installation. Two models with different measurements to carry out exposed or hidden assemblies, depending on the slab thickness. They work as an additional safety measure to prevent the risk of detachment.

Material: Stainless steel AISI 316
Weight model 10: 4.70 gr.
Weight model 15: 5.15 gr.

Made of stainless steel AISI 316

Easy installation

Visible or hidden installation

Anchoring with a tab to fasten the slabs, recommended to start and end an installation.

Two models with different measurements to carry out exposed or hidden assemblies, depending on the slab thickness. They work as an additional safety measure to prevent the risk of detachment.

The separation joint between slabs should not be made using the thickness of the anchors, but with tiling crossheads for proper installation

Mode of use

1. Measure and assemble the start anchors.

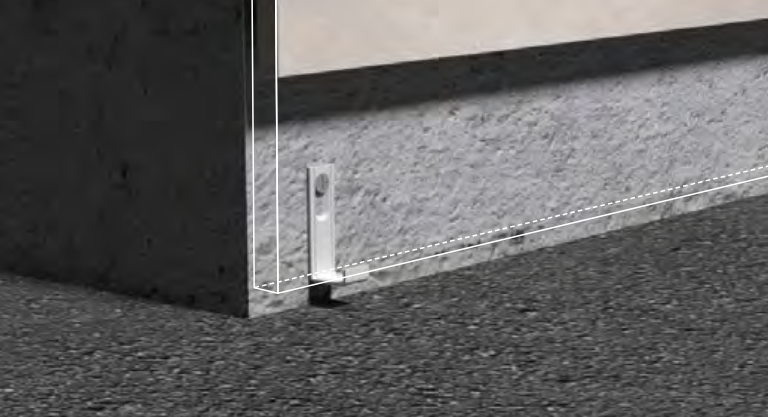
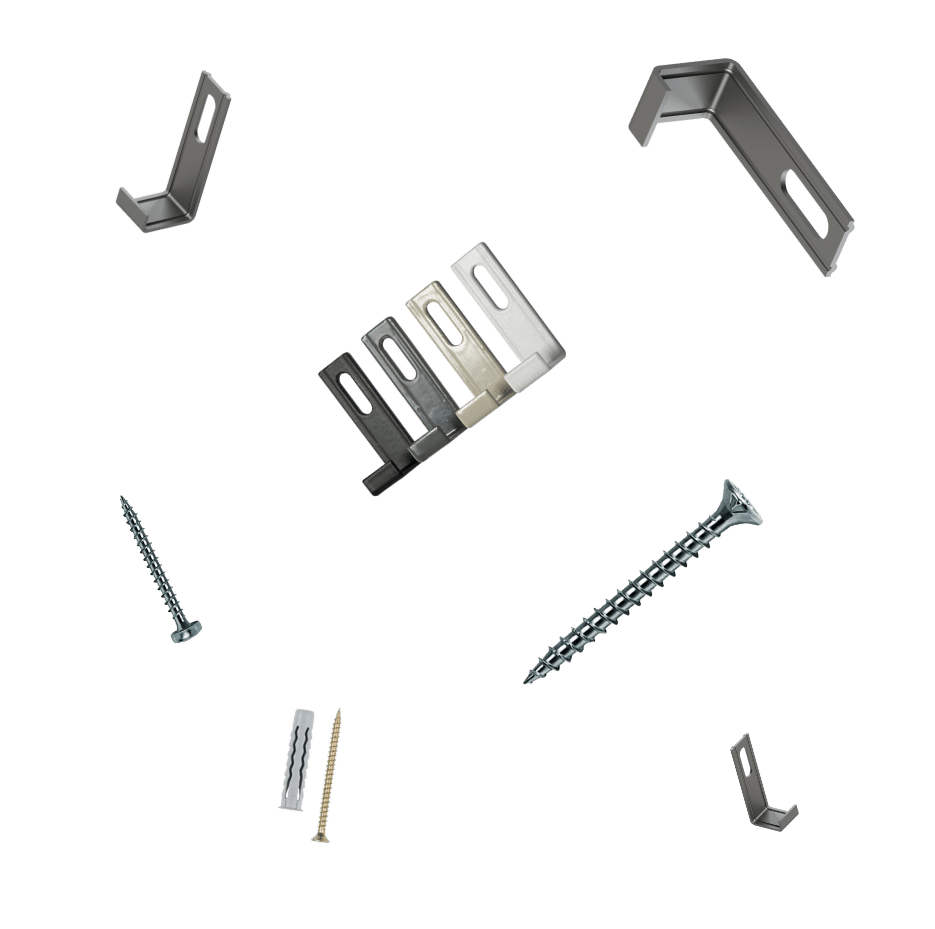
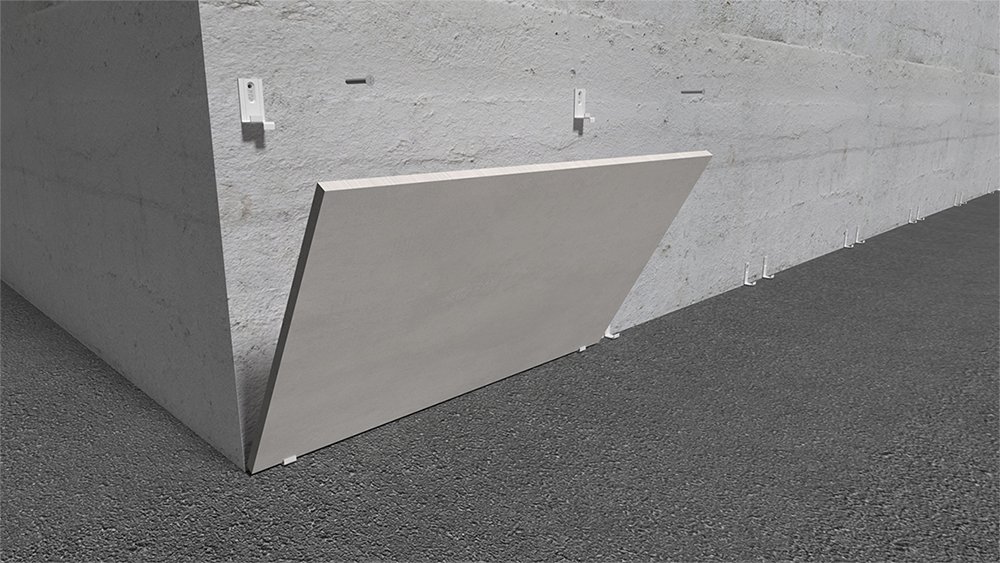
We use Start Clamps placed flush as the basis for all the slabs in the lower part. Exposing the slab, we measure the position of the top clamps, where we will use the Intermediate Clamp.

2. Glue the part and fasten it with intermediate anchors.

Once the spot where the anchors are to be installed, drill the wall for the plug and the screw. Glue the area and screw the Clamps with the slab in place.

3. Complete the lower row fully.

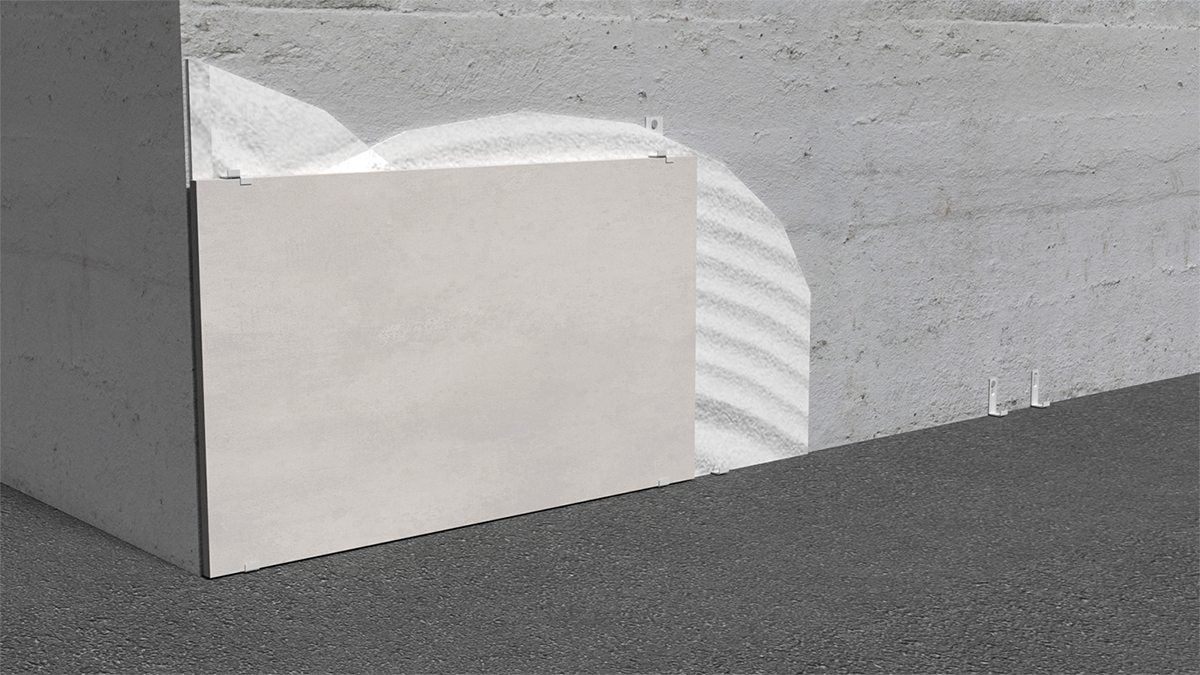
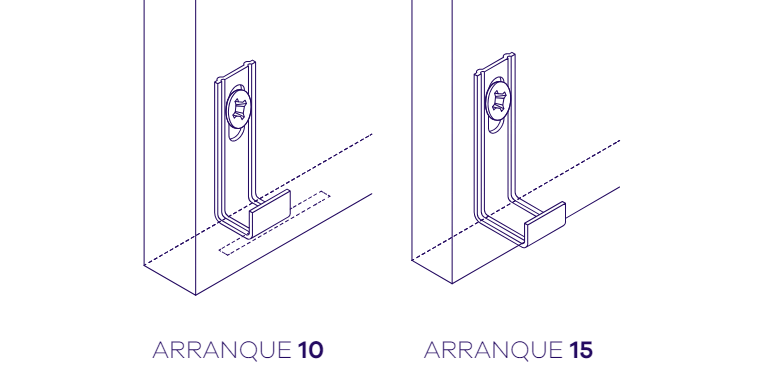
Follow the same installation process for all the slabs in the lower part. The Intermediate Clamp fastens the lower slabs and leaves a gripping point for the upper ones.

4. Repeat the process with intermediate anchors.

Move to the second row of the façade and repeat the same steps, this time only with the Intermediate Clamp.

Subscribe to our newsletter and don't miss a thing

Find out first-hand about all our news, events and new training courses

Please enable JavaScript in your browser to complete this form.

Shall we talk?

This site is registered on wpml.org as a development site. Switch to a production site key to remove this banner.