Cladding anchors
Our safety clamps made of stainless steel are recommended as an additional safety measure against the risk of falling.
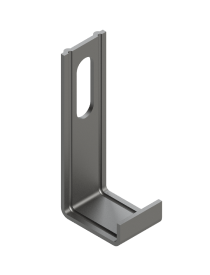
Start Clamp
- Made of stainless steel
- Exposed and hidden installation
- Secure your facade
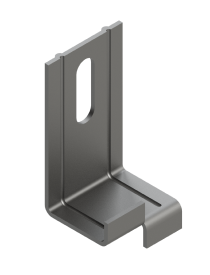
Intermediate clamp
- Made of stainless steel
- Exposed and hidden installation
- Secure your facade
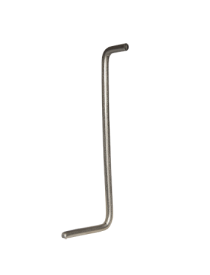
Z Clamp
- Made of stainless steel
- Maximum fixation
- Hidden installation
- Secure your facade
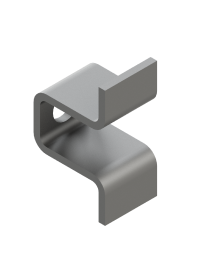
Omega Clamp
- Made of stainless steel
- Exposed and hidden installation
- Secure your facade
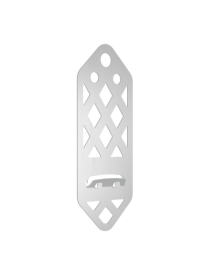
Clip Clamp
- Made of stainless steel
- Fast installation
- Hidden installation
- Secure your facade
Ensure the security of your facade
Easy to Install Anchors
Simplify Every Project
At Peygran we understand that time and ease of installation are essential for our customers. That is why we have developed a range of facade anchors that not only guarantee safety and durability but are also designed to be installed quickly and easily. With Peygran, reduce the complexity of your projects and ensure efficiency and effectiveness at every step.
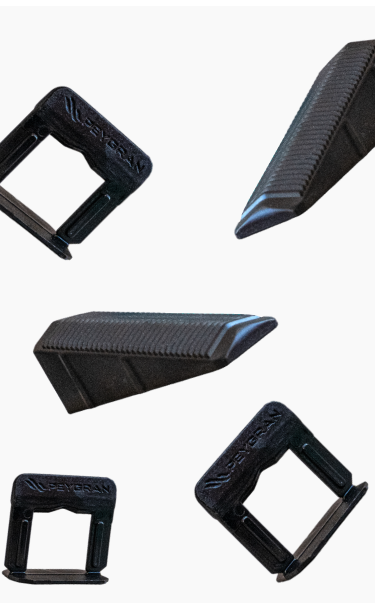

Made from 100% recycled plastic
Developed together with medical professionals and physiotherapists
Adjustable scale for a perfect fit
The Peygran Ergonomic Pliers for Levelling System minimises the fatigue and injuries caused by muscular overexertion during tiling and flooring work. Creating perfect finishes with less time and effort.
Prevents the problems caused by bending the wrists by aligning the rotation and push axes with the arm axes.

Made from 100% recycled plastic
Developed together with medical professionals and physiotherapists
Adjustable scale for a perfect fit
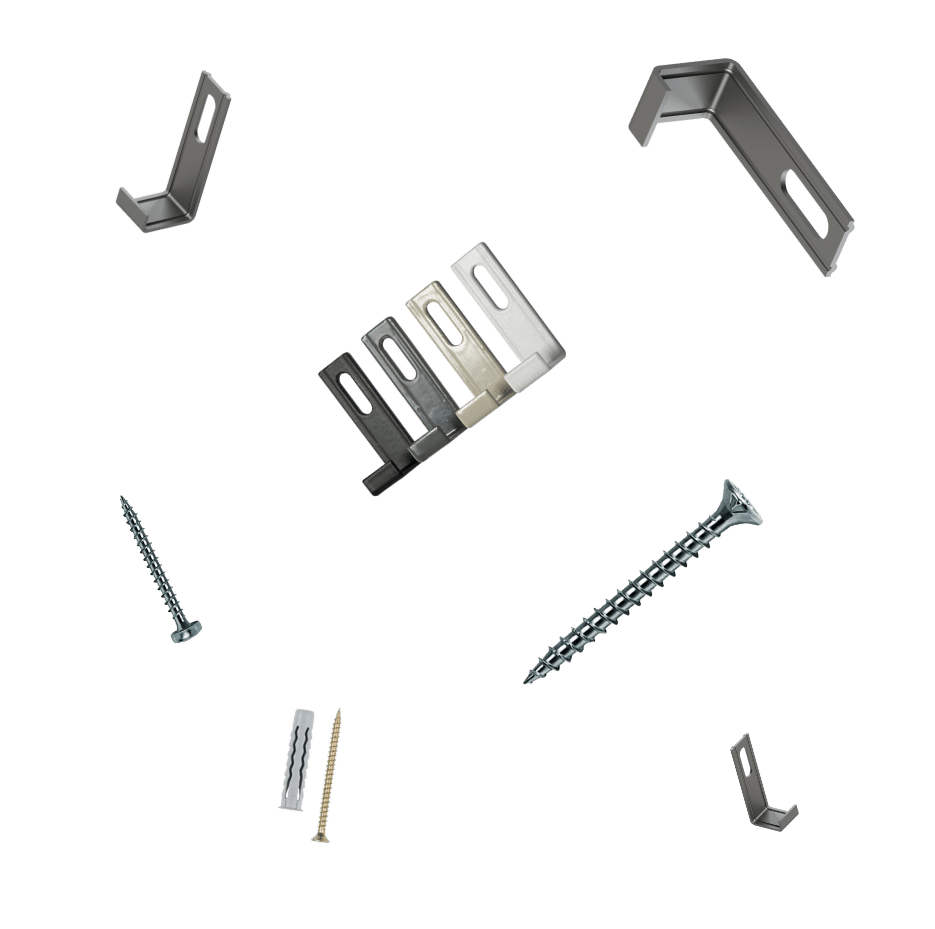
The cladding anchors material is stainless steel, which is prepared by adding chrome to the ordinary steel, providing a greater resistance to the impact of water and air. Some of its properties are the resistance to corrosion and heat.
All our facade anchors are made with STAINLESS steel, so their durability is almost endless under any working condition. The anchors have to guarantee safety and resist heavy loads, a material is required that does not allow for failures, so the choice of this type of steel is crucial.
Installation
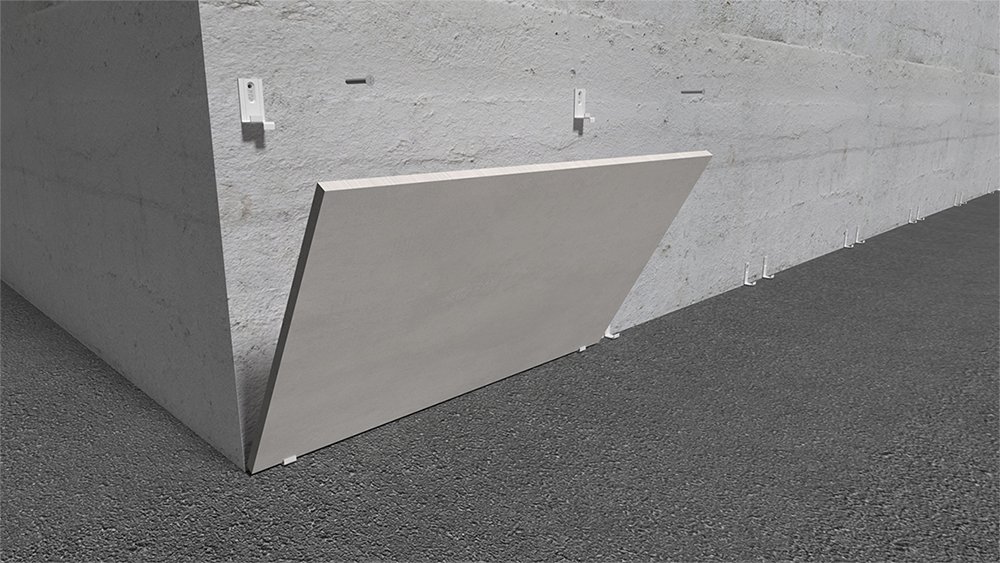
1. Measure and assemble the start anchors
We use Start Clamps placed flush as the basis for all the slabs in the lower part. Exposing the slab, we measure the position of the top clamps, where we will use the Intermediate Clamp.
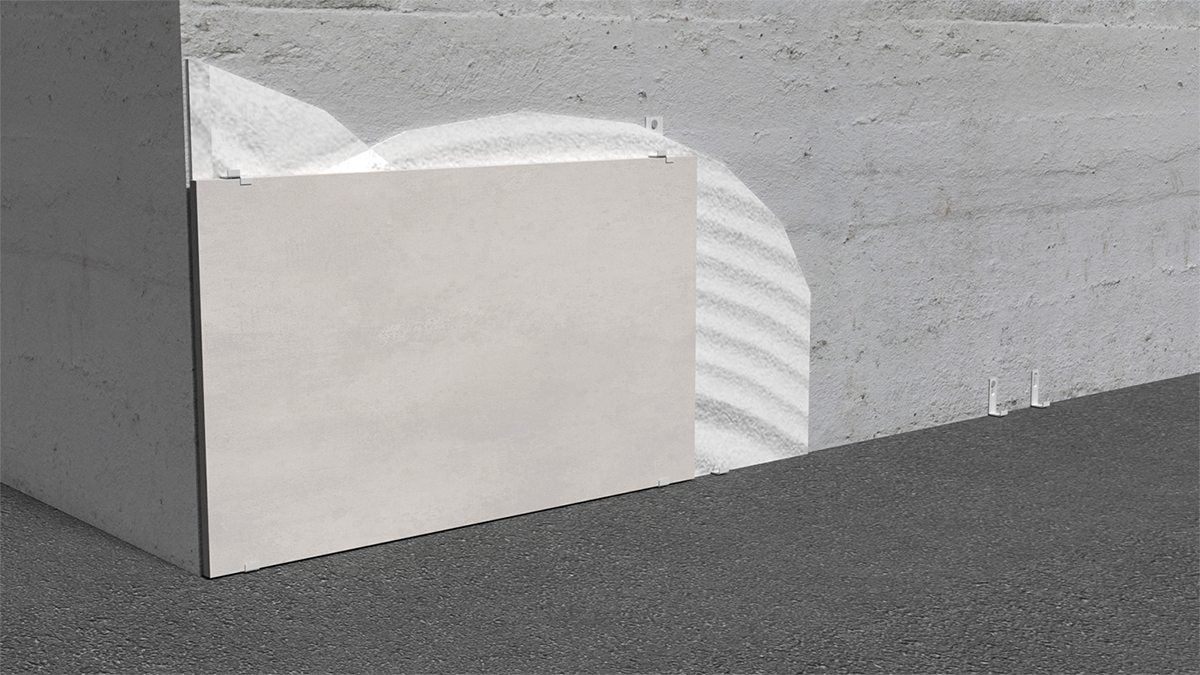
2. Glue the part and fasten it with intermediate anchors.
Once the spot where the anchors are to be installed, rill the wall for the plug and the screw. Glue the area and screw the Intermediate Clamps with the slab in place.
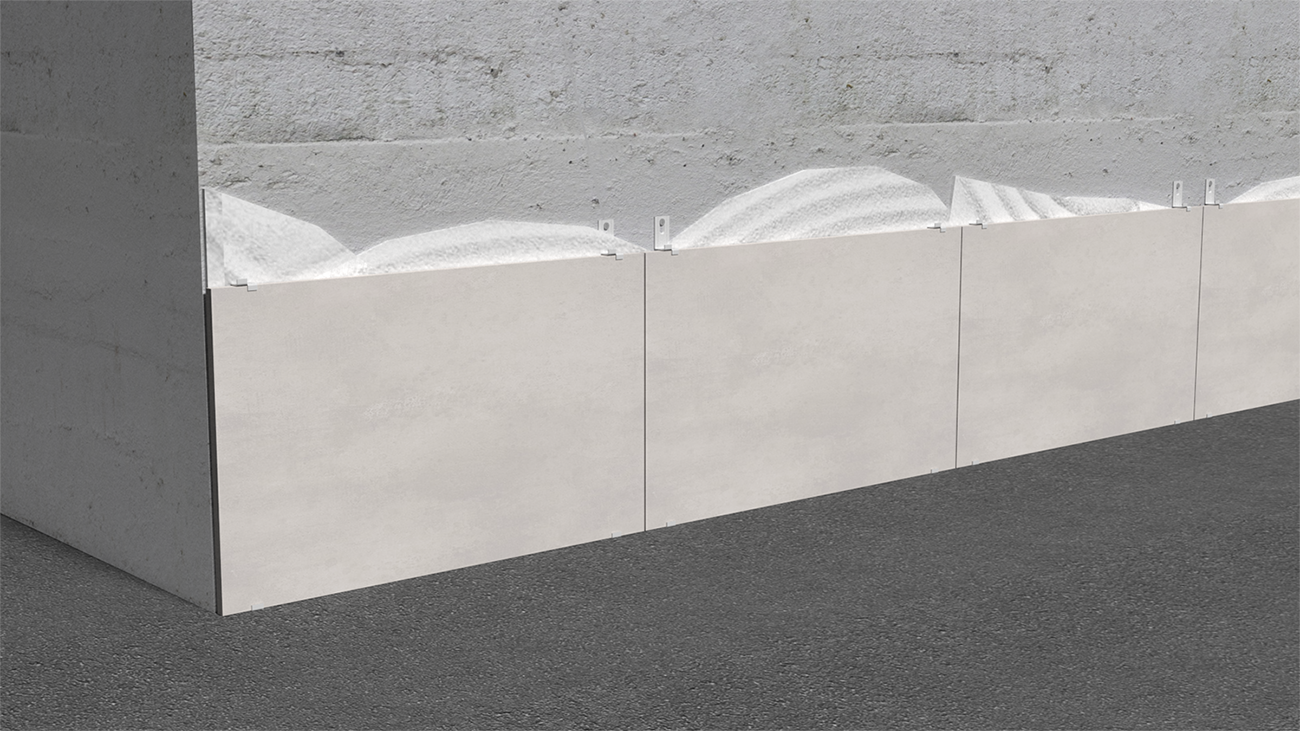
3. Complete the lower row fully.
Follow the same installation process for all the slabs in the lower part. The Intermediate Clamp fastens the lower slabs and leaves a gripping point for the upper ones.
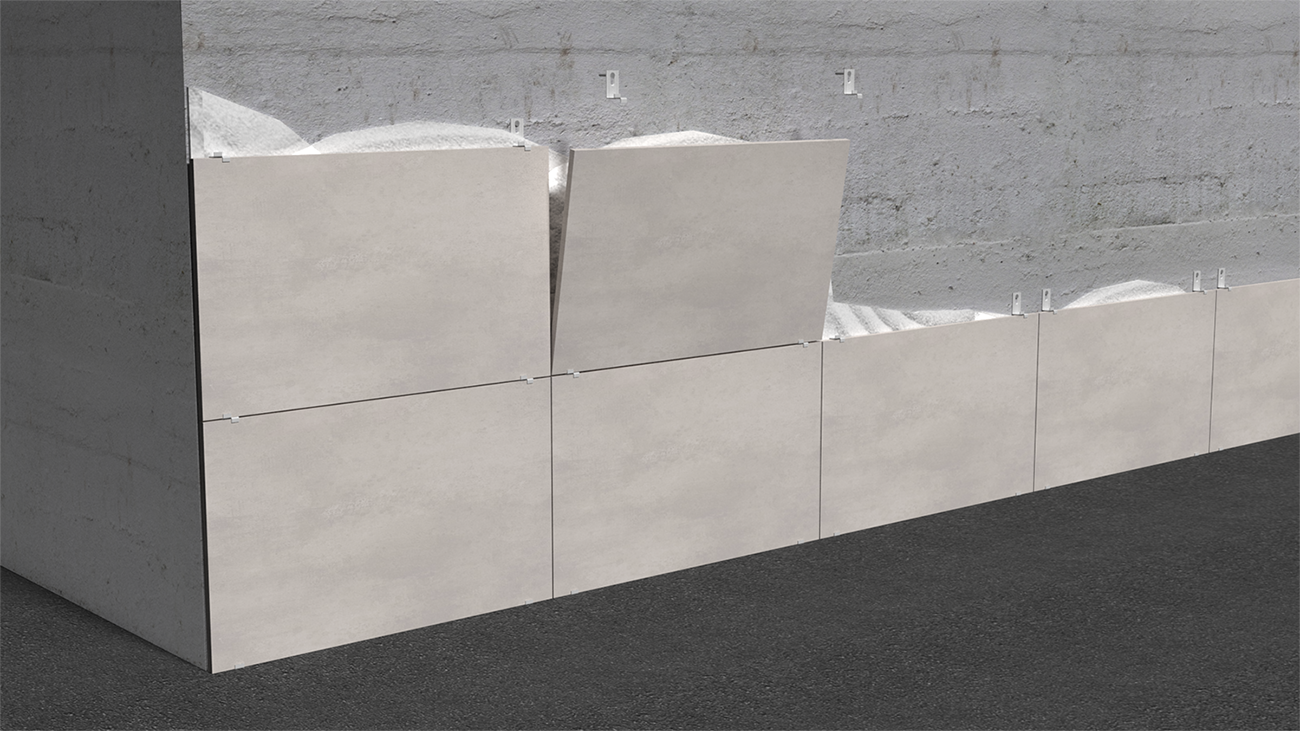
4. Repeat the process with intermediate anchors
Move to the second row of the façade and repeat the same steps, this time only with the Intermediate Clamp.
Do you have any further questions?
Please do not hesitate to contact us if you need further information or clarification on any issue.
Suscríbete a nuestro boletín y no te pierdas nada
Find out first-hand about all our news, events and new training courses
